How to Screenshot on Microsoft Laptop
You’re racing against time during an important Teams meeting when the perfect slide appears—only to vanish seconds later. Your Microsoft laptop sits ready, but panic sets in as you fumble for the right keys. Don’t waste another critical moment wondering how to screenshot on Microsoft laptop devices. Whether you own a sleek Surface Laptop 5 or an older Surface Pro 4, mastering these screenshot techniques saves presentations, preserves evidence, and captures fleeting digital moments with precision.
This guide delivers exactly what you need: no-fluff, device-specific screenshot methods that work immediately. You’ll discover keyboard combinations that function even when PrtScn keys hide behind Fn layers, physical button hacks for tablet mode emergencies, and Surface Pen tricks that transform documentation workflows. Forget generic Windows instructions—these are Microsoft-specific solutions tested across Surface lines.
Microsoft Laptop Keyboard Shortcuts That Never Fail
Instant Full-Screen Capture Without Saving
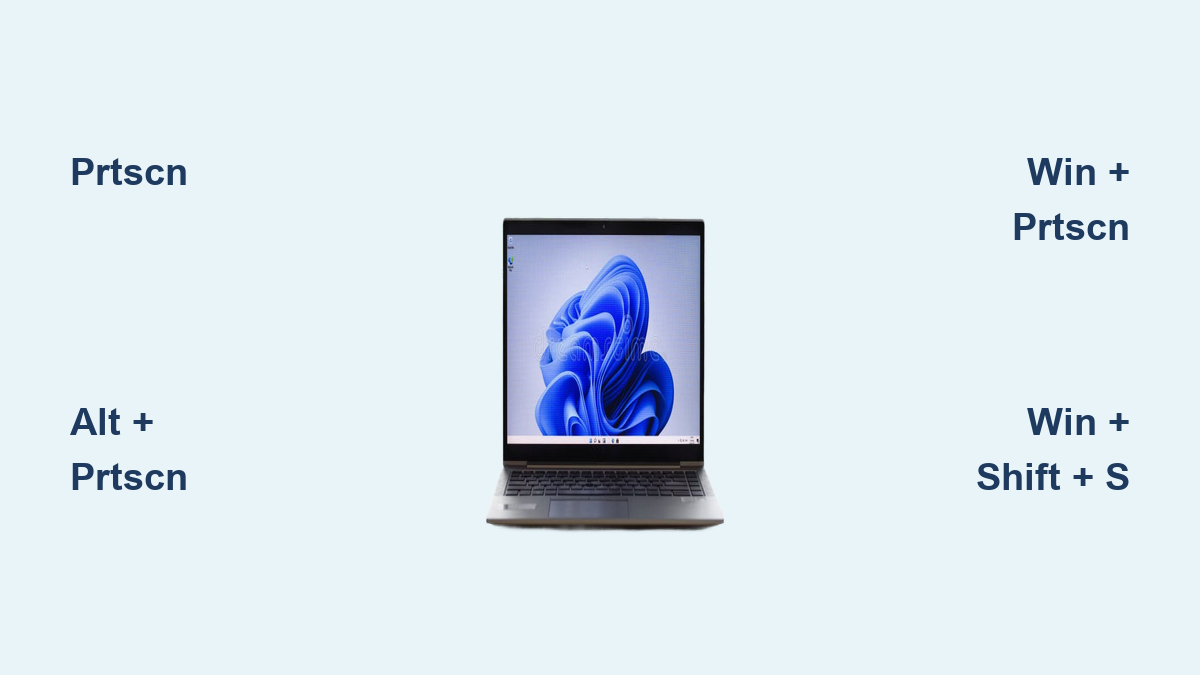
Press PrtScn alone to capture your entire display in one fluid motion. The image copies directly to your clipboard, ready for pasting into emails, documents, or messaging apps with Ctrl+V. This method gives you complete control over where your screenshot lands without cluttering your Pictures folder. Watch for subtle cursor changes—your pointer turns into a crosshair when ready to paste.
Active Window Capture for Clean Professional Screenshots
When multiple applications compete for attention, Alt + PrtScn isolates your current window with surgical precision. This technique proves essential for creating polished documentation without distracting background elements. Note that Windows 11 renders window corners as squares in these captures since PNG files can’t preserve rounded edges—perfect for technical manuals where clean lines matter most.
One-Button Save to Screenshots Folder
Windows + PrtScn delivers the most reliable auto-save method across all Microsoft laptops. Your screen dims momentarily as visual confirmation before saving a pristine PNG file to Pictures > Screenshots. The filename automatically stamps with date and time—Screenshot (2024-06-15).png—eliminating manual naming headaches during urgent situations.
Surface-Specific Physical Button Methods

Tablet Mode Capture Without Keyboard
When your Surface Pro detaches from its keyboard, Volume Up + Power becomes your lifeline. Press both buttons simultaneously—the screen dims briefly to confirm success. This technique works flawlessly on Surface Pro, Book, Go, and Studio models but fails on traditional Surface Laptops. Keep your fingers positioned on these buttons during crucial tablet presentations for instant capture readiness.
Older Surface Models Button Combination
If you’re using vintage Surface hardware with physical Home buttons, Power + Home delivers reliable screenshots. Hold the Power button, then tap Home once—simple as snapping your fingers. This method remains indispensable for field technicians documenting legacy equipment issues where modern shortcuts fail.
Surface Pen Screenshot Workflows
Double-Click Capture for Hands-Free Operation
Configure your Surface Pen to launch Snipping Tool with a double-click on the top button. Navigate to Settings > Bluetooth & devices > Pen & Windows Ink to choose between clipboard-only saves or direct Snip & Sketch opening. This transforms your pen into a capture command center—ideal when your hands stay busy taking handwritten notes during virtual meetings.
Custom Pen Click Shortcuts for Rapid Documentation
Assign single-click screenshot functions to match your workflow intensity. Set quick full-screen captures for urgent moments or selective area grabs for detailed documentation. Each click saves directly to your preferred location without disrupting your creative flow—perfect for designers annotating client feedback in real-time.
Windows + Shift + S: Your Precision Capture Tool

Four Targeted Capture Modes Explained
This shortcut activates Microsoft’s most versatile screenshot utility with four immediate options:
- Rectangular selection: Drag to isolate specific elements like error messages or data tables
- Window capture: Click any window for perfectly framed application screenshots
- Full-screen capture: One-click complete display documentation
- Free-form selection: Trace irregular shapes around handwritten notes or diagrams
Instant Editing Before Saving
Unlike basic keyboard shortcuts, Windows + Shift + S opens Snip & Sketch automatically for immediate enhancements. Add arrows to highlight critical UI elements, blur sensitive information with the pen tool, or crop extraneous space before finalizing your capture. These edits happen in seconds—no need to open separate image editors.
Troubleshooting Failed Screenshot Attempts
When Physical Buttons Won’t Respond
If Volume Up + Power fails on your Surface device, check these three critical fixes:
- Clean button ports: Lint buildup often prevents proper contact—use compressed air
- Force restart: Hold Power for 30 seconds to reset hardware functions
- Update drivers: Visit Surface > Check for updates in Windows Update settings
Missing PrtScn Key Solutions for Compact Keyboards
Many slim Microsoft laptops hide Print Screen behind function layers. Try Fn + Windows + Space Bar as your primary alternative. If that fails, Fn + Insert works on devices where PrtScn shares space with Insert—look for the tiny “PrtScn” label above the key.
OneDrive Automatic Screenshot Backup System
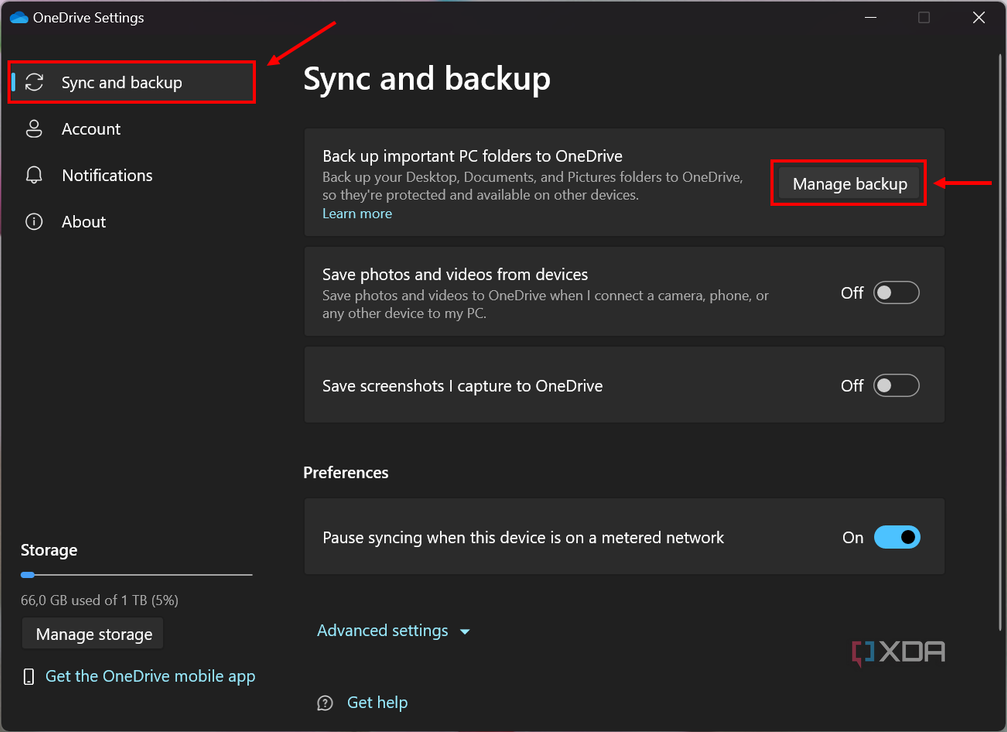
Enable Cloud Sync in Three Clicks
Prevent screenshot loss during system crashes by activating OneDrive backup:
- Click OneDrive icon in taskbar
- Select Settings > Backup tab
- Check “Save Screenshots I capture to OneDrive”
Your captures now save simultaneously to local storage and cloud—accessible from any device. This proves invaluable when colleagues need immediate access to documentation during collaborative troubleshooting sessions.
Proven Organization Strategies for Heavy Users
Folder Structure That Scales
Create this folder hierarchy in Pictures > Screenshots to avoid chaos:
Screenshots

├── Client_Projects

│   ├── Acme_Co_2024-06

│   └── Zenith_Ltd_2024-06

├── Technical_Issues

│   ├── Error_Codes

│   └── Hardware_Failures

└── Weekly_Reports
Rename files immediately after capture using ProjectName_Description_Date format—your future self will thank you during audits.
Clipboard History Power Technique
Press Windows + V to access recently captured screenshots without reopening files. This feature becomes indispensable when documenting multi-step processes—you can paste consecutive captures into Word without switching windows. Enable this in Windows Settings > System > Clipboard if disabled by default.
Critical Screenshot Mistakes Microsoft Users Make
Ignoring HDR Color Shifts
Capturing from HDR displays without correction creates washed-out screenshots on standard monitors. Always use Snip & Sketch after Windows + Shift + S—its automatic HDR color correction preserves visual accuracy for client presentations.
Forgetting Multi-Monitor Complexity
Windows + Shift + S defaults to your primary display. When using dual screens, first click the monitor you want to capture from the selection menu. Missing this step creates confusing composite images that waste editing time.
Next-Level Screenshot Automation
Delayed Capture for Hover States
Open Snipping Tool directly for 3, 5, or 10-second countdowns before capture. This technique is essential for documenting dropdown menus, tooltip explanations, or right-click context menus that disappear with keyboard input. Start Menu > type “Snipping” > select tool > set delay > click New.
Text Extraction for Documentation Efficiency
After capturing text-heavy screens, use Snip & Sketch’s OCR tool to convert images to editable text. Select the text extraction icon, then highlight areas to transform screenshots into searchable, copyable content—ideal for creating knowledge base articles from software interfaces.
Master these Microsoft-specific techniques and you’ll never lose another critical screen moment. Your Surface device transforms from a simple computer into a powerful documentation powerhouse—ready to capture, annotate, and share insights at professional speed. Next time that urgent Teams slide appears, your fingers will move automatically to the perfect capture method for your specific device.