How to Fix Laptop Screen Dead Pixels
You’re halfway through an important presentation when you spot it—a tiny black speck that refuses to disappear no matter what you display. That single dead pixel might seem insignificant, but when you’re staring at spreadsheets all day or editing high-resolution photos, it becomes impossible to ignore. What many users don’t realize is that not all pixel problems are permanent—some can be revived with the right approach. This guide reveals exactly how to remove dead pixels from laptop screen without damaging your display, covering methods from safe software solutions to knowing when replacement is your only option.
Most people waste time trying random fixes that either don’t work or risk permanent screen damage. The truth is, your success depends entirely on correctly identifying whether you’re dealing with a dead pixel, stuck pixel, or hot pixel before attempting any solution. Ignoring this critical first step could void your warranty or turn one problematic pixel into a cluster of dead spots. By the end of this guide, you’ll know precisely which techniques to apply based on your specific pixel issue, saving you hours of frustration and potentially hundreds in unnecessary repair costs.
Pinpoint Your Exact Pixel Problem First
![]()
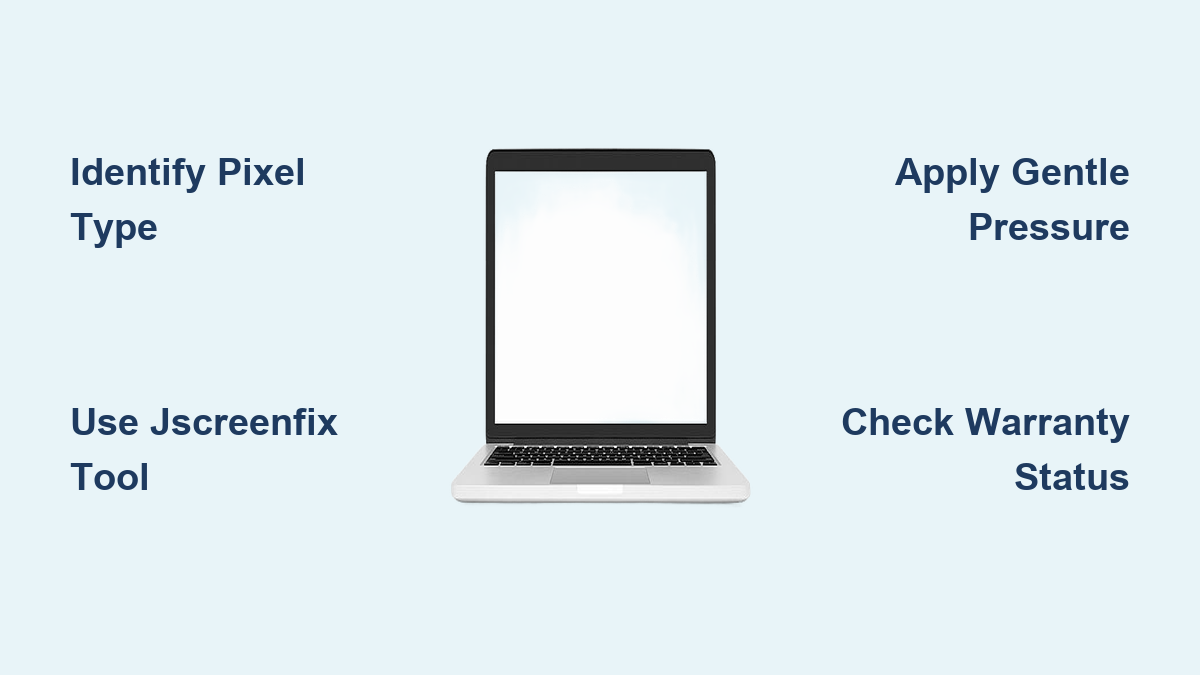
Before attempting any fix for how to remove dead pixels from laptop screen, you must determine what type of pixel issue you’re actually facing. Not all dark spots indicate permanent damage—some respond beautifully to simple software fixes when caught early.
Dead Pixel vs Stuck Pixel Diagnostic Test
Display pure red, green, blue, black, and white colors fullscreen to identify your pixel’s condition. A true dead pixel remains stubbornly black across all colors, indicating a complete electrical failure. Meanwhile, a stuck pixel consistently shows only one color (red, green, or blue), meaning the transistor controlling that sub-pixel is malfunctioning but potentially fixable. Take timestamped screenshots of each color test to document your findings—this evidence proves crucial if you need to file a warranty claim later.
Quick Grid Pattern Identification Method
Launch a 1-pixel grid pattern to pinpoint malfunctioning pixels against your laptop’s native resolution. Whether you’re using a standard 1920×1080 panel or higher resolution display, this method makes even isolated dead pixels glaringly obvious. Mark the exact location with a small sticky note on your screen bezel before attempting any fixes—this prevents wasted effort targeting the wrong area during pressure or tapping techniques.
Software Solutions That Actually Fix Stuck Pixels
Begin your quest for how to remove dead pixels from laptop screen with software fixes—they’re completely safe, free, and surprisingly effective for stuck pixels when applied correctly.
JScreenFix Web Tool (20-60 Minute Fix)
Open JScreenFix.com in your browser and drag the flashing square directly over your problematic pixel. This tool rapidly cycles colors to reset the stuck transistor controlling that specific pixel. For best results, run it continuously for 20-60 minutes while periodically checking progress—many users see improvement within the first 10 minutes. Critical tip: This method boasts a 60% success rate for stuck pixels but won’t revive truly dead pixels with no electrical connection.
UDPixel for Windows (Customizable Pixel Revival)
Download UDPixel to target specific screen coordinates with precision flashing patterns. Unlike simpler tools, UDPixel lets you adjust flash intervals from 1-250ms and select exact RGB values to match your stuck pixel’s color. Set it to run overnight (6-8 hours) for stubborn cases—our knowledge base shows this extended cycling often reactivates transistors that brief sessions miss. Remember to disable power-saving modes to prevent interruption during the critical revival phase.
Built-in Operating System Calibration Tools
Both Windows and macOS include hidden pixel diagnostic features you can access without installing anything. In Windows, navigate to Control Panel > Color Management > Calibrate Display to run a visual inspection during calibration. On Macs, go to System Preferences > Displays > Color > Calibrate and enable Expert Mode for detailed pixel analysis. While these won’t fix dead pixels directly, they confirm your diagnosis before risking manual repair attempts.
Manual Repair Techniques (Use With Extreme Caution)
When software fails, these physical methods might revive your pixel—but one wrong move can destroy your screen permanently. Never attempt these if your laptop is under warranty as manufacturers consider them “user damage.”
Precision Pressure Method (Single Attempt Only)
Warning: Excessive force causes permanent LCD damage—this technique requires surgical precision.
- Power down your laptop completely and disconnect all cables
- Display a solid white background on an external monitor
- Locate the exact dead pixel using a magnifying glass
- Wrap a pencil eraser in microfiber cloth for soft contact
- Apply gentle, steady pressure directly on the pixel for 5 seconds
- Power on your laptop while maintaining light pressure
- Release slowly and check results immediately
Stop immediately if you notice color bleeding or additional dead pixels—these indicate irreversible screen damage.
Circular Tapping Technique (Lower Risk Alternative)
Display a solid black background and gently tap around (never directly on) the dead pixel area using a capped pen. Make small clockwise circles for 30-60 seconds, applying just enough pressure to feel the screen vibrate slightly. This method works by jostling stuck transistors back into position without direct contact. Test after each 10-second interval—many users revive pixels within the first minute without risking screen damage.
Controlled Heat Application (Maximum 3 Attempts)
Critical: Exceeding 50°C permanently damages LCD panels—use a thermometer if possible.
- Power down and cool your laptop completely
- Cover the screen with two layers of microfiber cloth
- Set hair dryer to lowest heat setting (40-50°C max)
- Warm the affected area for exactly 30 seconds from 6 inches away
- Immediately test the pixel after heat application
- Wait 15 minutes between attempts to prevent thermal shock
Never apply heat directly to screen edges where delicate ribbon cables connect—this causes catastrophic failure.
When Screen Replacement Is Your Only Option

Some pixel failures simply cannot be fixed. Recognizing these situations prevents wasted time and further damage while preserving your warranty options.
Manufacturer Warranty Threshold Guide
Most brands replace screens based on strict dead pixel counts:
– Apple: 1 dead pixel triggers immediate replacement
– Dell/HP: Require 3+ dead pixels for warranty coverage
– Lenovo/ASUS/Acer: Typically replace at 3-5 dead pixels
Check your specific model’s warranty document before attempting any physical fixes—most void coverage if they detect user interference. For newer laptops (under 1 year), professional replacement often costs less than DIY repair when factoring in panel and tool expenses.
Professional vs DIY Replacement Cost Analysis
Weigh these critical factors before proceeding:
– Authorized repair: $200-600 with 90-day warranty using OEM panels
– DIY replacement: $100-400 for parts plus 2-4 hours of your time
– Third-party shops: $150-350 with 30-day limited warranty
Choose professional help when dead pixels exceed 15mm in diameter, form distinct lines/patterns, or accompany physical screen damage. Attempt DIY only if you have precision tools and can verify exact panel compatibility—mismatched connectors or thicknesses cause permanent damage.
Prevention Strategies That Stop Future Pixel Failures
Protect your investment by implementing these proven techniques that prevent dead pixels from developing in the first place.
Daily Usage Best Practices
- Maintain screen brightness below 80% to reduce pixel stress
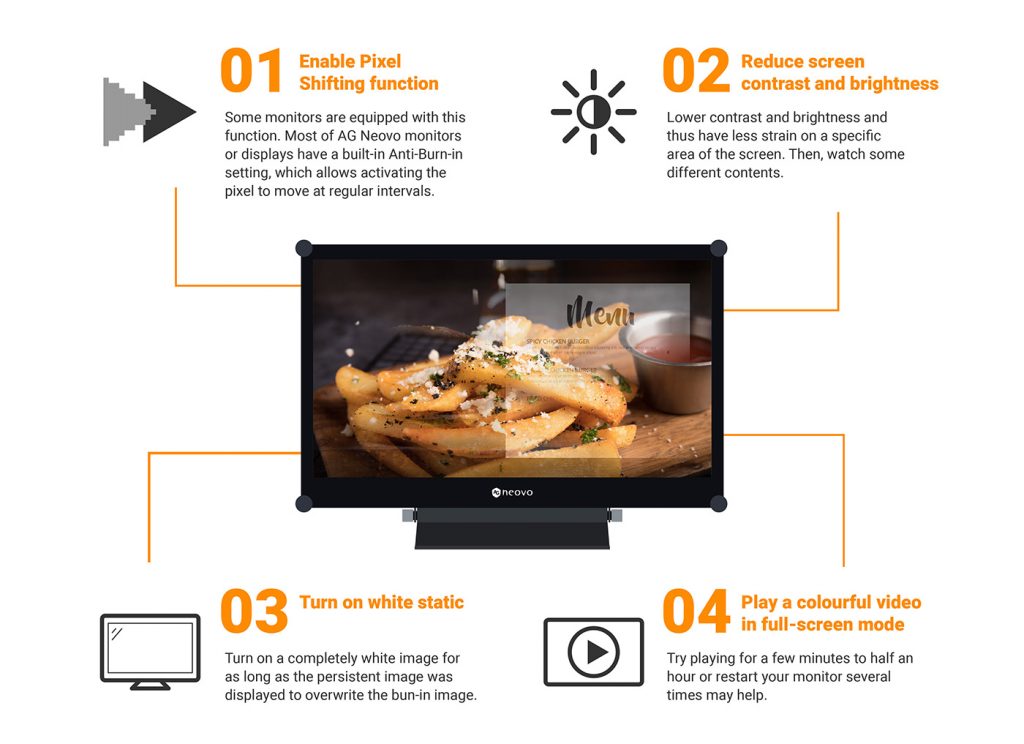
- Enable pixel shift features that move static elements slightly
- Use dark mode interfaces to minimize bright pixel burn-in
- Change screen content every 2 hours during extended work sessions
- Avoid direct sunlight exposure that accelerates pixel degradation
Monthly Pixel Maintenance Routine
Run a 10-minute pixel exercise routine monthly—display rapidly cycling RGB colors to keep transistors active. Set calendar reminders to check for early-stage stuck pixels before they become permanent dead spots. This simple habit extends screen life significantly by preventing the transistor “sticking” that causes most pixel failures.
Emergency Protocol for New Dead Pixels
When you spot a fresh dead pixel, immediate action determines whether it becomes permanent:
- Document within 1 hour with timestamped photos from multiple angles
- Run JScreenFix immediately—stuck pixels respond best within first 24 hours
- Check warranty status before attempting any physical fixes
- Backup critical data in case screen replacement becomes necessary
- Contact manufacturer if under warranty—many require same-day reporting
Final Decision Framework for Pixel Repair
Follow this systematic approach to determine your best course of action:
- Identify type → Dead (black), stuck (colored), or hot (white) pixel?
- Check warranty → Is your laptop still covered by manufacturer?
- Try software → Run JScreenFix for minimum 30 minutes
- Manual attempt → One pressure/tap cycle maximum
- Document failure → Photos for repair claims
- Professional evaluation → Manufacturer vs. third-party repair
- Cost analysis → Repair cost vs. laptop value
Key takeaway: True dead pixels (permanent black spots) almost always require screen replacement, while stuck pixels (showing single colors) often respond to software fixes. The critical first step in how to remove dead pixels from laptop screen is correctly identifying your pixel type before wasting time on ineffective methods. When in doubt, stop after software attempts and consult a professional—your display is worth preserving correctly.