How to Replace Laptop Keys: Easy Step-by-Step Guide
That stubborn “E” key vanishing mid-email or your spacebar turning into a sticky mess after a coffee spill doesn’t mean your laptop is doomed. You can fix broken laptop keys yourself in under 15 minutes with basic tools, bypassing $150+ repair bills. Most modern keyboards follow the same mechanical principles whether you own a MacBook, Dell, or Lenovo. This guide delivers the exact steps to safely replace laptop keys without damaging fragile internal mechanisms. Stop hunting for temporary fixes—you’ll restore full typing function today using parts costing less than your morning latte.
Broken Laptop Key Symptoms You Can’t Ignore
Physical Damage That Requires Replacement
- Cracked or shattered keycaps exposing jagged plastic edges
- Keys sitting crooked with uneven gaps around the edges
- Completely missing keys revealing the keyboard’s internal skeleton
- Faded lettering on high-use keys like “E” or “Space” that hampers typing accuracy
Functional Failures Demanding Action
- Mushy keys needing excessive force to register presses
- Ghost typing where one key press generates multiple characters
- Sticky residue trapping keys mid-depression after liquid exposure
- Inconsistent bounce-back where keys feel “dead” compared to neighbors
Must-Have Tools for Flawless Key Replacement
Non-Negotiable Essentials
- Plastic spudger (or old credit card): Safely pries without scratching metal
- Fine-tipped tweezers: Maneuvers tiny retainer clips into place
- Compressed air: Blasts crumbs/debris from socket before installation
- Small dish: Keeps screws and clips from rolling off your desk
Professional-Grade Upgrades
- Headband magnifier: Reveals hairline cracks in butterfly mechanisms
- Anti-static mat: Prevents static discharge frying keyboard circuits
- Isopropyl alcohol wipes: Dissolves sticky residue under keys
- Replacement key kit: Includes keycap, retainer, rubber dome, and stabilizer
Identifying Your Keyboard Mechanism Type
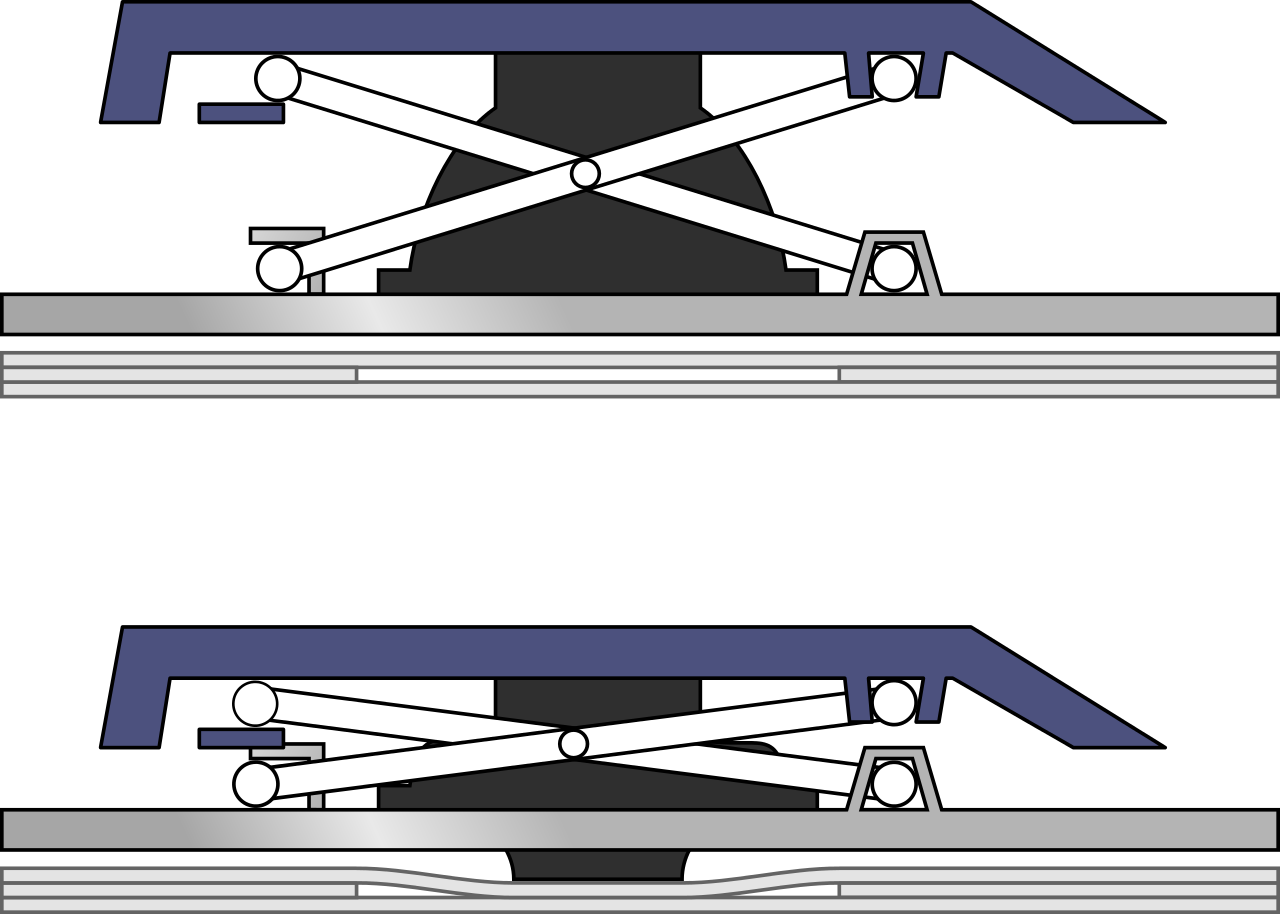
Scissor-Switch Keys (90% of Modern Laptops)
Look for an X-shaped plastic crossbar under the keycap. These deliver crisp feedback and dominate Windows laptops (Dell XPS, HP Spectre). Removal requires lifting evenly at two points—no stabilizer wires to manage.
Butterfly Mechanisms (2015-2019 MacBooks)
Thin, flat keys with visible gold contacts when lifted. Extreme caution needed—their fragile clips snap if pried unevenly. Newer MacBooks (2019+) use improved scissor switches, but older models often require professional help.
Mechanical Switches (Gaming Laptops Only)
Identify by taller keycaps and audible “click” sound. Replacement mimics desktop mechanical keyboards—pull keycap straight up using a wire puller, then press new cap vertically into the stem.
Removing Damaged Keys Without Disaster
Critical Pre-Removal Checklist
Power down completely and unplug your charger. Remove the battery if possible (common on older ThinkPads). Ground yourself by touching a metal lamp base for 10 seconds. Photograph the keyboard layout—large keys like Shift have hidden stabilizers you’ll need to reference.
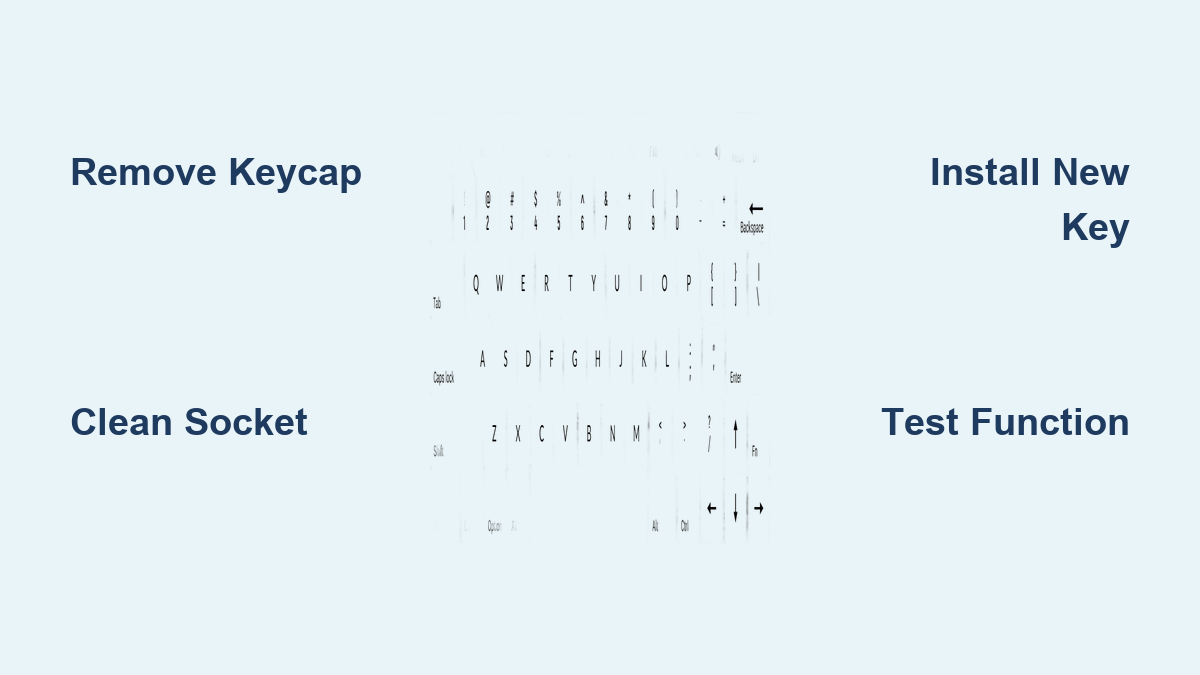
Standard Key Removal Technique
- Slide spudger under the top edge of the keycap
- Gently lift upward while wiggling side-to-side—never force it
- Listen for the double-click as retainer clips release
- Lift straight up once fully detached to avoid bending clips
- Inspect the socket for debris before installing new key
Special Cases: Spacebar & Shift Keys
- Spacebar: Contains a metal stabilizer bar. Lift one end slowly, then slide the bar out of its clips.
- Shift/Enter: May have two separate retainers. Work from the top edge down to prevent misalignment.
- Function keys: Smaller and more brittle—use tweezers to grip edges instead of prying.
Installing Replacement Keys Like a Pro

Prep Work for Perfect Seating
Examine your new key kit: The rubber dome must sit flat in the socket, and the retainer clips should mirror your old mechanism’s orientation. Never skip this step—reversed clips cause wobbling. For spacebars, thread the stabilizer wire through its plastic hooks before lowering the keycap.
Step-by-Step Installation
- Position the retainer clips into the socket’s outer slots
- Lower the keycap at a 30-degree angle, starting from the bottom
- Press firmly on all four corners until you feel dual snaps
- Test key travel with 5-10 presses—should feel smooth and consistent
- Check alignment against adjacent keys; flush = success
Troubleshooting Installation Issues
If the key sits higher than neighbors: Remove it and blast the socket with compressed air. If it sticks: Dip a cotton swab in isopropyl alcohol to clean residue. Never hammer keys—this cracks solder points.
Brand-Specific Fixes That Actually Work

MacBook Key Replacement Hacks
For butterfly-mechanism MacBooks (2015-2019): Use tweezers to grip the keycap’s underside—not the top—to avoid breaking fragile clips. Magic Keyboard models (2019+) work like standard scissor switches. Crucial: Order keys labeled for your exact MacBook year—2018 and 2019 models differ internally.
Dell & Lenovo Shortcuts
Dell Latitude keys pop off with minimal force—start prying at the top edge. ThinkPad TrackPoint keys (G/H/B) have reinforced retainers; apply pressure evenly on both sides. Both brands use universal key kits available on Amazon for $8.
HP Spectre Pitfalls
HP’s premium keyboards have tighter tolerances. If the new key won’t seat: Remove it and rotate the retainer 180 degrees—HP often reverses clip orientation on newer models.
Fixing Common Post-Replacement Problems
Key Won’t Snap Down Flush?
Debris is 90% of the cause. Tilt the laptop and blast the socket with compressed air for 10 seconds. Verify the rubber dome isn’t folded over—use tweezers to flatten it. If clips are bent, replace the entire retainer kit.
Sticky Key After Spill?
Remove the keycap immediately. Dab isopropyl alcohol on a microfiber cloth (not directly on the socket!), then wipe the rubber dome and retainer. Let it dry 20 minutes before reinstalling—rushing causes short circuits.
Ghost Typing on New Key?
Clean under the keycap with alcohol wipes to remove conductive dust. Adjust OS settings: On Windows, go to Settings > Devices > Typing and increase key repeat delay. On Macs, use System Preferences > Keyboard to reduce key repeat speed.
Preventing Future Key Failures
60-Second Weekly Maintenance
- Blow compressed air between keys to eject crumbs
- Wipe surfaces with alcohol-dampened microfiber cloth
- Avoid eating near laptop—crumbs jam scissor mechanisms within weeks
- Use keyboard cover when traveling to block pocket lint
Long-Term Pro Tips
Wash hands before typing to reduce oil buildup. Store laptops in padded cases—not backpacks—to prevent key damage from pressure. Monitor your spacebar for early wobble; replace it preemptively before stabilizers break.
When to Call a Professional
Seek expert help if:
– Multiple keys fail simultaneously (indicates keyboard controller damage)
– Liquid penetrated beyond the keycap (requires circuit board cleaning)
– You own a butterfly-mechanism MacBook (DIY often causes $200+ damage)
– Your laptop’s under warranty (self-repair voids coverage)
Cost Breakdown: DIY vs. Professional
| Scenario | DIY Cost | Professional Cost |
|---|---|---|
| Single key replacement | $5-$15 (parts) | $40-$80 (labor + parts) |
| Full keyboard replacement | $30-$60 (assembly) | $120-$250 (service fee) |
| MacBook butterfly repair | $20+ (high failure risk) | $180+ (Apple-authorized) |
Customizing Keys for Personalized Typing
Upgrading Keycaps
Swap worn keys with PBT plastic keycaps (doubles lifespan vs. standard ABS). Gaming keyboards accept Cherry MX-style keycaps—ensure compatibility by checking stem type (Cherry, Alps, or Topre). For Macs, use low-profile keycaps to maintain butterfly mechanism clearance.
Layout Hacks Worth Trying
Convert QWERTY to Dvorak layout by swapping keycaps in under 10 minutes. Programmers love adding blank keycaps to the home row for touch-typing practice. Use UV-printed keys for custom symbols like emoji shortcuts or coding macros.
Replacing laptop keys saves you money while extending your device’s life—no technical degree required. Start with a cheap $10 key kit matching your model, and tackle one key at a time. That stubborn “E” key? Fixed in 8 minutes flat. Remember: patience beats force every time. If your first attempt fails, breathe, rewatch a tutorial, and try again—90% of DIY repairs succeed on the second try. Your keyboard’s typing rhythm is worth restoring, one snap-click at a time.