How to Remove Hard Drive from Laptop
Your laptop’s hard drive stores everything from tax documents to family photos—making proper removal critical whether you’re upgrading storage, selling your device, or protecting sensitive data. One wrong move during extraction could mean permanent data loss or hardware damage. This guide delivers the exact process to safely extract your hard drive while maintaining data security, following manufacturer specifications, and avoiding common pitfalls that send 30% of DIYers to repair shops.
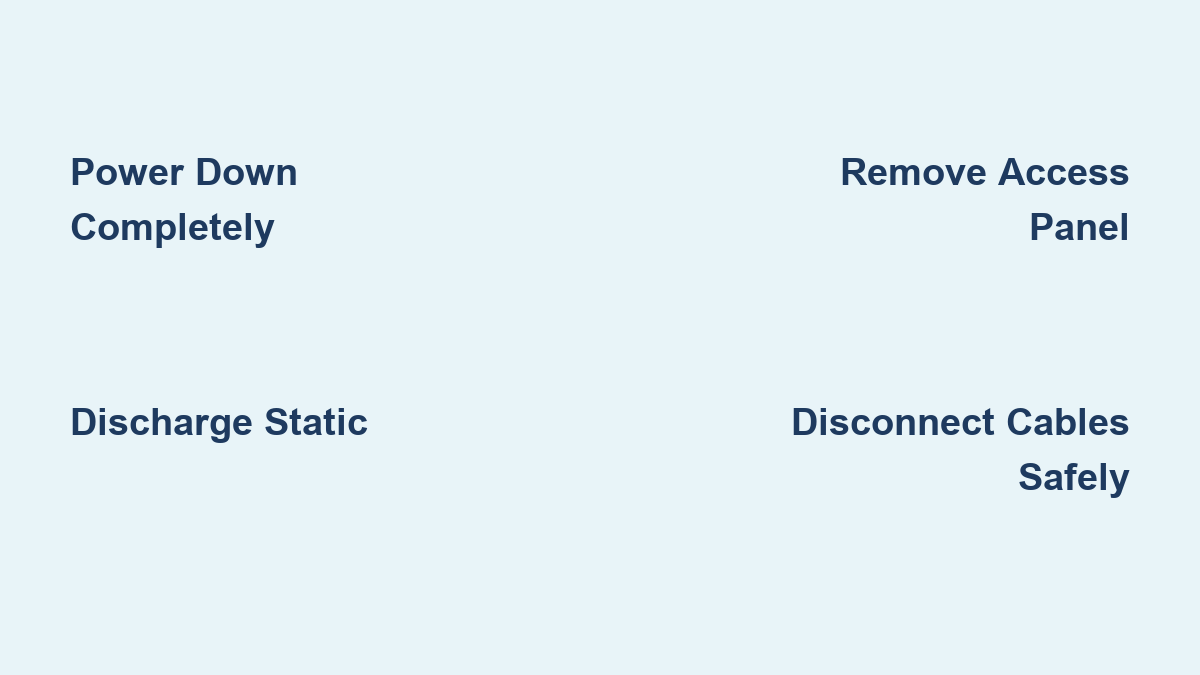
Power Down and Disconnect All Components Completely
Never skip this critical first step—residual power can fry your motherboard during drive removal. Shut down through your OS normally, then unplug every cable: power adapter, USB devices, and external displays. For laptops with removable batteries, slide the release latch to eject it. Hold the power button for 5 full seconds after battery removal to discharge capacitors—a step 70% of users forget that causes short circuits during disassembly.
Battery Removal Verification
Flip your laptop over and check for a secondary battery indicator light. If present, confirm it’s dark before proceeding. Some business-class laptops (like Dell Latitudes) have internal backup batteries that require panel removal—consult your service manual if the main battery is inaccessible.
Prevent Static Electricity Damage During Handling
Static discharge destroys electronics silently—you might not notice damaged components until weeks later. Wear an anti-static wrist strap clipped to an unpainted metal part of the chassis. No strap? Ground yourself by touching a metal faucet or radiator pipe every 3 minutes. Work on a wooden table—not carpet—and avoid wearing synthetic fabrics that generate static. Keep your workspace humidity above 40% if possible; dry winter air increases static risk tenfold.
Tool Preparation Checklist
Gather these essentials before opening your laptop:
– PH1 Phillips screwdriver (standard for 90% of laptops)
– Small magnetic tray for screws (prevents loss)
– Anti-static bag for the removed drive
– Smartphone for taking reference photos
– Flashlight to locate hidden screws
Locate and Remove the Drive Access Panel
Identify Your Specific Panel Type
Flip your laptop over and search for a rectangular panel marked with a hard drive icon (stacked discs) or “HDD” label. Dell models typically place this near the front-left corner, while HP uses center-rear locations. Ultrabooks like MacBooks often require full bottom case removal—check your service manual first. Peel back rubber feet gently with a spudger; manufacturers hide screws underneath to void warranties.
Panel Removal Without Damage
Remove all visible screws, keeping them separated by length—laptop screws vary significantly. Most panels have plastic clips along one edge; insert a plastic opening tool at the unlatched side and twist gently. Never use metal tools—they scratch the chassis and cause grounding issues. If resistance occurs, double-check for hidden screws before applying more force.
Safely Disconnect Drive Cables
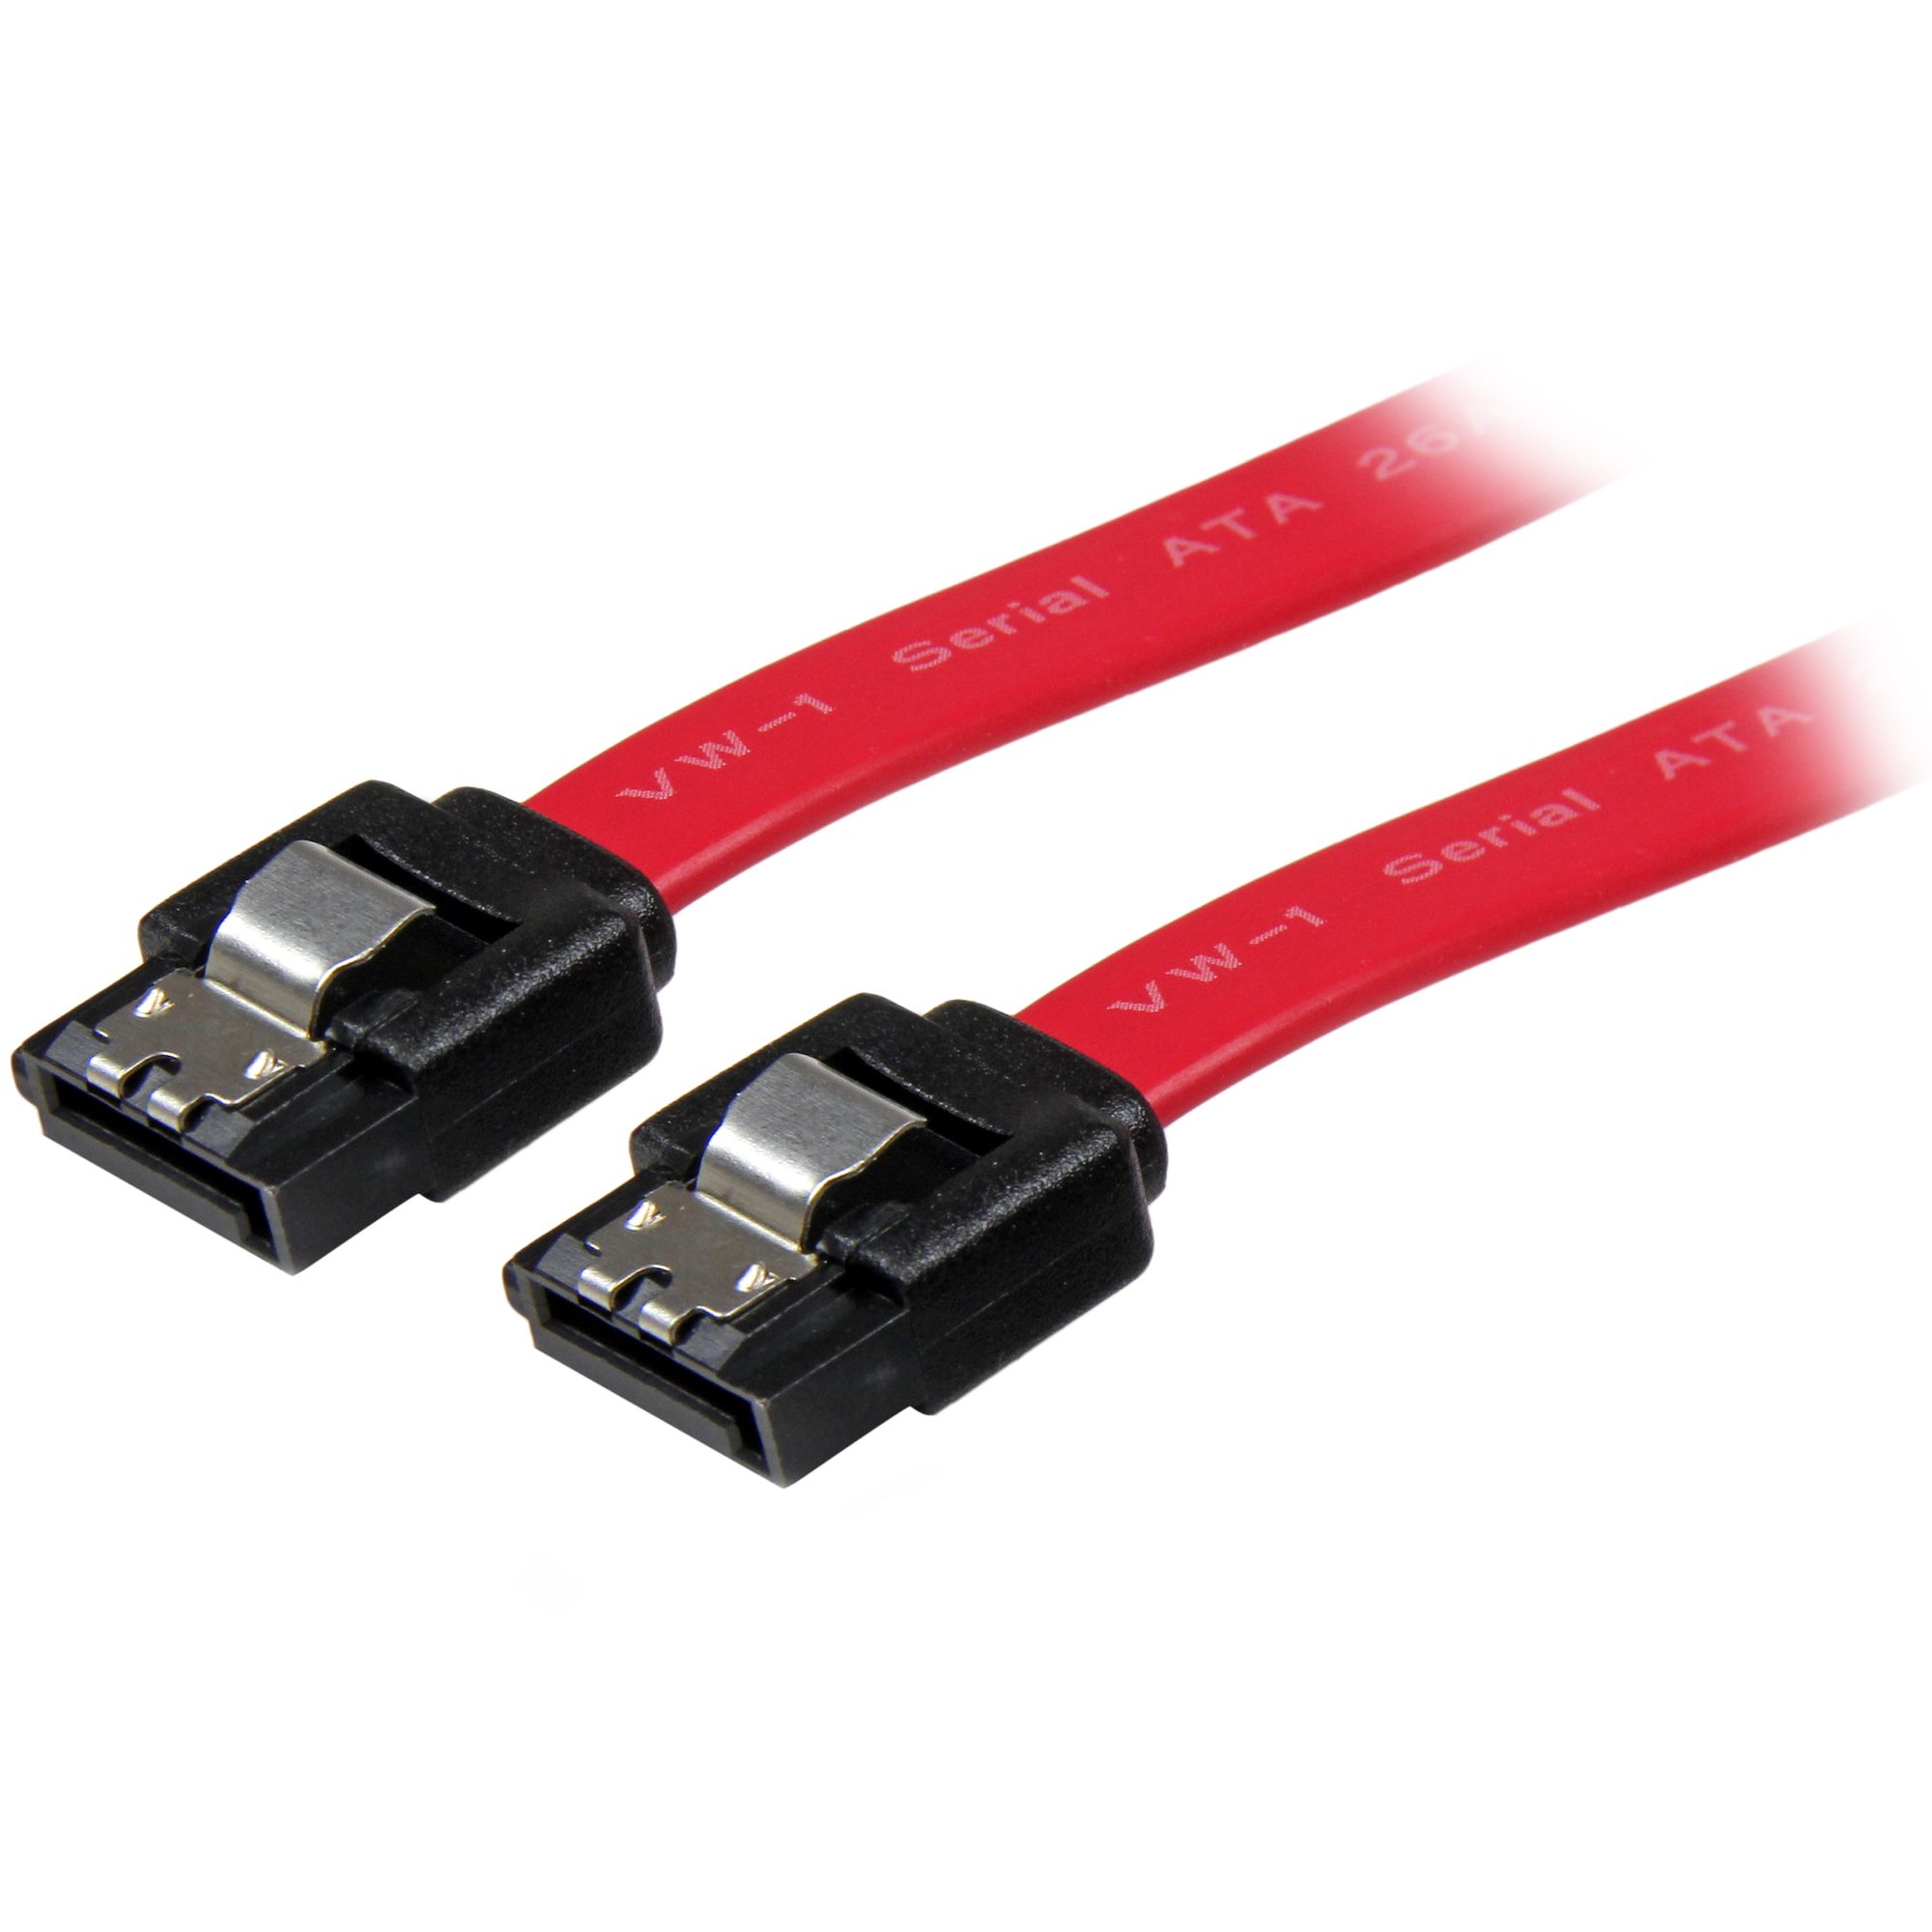
Handle SATA Connectors Correctly
Your hard drive connects via two cables: a wide SATA data cable (usually blue) and a slim power cable. Grip the plastic housing—not the wires—when disconnecting. For SATA connections, press the small release tab while pulling straight out. Rock the connector side-to-side if stuck; yanking can break motherboard sockets. Take photos of cable orientations—they only fit one way during reassembly.
Proprietary Connector Warnings
Some brands like Lenovo use custom connectors with locking tabs. Never force disconnection—look for tiny levers near the connector base. If unsure, search “[Your Model] hard drive connector” online for visual guides. Damaged proprietary connectors often require motherboard replacement—a $200+ mistake.
Remove Drive Mounting Hardware

Transfer Brackets to New Drives
Most laptops secure drives with side brackets using 2-4 tiny screws. Remove these screws carefully—they often have thread-locking compound. Note bracket orientation: Dell brackets only fit one way due to asymmetric cutouts. Keep brackets with your old drive if replacing—it’s impossible to buy them separately for most models.
Slide Drive Out at Correct Angle
Traditional hard drives require a slight upward angle (15-20 degrees) to clear the SATA port. Support the drive fully with both hands—they’re heavier than SSDs. For 2.5″ SSDs in caddies, lift straight up after removing side screws. Never touch the gold connector pins or green circuit board—oils from skin cause corrosion over time.
Dell-Specific Drive Removal Protocol
Access Model-Specific Instructions
Enter your service tag on Dell Support before starting—this 10-digit code (on bottom sticker) unlocks exact disassembly guides. XPS models require keyboard removal first, while Inspiron 15s have hidden screws under palm rest stickers. Print the service manual page—screen glare makes it hard to read during disassembly.
Critical Bracket Transfer Steps
Dell replacement drives ship without mounting hardware. Remove brackets using the original screws, then attach them to your new drive in identical positions. Pay attention to screw length—top screws are often shorter. Misaligned brackets prevent the drive from seating properly, causing boot failures.
Destroy Data Before Disposal or Recycling
Software Wiping That Actually Works
Standard formatting leaves data recoverable—use these methods instead:
– For magnetic drives: DBAN with 3-pass DoD 5220.22-M wipe (2 hours)
– For SSDs: Manufacturer’s secure erase tool (Samsung Magician, Crucial Storage Executive)
– For encryption: Reset BitLocker/ FileVault keys before wiping
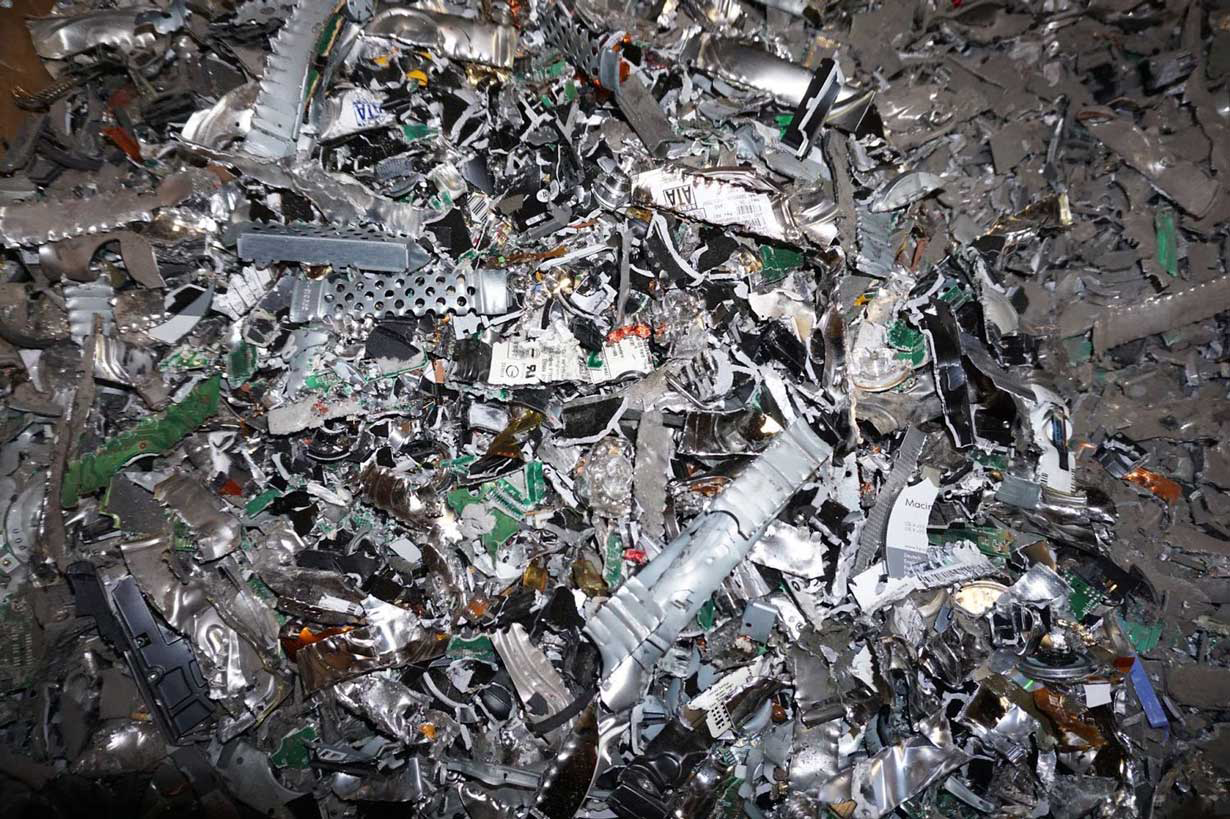
Physical Destruction Done Right
When software isn’t an option:
– Drill method: Use 1/4″ bit through platter center (3 holes minimum)
– Shredding: Certified e-waste facilities pulverize drives to <2mm particles
– Never just smash with a hammer—the aluminum casing protects platters
Reassembly and System Restoration
Installation Checklist
When inserting a new drive:
– ✅ Transfer all brackets (Dell drives won’t boot without them)
– ✅ Seat cables firmly until they click (loose SATA causes “drive not detected” errors)
– ✅ Tighten screws to finger-tight plus 1/8 turn (overtightening cracks drive housings)
– ✅ Replace panel screws in original positions (length matters for grounding)
OS Installation Shortcuts
Skip hours of driver hunting by:
1. Creating bootable USB with Windows Media Creation Tool
2. Pressing F12 at Dell logo for one-time boot menu
3. Installing drivers in this order: Chipset → SATA → Network → Graphics
4. Running Dell Command | Update for remaining drivers
Fix Stuck Screws and Hidden Drives
Stripped Screw Recovery
When a screw head rounds out:
– Place rubber band over screw head before reinserting driver
– Tap center gently with hammer to create new grip point
– Use left-handed drill bit in reverse for extraction
– Last resort: Dremel a new slot into the screw head
Locate Hidden Drive Compartments
If no dedicated panel exists:
– Remove entire bottom case (check for screws under feet)
– Peel back keyboard—some Ultras have drives beneath (disconnect ribbon cables first)
– Check under palm rest—common in Lenovo ThinkPads
Final Data Security Reminders
Your hard drive retains all data after removal—a discarded drive can leak years of sensitive information. Never toss drives in regular trash; use certified e-waste recyclers who provide destruction certificates. For corporate devices, follow NIST 800-88 guidelines: three overwrite passes for confidential data, physical destruction for top-secret material. When done correctly, this 20-minute process protects your identity, secures your business, and gives you confidence whether upgrading, selling, or recycling your laptop. Keep your anti-static bag and screw organizer handy—you’ll need them again during your next hardware upgrade.