How to Fix Gaming Keyboard Keys Not Working
Your gaming keyboard just failed mid-match. WASD keys dead during a clutch moment, or your spacebar stuck after that energy drink spill. Before you rage-buy a replacement, most key failures have straightforward fixes—if you know what to look for. This guide walks through proven troubleshooting steps that save both time and money. Whether you’re dealing with a single dead key or an entire row, you’ll find the solution here without unnecessary technical jargon.
Quick Diagnostic Steps to Isolate Keyboard Problems
Start with these 30-second checks to determine if you’re facing software issues or actual hardware failures. These preliminary steps can save you hours of unnecessary disassembly.
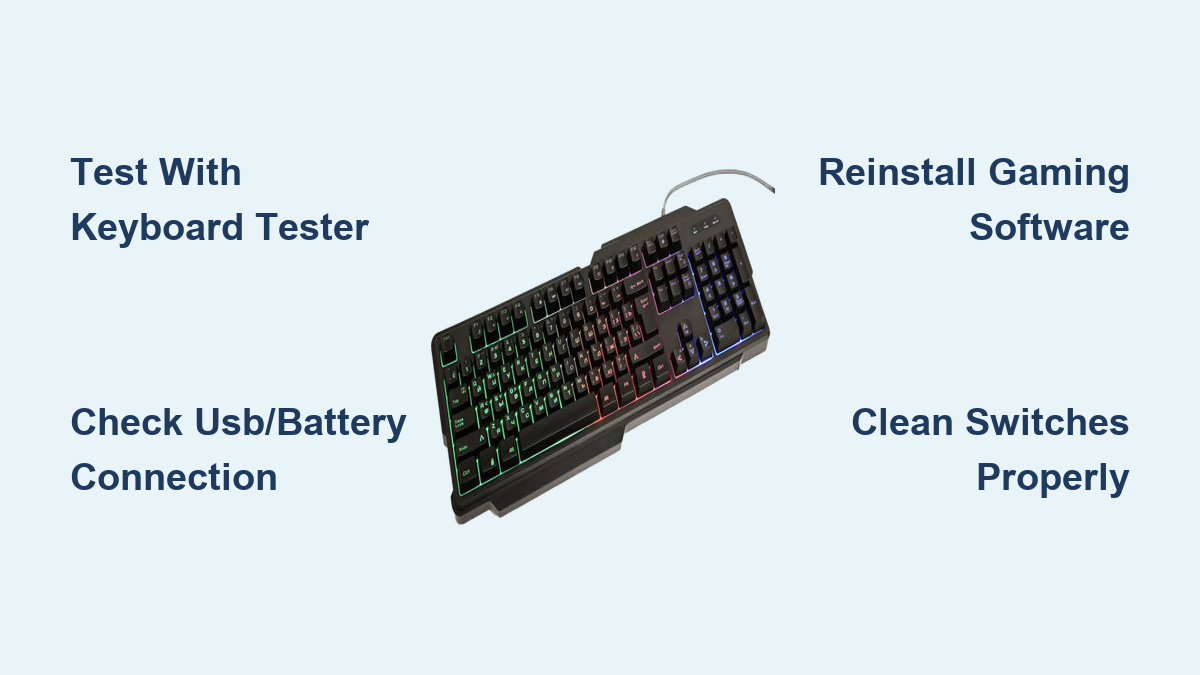
Test All Keys Systematically with Free Tools
Open Keyboard Tester or Aqua KeyTest—free utilities that show every keypress visually. Press each key individually while watching for specific failure patterns. No response indicates complete electrical failure, while intermittent response suggests loose connections or dirty contacts. Keys stuck in the “on” position typically signal physical jams or liquid damage, and wrong character output points to software mapping issues. Document any patterns you notice—gaming keyboards often fail in predictable clusters that reveal the root cause.
Check Connection Type-Specific Issues
For USB keyboards, try different ports, especially switching between USB 2.0 and 3.0 ports, as some gaming keyboards draw more power than USB 3.0 ports can reliably provide. Wireless keyboard users should replace batteries immediately—even batteries showing “good” charge can cause intermittent failures under gaming loads. If your wireless model supports wired mode, test that connection as well. Bluetooth keyboard owners should remove and re-pair the device, as Windows sometimes corrupts Bluetooth profiles during updates, causing random key failures.
Software Fixes That Solve Most Gaming Keyboard Issues
Before you consider hardware repairs, eliminate software conflicts—the cause of most “dead key” complaints in gaming communities. These solutions require no tools and take less than five minutes.
Reinstall Gaming Software Completely
Razer Synapse users should uninstall via Control Panel, restart your computer, then download a fresh copy from Razer’s official site. Old profiles can corrupt and disable specific keys without warning. Corsair iCUE owners should first try the built-in repair function (Settings > Software > Repair), but if issues persist, complete removal and reinstall fixes most macro key failures. Logitech G Hub users should check for firmware updates within the software, as outdated firmware often disables random key clusters unexpectedly.
Update or Roll Back Keyboard Drivers
In Device Manager, navigate to Keyboards, right-click your device, select Properties > Driver > Update Driver, then choose “Let me pick.” Select “HID Keyboard Device” over manufacturer-specific drivers and test your keys. If keys failed after recent Windows updates, rolling back to the previous driver version often resolves compatibility issues. Gaming keyboard drivers frequently lag behind Windows updates, causing temporary key failures that seem permanent.
Hardware Failure Patterns by Keyboard Type

When software fixes fail, understanding your keyboard’s technology helps diagnose the problem faster. Different switch mechanisms fail in predictable ways that require specific solutions.
Mechanical Switch Failures and Solutions
Cherry MX-style switches typically fail in three main ways: leaf contact corrosion causes intermittent key response, physical stem wear makes keys wobble or prevents proper return, and spring fatigue creates a mushy feeling that requires extra force. Optical switches (like Razer Opto-Mechanical) rarely have contact issues but can fail due to obstructed light paths from dust and debris, LED burnout causing complete failure, or sensor misalignment after drops.
Membrane Gaming Keyboard Repair Strategies
Budget gaming keyboards using membrane layers under mechanical-looking keycaps have distinct failure patterns. Delamination of membrane layers causes entire key rows to fail simultaneously, carbon trace wear makes specific keys intermittent, and collapsed domes create keys that feel dead but might still register under pressure. Unlike mechanical keyboards, membrane models rarely survive full disassembly, so surface cleaning is your best option.
Brand-Specific Gaming Keyboard Fixes

Each major gaming brand has unique failure modes based on their switch technology and software integration. Targeting these brand-specific issues saves time and prevents unnecessary repairs.
Razer Keyboard Troubleshooting
For Razer Huntsman series with Opto-Mechanical switches, keys registering multiple presses or not at all often indicates dust in the optical path. Clean switch housing with compressed air—optical sensors attract dust more than mechanical switches. Synapse macro profiles can also disable keys unexpectedly, so reset your profiles if keys stop working after software changes. For Green/Orange mechanical switch models, check stabilizer wire attachment on larger keys if they feel loose or unresponsive.
Corsair K-Series Problem Solving
Cherry MX RGB failures on Corsair keyboards often stem from LED burnout causing key failure on backlit models. A quick test: turn off all RGB lighting—if the key works, you’ve identified an LED circuit issue. iCUE software conflicts commonly disable volume wheels or macro keys; resetting iCUE settings to default and reconfiguring macros usually resolves these issues without hardware intervention.
Deep Cleaning Process for Sticky or Unresponsive Keys
Most “dead” keys just need proper cleaning—especially after spills or extended gaming sessions. This process works for mechanical and membrane keyboards with minimal risk when performed correctly.
Safe Keycap Removal Techniques
Use a wire-type keycap puller for best results, taking a photo before removal to remember key placement. Pull keycaps at a diagonal angle straight upward, exercising extra caution with larger keys that have stabilizer wires. Never use excessive force, as this can damage stems or stabilizer mechanisms. For optical switches, avoid liquid cleaners that could damage sensitive components.
Effective Switch Cleaning Methods
For mechanical switches, use 3-5 second bursts of compressed air into the switch housing, followed by electrical contact cleaner (never WD-40). Press the key 50+ times to work cleaner through the mechanism. Optical switch owners should visually inspect for debris blocking the LED/sensor path and use a cotton swab with isopropyl alcohol for gentle cleaning. Membrane keyboard users should remove keycaps, clean the membrane surface, and use a pencil eraser on carbon contacts for better conductivity.
Liquid Damage Recovery Protocol
Spills require immediate action to prevent permanent damage—your response in the first 30 seconds determines whether your keyboard survives.
First Response Steps After Spills
Unplug your keyboard immediately and invert it to let liquid drain away from switches. Remove keycaps to speed drying and expose switch mechanisms, then use compressed air to blow out liquid from between switches. For sugary drinks like energy beverages, act even faster as sugar becomes conductive as it dries, causing short circuits.
Drying Process and Testing
Allow at least 48 hours drying time with desiccant packs or rice—longer for sugary drinks. Test keys on day 2, and if they still stick, repeat the cleaning process. Replace your keyboard immediately if you see PCB corrosion (green/white buildup), multiple keys shorted together, or if the liquid contained sugar/acid. Attempt repairs only for clean water spills with quick response and few affected keys.
Prevention Strategies to Extend Keyboard Life
Proactive maintenance prevents most key failures before they happen. These simple habits significantly extend your gaming keyboard’s lifespan.
Monthly Maintenance Routine
Schedule compressed air cleaning around keys during week 1, surface wiping with electronics-safe cleaner during week 2, checking for loose keycaps during week 3, and software updates during week 4. This rotating schedule catches minor issues before they become major failures.
Gaming-Specific Wear Prevention
Combat WASD wear patterns by rotating keycaps if your keyboard supports it, using silicone keycap covers for extended sessions, or considering a separate gaming keypad for MMO/MOBA games. For RGB keyboards, dim LEDs to 50% brightness to extend lifespan, avoid static colors to reduce individual LED wear, and turn off lighting during non-use through software scheduling.
Environmental Protection Measures
Maintain humidity below 60% to prevent switch corrosion, avoid extreme temperatures that damage switches (never leave in cars), and use a keyboard cover when not gaming to minimize dust accumulation. These simple environmental controls prevent many common failure modes before they start.
Gaming keyboard key failures rarely mean permanent damage. Start with software fixes—they solve most issues in minutes. For hardware problems, systematic cleaning resolves the majority of failures. When switches truly fail, replacement is straightforward on modern hot-swappable keyboards. Keep this guide bookmarked for the next time your keyboard acts up mid-game—quick action prevents small problems from becoming expensive replacements, and most fixes take under an hour with common tools.