How to Speed Up Laptop Performance
Your laptop used to boot in seconds and open apps instantly—now it crawls like it’s stuck in molasses. Sound familiar? Performance degradation affects nearly every laptop within 18-24 months, but the good news is most speed issues are fixable without buying new hardware. This guide walks you through proven techniques that restore your laptop’s original speed—or make it even faster. We’ll start with quick software fixes you can complete in under an hour, then cover strategic hardware upgrades that deliver dramatic improvements. Let’s fix your sluggish laptop today.
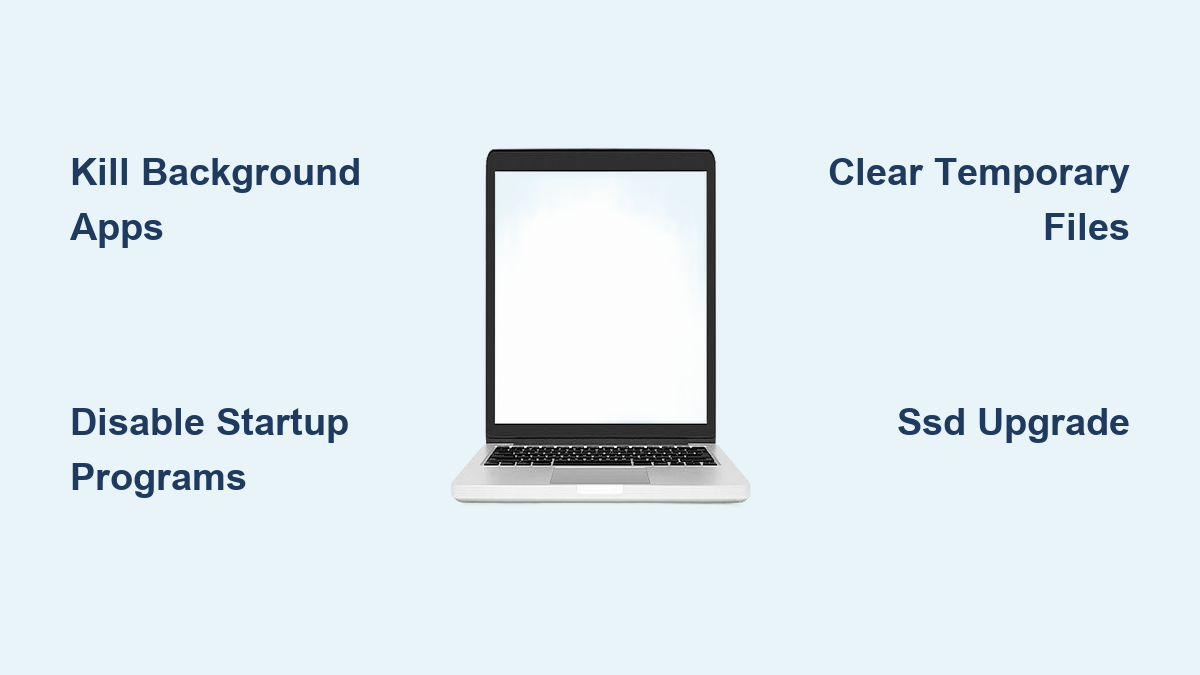
Kill Resource-Hogging Background Apps Immediately
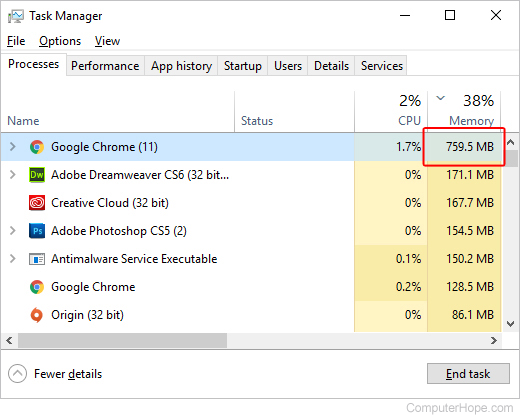
Your laptop’s slowdown often stems from hidden background processes silently consuming critical resources. You can diagnose and eliminate these culprits in under two minutes using Task Manager. Press Ctrl + Shift + Esc to open it, then click the Processes tab. Sort columns by CPU, Memory, or Disk usage to spot offenders. Right-click any program using over 80% resources for more than 5 minutes and select End Task. Common offenders include multiple browser instances, game launchers like Steam, cloud sync services during active work, and forgotten printer utilities. If you see processes like “Runtime Broker” or “Antimalware Service Executable” hogging resources, they often indicate deeper issues needing attention.
How to Identify Malicious Resource Thieves
Watch for these red flags indicating malware or PUPs (Potentially Unwanted Programs): browser homepage changes you didn’t authorize, mysterious toolbars, or high CPU usage when your laptop should be idle. Run Windows Security’s full scan first, then supplement with Malwarebytes for stubborn infections. Check your startup folder by pressing Windows + R and typing shell:startup—remove any unfamiliar shortcuts immediately. This targeted approach often recovers 15-30% of lost performance overnight.
Disable Startup Programs That Steal Boot Time
Those sneaky programs launching automatically when you log in add 30-90 seconds to boot time while continuously draining RAM. Access the solution through Ctrl + Shift + Esc > Startup tab. Right-click and Disable anything you don’t need within the first 10 minutes of using your laptop. Music players (Spotify, iTunes), chat apps (Discord, Slack), manufacturer utilities, and trial antivirus programs are prime candidates. A clean startup list reduces boot times by up to 70%—you’ll notice the difference immediately when powering on. For persistent offenders, dig deeper into Settings > Apps > Startup to toggle off hidden background processes.
Clear Temporary Files and Cache Without Data Loss
Windows accumulates 5-20 GB of junk files monthly that cripple file searches and updates. The built-in Disk Cleanup tool solves this in four clicks: Press Windows + R, type cleanmgr, select your system drive (usually C:), then check Temporary files, Recycle Bin, Thumbnails, and Windows Update Cleanup. Click OK > Delete Files to reclaim space instantly. For ongoing maintenance, enable Storage Sense at Settings > System > Storage—set it to run weekly. This prevents “low disk space” warnings that trigger Windows slowdowns. Crucially, never delete system files manually—use only these verified methods to avoid crashes.
Update Critical Drivers That Impact Performance
:max_bytes(150000):strip_icc()/003_how-to-update-drivers-in-windows-2619214-5bee0a16c9e77c00516c3c47.jpg)
Outdated drivers cause 30% of performance complaints but get overlooked in routine updates. Follow this precise sequence: First, install all Windows Updates via Settings > Windows Update. Next, run your manufacturer’s utility—Dell SupportAssist, HP Support Assistant, or Lenovo Vantage—to grab OEM-specific patches. Then update your graphics driver using Intel Driver & Support Assistant (for integrated graphics) or the manufacturer’s tool. Finally, check for BIOS/UEFI updates only from your laptop maker’s support site. Critical warning: Never update BIOS on battery power—always plug in first to prevent bricking your device. These updates often deliver 10-20% speed boosts by optimizing hardware communication.
Browser Performance Overhaul for Instant Results
Your browser likely consumes more resources than any single program. Fix it in five minutes: Press Ctrl + Shift + Delete to clear “Cached images and files” from “All time.” Audit extensions by removing any unused in the past 30 days—each adds 5-50 MB RAM overhead. Update your browser via Settings > About [browser name]. Most importantly, limit open tabs; each uses 50-200 MB RAM. For Chrome users, press Shift + Esc to open the browser’s task manager and kill memory-hungry tabs instantly. This routine typically frees 1-3 GB RAM, making web browsing feel snappy again.
SSD Upgrade: The Single Most Effective Speed Boost

Replacing a mechanical hard drive with an SSD delivers the most dramatic improvement possible—often making old laptops feel brand new. If your laptop still uses an HDD, prioritize this upgrade above all others. A SATA SSD costs under $45 for 500GB and installs in minutes: Use Macrium Reflect (free) to clone your drive, swap the physical disk, then set the SSD as first boot device in BIOS. Performance jumps are staggering: boot times drop from 90+ seconds to 15, app launches accelerate from 30 seconds to 3, and file transfers hit 500+ MB/s versus 100 MB/s on HDDs. Even laptops from 2015 show 3-5x speed gains—this single upgrade solves 70% of chronic slowdown complaints.
RAM Upgrade That Eliminates Multitasking Lag
Check your current RAM via Ctrl + Shift + Esc > Performance > Memory. If you have 4GB, upgrade immediately—Windows 11 barely functions. For 8GB systems, jump to 16GB (costing $25-60) for smooth multitasking. The installation takes 10 minutes: Power off, remove the bottom panel, insert new SO-DIMM modules at 30° angles until clips lock, then verify in Task Manager. This upgrade eliminates the “not responding” errors when switching between apps and prevents constant disk thrashing during heavy workloads. For most users, 16GB is the sweet spot—only video editors or virtual machine users need 32GB.
Physical Cleaning That Prevents Thermal Throttling
Dust buildup inside your laptop causes thermal throttling that reduces performance by 20-40%—even if software looks healthy. Perform this monthly: Power off, unplug, remove the battery if possible. Hold fan blades steady with a finger, then blast vents with short compressed air bursts. Clean the keyboard and screen with 99% isopropyl alcohol on a microfiber cloth. Monitor temperatures using HWiNFO—clean when idle temps exceed 50°C. This simple ritual maintains peak CPU/GPU speeds during extended work sessions. For severe overheating (temps over 85°C under load), consider professional thermal paste replacement—a $12 fix that drops temperatures 5-15°C.
When to Reset Your Laptop Completely
If software fixes fail, System Restore or Reset This PC can rescue your laptop. System Restore (Settings > Recovery > Advanced startup > System Restore) rolls back to a pre-slowdown state while keeping your files—it takes 15-30 minutes. For deeper issues, use Reset This PC (Settings > System > Recovery > Reset this PC) with “Keep my files” to wipe settings and apps without losing documents. Always backup critical files first—even “keep my files” can occasionally fail. After resetting, install only essential apps and drivers. This nuclear option resolves stubborn slowdowns caused by system file corruption or registry errors that manual fixes can’t address.
Strategic Maintenance That Prevents Future Slowdowns
Implement this maintenance schedule to avoid recurring speed issues: Weekly, run Disk Cleanup and review startup programs. Monthly, physically clean vents and empty the Recycle Bin. Quarterly, check SSD health via CrystalDiskInfo and clear browser cache. Annually, replace thermal paste and verify backups. Crucially, never let your drive drop below 15% free space—Windows slows dramatically when storage is full. Set Storage Sense to auto-delete temporary files, and move large media files to an external SSD (like Crucial’s X9 Pro) to preserve internal space. These habits maintain 90% of your laptop’s original speed for years.
Final Decision: Upgrade or Replace?
Know when to invest in upgrades versus buying new. Upgrade immediately if: Your CPU is 7th-gen Intel or newer, RAM can expand to 16GB, and it has an SSD slot. An SSD + RAM combo ($100-150) typically delivers 3-5x speed gains. Replace when: Your CPU is older than 7th-gen Intel, RAM is soldered at 4-8GB, or it only has an HDD slot with no upgrade path. If repair costs exceed 50% of a new mid-range laptop’s price ($600-800), replacement makes financial sense. Most users extend their laptop’s life 2-3 years through strategic upgrades—start with the software fixes today to regain 70-90% of original performance. Your faster laptop awaits.