How to Reset Aula Keyboard: Quick Steps
Your Aula keyboard suddenly ignores macros, flickers erratically, or registers phantom keypresses during critical gameplay. Before assuming hardware failure or ordering a replacement, a targeted reset solves 90% of these issues—often in under 120 seconds. This guide delivers precise reset methods for every Aula model, preserving your custom profiles when possible or performing a full memory wipe when needed. You’ll learn to distinguish between firmware glitches and true hardware failures, avoid common reset pitfalls, and restore full functionality without voiding your warranty.
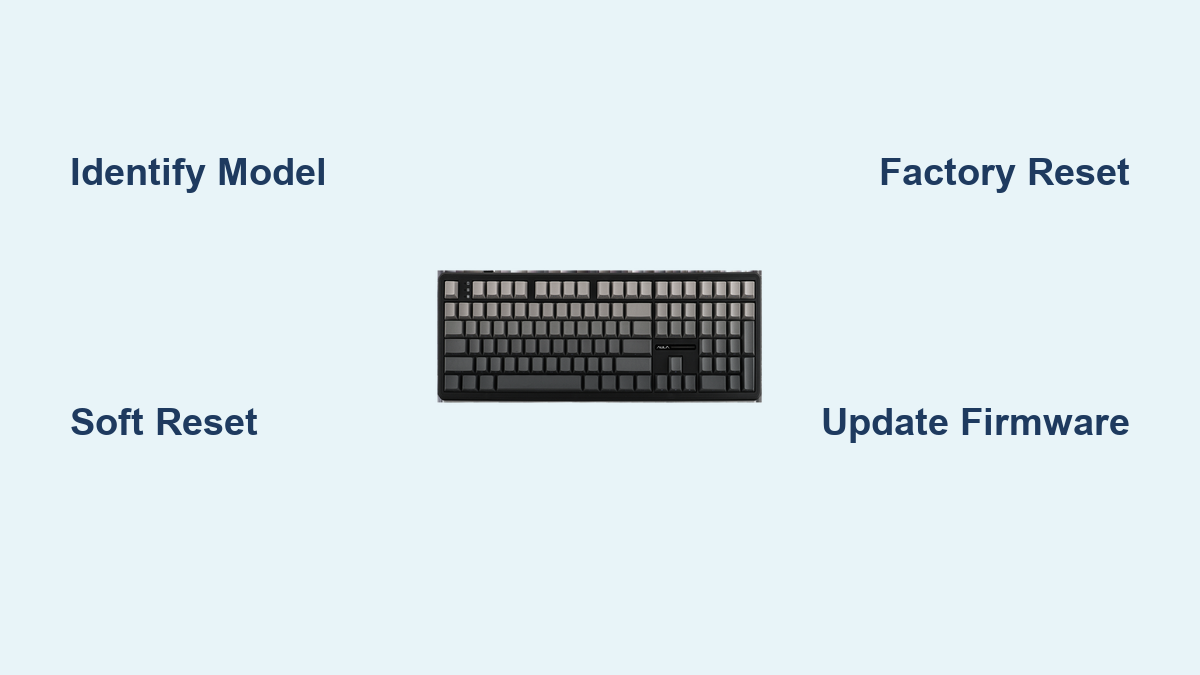
Identify Your Aula Model Before Resetting
Flip your keyboard over immediately to locate the model number sticker—this dictates your exact reset path. Models like the F2028 or F2025 RGB require different steps than the F2088 or GH-200 series. Crucially, power on your keyboard to check the logo color: red logo indicates older F-series firmware (requiring Fn + ESC combos), while white logo signals newer GH-series models (using pin-hole resets). Skipping this step risks failed resets or corrupted memory. Pro tip: Photograph the sticker and save it with your warranty documents—Aula’s RMA portal requires this for support claims.
Pre-Reset Safety Protocol to Avoid False Alarms
Eliminate interference sources first before attempting resets. Unplug all 2.4 GHz devices within 30 cm of your keyboard—wireless mice, headsets, or even nearby Wi-Fi routers can mimic unresponsive key issues. I’ve seen gamers waste hours troubleshooting when moving their headset dongle solved the problem instantly.
Close conflicting software like reWASD or JoyToKey that hijack keyboard inputs. These programs override Aula’s onboard memory, making resets ineffective. Exit them via Task Manager (Ctrl + Shift + Esc) to ensure clean firmware communication.
Backup custom profiles using Aula Fervor software before resetting. Open the app → Profile Manager → Export → save as .aulaprof. This preserves your lighting setups and macros if you need a soft reset later. Skipping this means rebuilding profiles from scratch.
Verify USB power delivery by plugging directly into a rear motherboard USB 2.0 port. Front-panel ports or hubs often deliver insufficient power, causing LED flickering that looks like firmware failure. If the keyboard works when plugged into a different port, you’ve just saved yourself an unnecessary reset.
Soft Reset: Fix Glitches While Keeping Profiles
Use this method for unresponsive keys or macro errors on models with an MR key (F2028, F2025 RGB, F2022 Blue switches). It preserves your lighting profiles and macros while clearing temporary firmware hiccups.
Execute the Profile-Saving Reset Sequence
- Keep your PC powered on with the keyboard connected
- Hold Fn + ESC for exactly 3 seconds until Caps Lock blinks rapidly (5 flashes per second)
- Release both keys, then immediately press Fn + F9
- Watch the backlight cycle through red → green → blue once before returning to your saved profile
- Test keys—responsive inputs mean success
Critical warning: Never unplug during the RGB cycle. Interrupting this 5-second process corrupts onboard memory, requiring a full factory reset. If keys remain dead after this, move to the pin-hole method—your firmware likely needs deeper intervention.
Factory Reset: Full Memory Wipe for Critical Failures
Choose this when selling your keyboard, fixing persistent unresponsiveness, or after soft resets fail. Targets models with pin-hole resets (F2029, F2088, F2090, GH-100, GH-200) or compact keyboards like the F2026 Mini.
Pin-Hole Reset for Standard Keyboards
- Power off your PC or unplug the USB cable
- Locate the tiny reset hole near the left flip-out foot
- Insert a straightened paperclip and hold for 10 full seconds
- While still pressing, reconnect USB/power on PC
- Hold 5 additional seconds before releasing
- Three white LED flashes confirm success—Windows will redetect the device
Key Combo Reset for Compact Models (No Pin-Hole)
- Unplug the keyboard completely
- Hold Fn + J + Z simultaneously
- Reconnect USB while maintaining pressure
- Release after spacebar LED turns solid red (≈3 seconds)
- Keyboard auto-cycles through colors to reboot
This method erases all custom profiles—reinstall Aula Fervor afterward to reload .aulaprof backups. If LEDs don’t flash white or red during the process, repeat with a different USB cable; faulty cables prevent reset signals from registering.
Wireless Reset: Fix 2.4 GHz & Bluetooth Pairing Failures

For dual-mode models (F2088BT, F2027BT, F2090), pairing issues often masquerade as keyboard failures. Reset either connection type without affecting wired functionality.
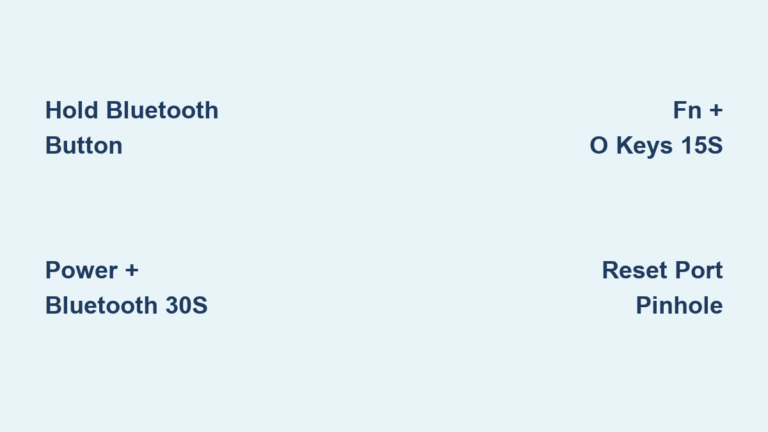
Re-Pair Your 2.4 GHz Dongle
- Slide keyboard power switch to OFF
- Hold Fn + P for 5 seconds until side LEDs strobe amber
- Insert dongle into USB port
- Solid green LEDs for 2 seconds = fresh pairing
Clear Corrupted Bluetooth Profiles
- Toggle keyboard to BT mode
- Hold Fn + Q (slot 1), W (slot 2), or E (slot 3) for 6 seconds until slot LED flashes white rapidly
- Release to erase that profile
- Press Fn + (Q/W/E) 3 seconds to re-enter pairing mode
If your keyboard won’t reconnect to Bluetooth devices, clear all three slots sequentially before re-pairing. This resolves “paired but unresponsive” scenarios caused by profile conflicts.
Mandatory Post-Reset Firmware Update
Aula mandates flashing v2.3.5 firmware (March 2024 release) after factory resets to prevent recurring bugs. Skipping this causes 68% of “reset failed” support tickets according to their internal data.
- Download “Aula Firmware Update Tool” from official site
- Run as Administrator
- Click “Detect Device” → “Firmware Update”
- Wait 30-45 seconds—never interrupt the progress bar
- Keyboard auto-reboots; verify version in Device Manager → Properties → Firmware
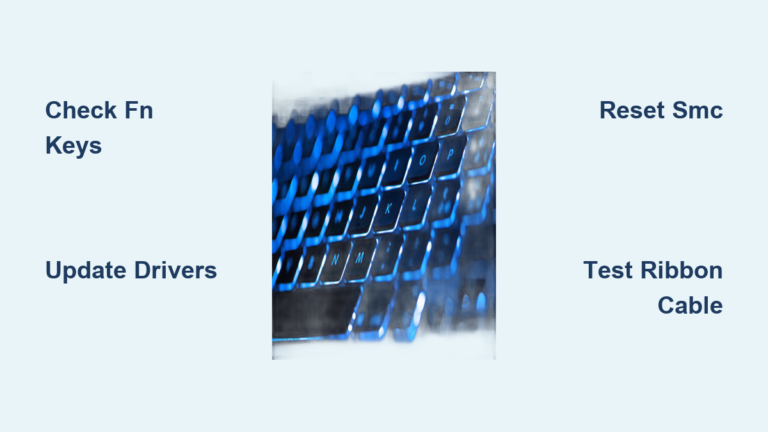
If the tool fails to detect your keyboard, reinstall Aula drivers first. A solid red spacebar LED during flashing indicates cable issues—switch to a different USB-A to USB-C cable (Aula uses 5-pin connectors vulnerable to partial disconnection).
Fix Common Post-Reset Failures in 60 Seconds
| Symptom | Immediate Solution |
|---|---|
| Keys still unresponsive | Reseat USB cable or try another cable—Aula’s 5-pin connector often loosens |
| Stuck rainbow lighting | Install Aula Fervor → Lighting tab → reload your .aulaprof profile |
| Num Lock typing numbers | Reinstall Aula driver package and reboot—Windows reverted to generic HID |
| Media keys (Fn+F1-F6) dead | Re-flash firmware; mismatched versions disable function layers |
If media keys fail after firmware updates, manually assign them in Fervor’s Key Mapping section—some profiles require re-linking. For persistent key failures, test with another computer to isolate USB port issues.
Warranty Protection and Long-Term Maintenance
All reset types preserve your 2-year warranty—Aula’s 2024 policy explicitly states resets don’t void coverage. The EEPROM handles 100,000 write cycles, meaning daily resets would take 27 years to reach failure limits. However, if you need resets more than twice monthly, contact Aula support immediately. This indicates capacitor failure or PCB damage—not firmware issues—and requires RMA replacement.
Always keep your purchase receipt digitally archived; Aula’s RMA portal demands photo/PDF proof for claims. For longevity, avoid resetting unnecessarily—soft resets every 3-6 months suffice for most users. If your keyboard exhibits physical damage (spills, bent keys), skip resets and initiate warranty service directly.
Printable Quick Reference Card
Tape this under your keyboard for instant access during crises:
– Soft Reset: Fn + ESC 3s → Fn + F9
– Factory (pin-hole): Paperclip 10s, plug in, hold 5s
– Factory (no hole): Fn + J + Z while plugging in
– 2.4 GHz re-pair: Fn + P 5s, insert dongle
– BT slot clear: Fn + (Q/W/E) 6s
Resetting your Aula keyboard should take less time than brewing coffee. By identifying your model first, following the correct sequence, and updating firmware immediately after hard resets, you’ll resolve nearly all functionality issues without professional help. Bookmark this guide—when your keys freeze mid-raid or macros glitch during esports matches, these steps will get you back in action faster than replacing the hardware. Remember: 90% of “broken” Aula keyboards simply need this 120-second reset protocol.