How to Replace Laptop Screen: Easy Guide
You’ve just powered on your laptop to find a spiderweb of cracks across the display after an accidental bump. Before resigning yourself to expensive repairs or premature replacement, know this: replacing a laptop screen is one of the most achievable DIY fixes for modern machines. With the right approach, you can restore crystal-clear visuals while saving 50-70% compared to professional services—all within 1-2 hours of your time.
This guide cuts through technical jargon to deliver actionable steps for any laptop brand or model. Whether you’re facing hairline fractures from minor impacts or complete display failure, we’ll walk you through precise diagnostics, part sourcing, and installation techniques that prevent costly mistakes. By the end, you’ll confidently transform your damaged device into a fully functional machine ready for years of reliable use.
Is Screen Replacement Worth the DIY Effort?
Evaluate cost versus longevity before grabbing tools. A quality replacement screen costs $60-$200 depending on resolution and touch capability, while professional repairs typically run $200-$500. The math favors DIY when your laptop is under 4 years old and meets current performance needs. Crucially, replacement costs should stay below 50% of your device’s market value—otherwise, consider new hardware.
Weigh these critical factors:
– Temporary fixes like screen patches rarely last beyond months and can worsen damage
– Full replacement restores 2-5 years of additional lifespan for functional hardware
– DIY risk balance: One misplaced screw or cable can cause new issues, but methodical work yields professional results
– Hidden benefit: Mastering this repair builds skills for future upgrades like SSD installation
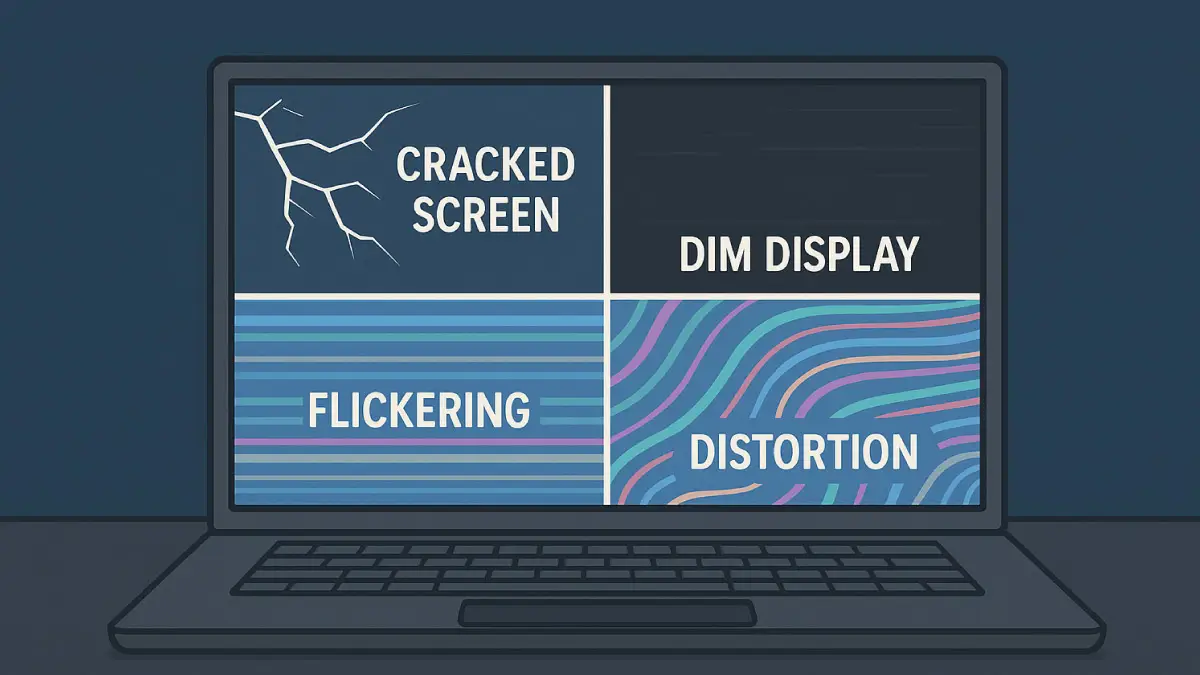
Diagnose Your Screen Issue Before Buying Parts
Physical Inspection Checklist
Start with hands-on verification. Cracks—even hairline fractures—require immediate replacement as pressure from closing the lid accelerates damage. Loose hinges or frayed cables near display edges often accompany screen failure and need simultaneous repair.
Confirm replacement necessity by checking for:
– Persistent flickering or flashing that continues after rebooting
– Vertical/horizontal lines across the display
– Clusters of dead pixels forming black spots
– Dim or completely dark display despite max brightness
– Working external monitor while laptop screen stays blank
Foolproof Compatibility Verification
Never assume screen specifications. Locate your exact panel model by:
1. Powering down and removing the bottom case
2. Finding the white sticker on the back of your current screen (often hidden behind adhesive)
3. Recording key specs: size (11″-17″+), resolution (1920×1080 minimum recommended), connector type (30-pin eDP most common), and touch capability
Cross-reference these details on eBay or Amazon using the full part number. Verify seller return policies—reputable vendors offer 30-day windows for compatibility issues.
Rule Out Software False Alarms
Eliminate non-hardware causes first:
– Connect an external monitor—if it displays properly, your GPU and OS aren’t faulty
– Boot into safe mode (hold Shift while clicking Restart on Windows) to check for driver conflicts
– Update graphics drivers through Device Manager; temporary fixes indicate software issues
Essential Tools and Workspace Setup

Professional toolkit under $30:
– Precision Phillips #0 and #1 screwdrivers plus Torx T5-T8 drivers
– Plastic spudgers (metal tools scratch screens)
– Anti-static wrist strap or mat (prevents electrostatic discharge damage)
– Small magnetic tray for screw organization
– Painter’s tape and marker for cable labeling
Optimize your workspace:
– Cover surfaces with soft microfiber towels to protect components
– Use a phone to photograph each disassembly step for reassembly reference
– Ensure bright, shadow-free lighting—critical for spotting tiny connectors
Step-by-Step Screen Replacement Process
Power Down and Battery Safety Protocol
Critical pre-disassembly steps:
1. Shut down completely (not sleep mode)
2. Unplug power adapter and remove external devices
3. Remove internal battery if accessible—most modern laptops require this
4. Hold power button 30 seconds to discharge residual electricity
Skipping these risks short-circuiting delicate components
Bezel Removal Without Broken Clips
Clip-friendly technique:
1. Insert plastic spudger at top corners where clips are weakest
2. Gently twist to release clips—never force as plastic snaps easily
3. Work clockwise around edges using guitar picks as wedges
4. Pro tip: Start at hinge-side corners first to avoid screen wobble
Save every plastic clip—they’re irreplaceable on most models
Screen Detachment and Cable Handling
Handle components like a pro:
1. Remove 4-6 mounting screws securing screen to brackets
2. Support the screen with one hand—it weighs 1-2 lbs
3. Lay display face-down on microfiber cloth
4. Disconnect cables in this sequence:
– Main LVDS/eDP ribbon cable (holds display image)
– Camera cable (prevents webcam failure)
– Wi-Fi antenna leads (if routed through display)
Check connectors for bent pins before disconnecting—replacing damaged cables costs extra
New Screen Installation and Testing
Avoid post-installation headaches:
1. Test-fit without cables: Verify alignment and mounting holes match
2. Connect LVDS cable first—listen for soft click indicating full seat
3. Route cables away from hinge pinch points using original pathways
4. Critical step: Reconnect battery briefly to test display before reassembling bezel
If flickering occurs, disconnect and reseat cables—90% of issues stem from loose connections
Avoid Costly DIY Mistakes

Rookie errors that destroy screens:
– Using metal tools that scratch LCD layers or crack glass
– Mixing screw lengths—long screws puncture new panels during reassembly
– Skipping anti-static protection causing invisible ESD damage
– Forcing cables that bend fragile connector pins
– Skipping preliminary testing leading to full disassembly redo
Prevention checklist:
– Label screw locations with painter’s tape as you remove them
– Take photos after removing each component group
– Store screws by size in segmented containers
– Test screen at 30% brightness first to avoid backlight stress
Post-Installation Optimization
Initial Setup for Longevity
Break in your new screen properly:
1. Run Windows/Mac color calibration tools to match factory settings
2. Limit brightness to 50% for first 24 hours preventing backlight overdrive
3. Update graphics drivers via Device Manager for optimal performance
4. Check dead pixels using online test videos within your return window
Daily Care to Prevent Future Damage
Extend screen lifespan:
– Always close lids gently—new panels crack under excessive pressure
– Clean with dry microfiber cloth only (no chemicals or liquids)
– Transport in padded sleeves to avoid hinge stress
– Apply screen protector immediately to prevent scratches
Troubleshooting Common Post-Replacement Issues
Screen Won’t Display
Immediate fixes:
1. Reseat LVDS cable—disconnect, inspect for bent pins, reconnect firmly
2. Verify correct screen model matches your laptop’s specs
3. Test with external monitor to isolate GPU issues
4. Check battery connection—weak power causes no-display scenarios
Persistent Flickering
Diagnostic sequence:
1. Disconnect/reconnect LVDS cable at both ends
2. Inspect cable routing for kinks near hinges
3. Update graphics drivers to latest version
4. Replace LVDS cable ($5-$15 part) if flickering continues
Touchscreen Malfunction
Digitizer-specific solutions:
1. Reconnect separate digitizer cable (usually blue or white)
2. Reinstall touchscreen drivers through Device Manager
3. Run Windows calibration tool (Settings > Devices > Touchpad)
4. Check for physical damage along screen edges if unresponsive
Warranty and Return Protocol
Protect your investment:
– Register new screen with manufacturer immediately—unregistered units void warranty
– Keep receipt and part number for 1-year parts warranty claims
– Professional shops typically offer 30-90 day labor warranties (DIY has none)
– Critical: Verify return policy before purchasing—reputable sellers accept returns for compatibility issues
Your laptop now powers on with pristine visuals, saving $200-$400 versus professional repair. This skill pays dividends—future cracked screens become quick fixes rather than expensive emergencies. Remember: methodical work beats speed. Take your time with each screw and cable, and you’ll achieve results rivaling certified technicians. That crisp display before you? It’s not just a repaired screen—it’s proof you’ve mastered one of tech’s most valuable DIY skills.