How to Optimize Gaming Laptop for Streaming | 2026 Guide
Your stream buffers during clutch moments, chat erupts with “lagging,” and your CPU thermometer hits critical levels. You’re sacrificing gameplay performance for viewership—and it’s costing you followers. This guide reveals exactly how to optimize gaming laptop for streaming so you can maintain 60 FPS gameplay while broadcasting professional-quality streams. No expensive hardware upgrades required—just strategic tweaks that transform your existing setup.
Most streamers waste hours trying random fixes that don’t address the real bottleneck: the delicate balance between gaming performance and encoding demands. Whether you’re broadcasting Fortnite victories or Just Chatting sessions, the right optimizations can slash CPU usage by 30% while improving stream stability. You’ll learn proven thermal management techniques, OBS settings that actually work, and network tweaks most streamers overlook.
Stop losing viewers to technical issues. By the end of this guide, you’ll have a streaming-optimized laptop that handles demanding games and broadcasts simultaneously—without the dreaded frame drops that kill viewer retention.
Essential Hardware Requirements Check Before Streaming
Your laptop’s specifications determine whether you’ll stream smoothly or struggle with constant buffering. Before adjusting settings, verify you meet these non-negotiable requirements. Open Task Manager (Ctrl+Shift+Esc) while gaming—if your CPU consistently exceeds 80% usage, you’re operating at dangerous levels for streaming.
Critical specs for stable streams:
– Processor: Intel i5-10400 or Ryzen 5 3600 (6 cores minimum)
– RAM: 16GB dual-channel configuration (32GB ideal for 1080p60)
– Graphics: GTX 1660 Ti or RX 5600M with 6GB+ VRAM
– Storage: 512GB NVMe SSD for games and OS, separate drive for recordings
– Network: Gigabit Ethernet connection (Wi-Fi 6 only as emergency backup)
How to Test Your Streaming Readiness
Run this quick diagnostic before your next stream: Launch your game at target settings, then open OBS with basic scene setup. Monitor these metrics for 10 minutes:
- CPU usage below 75% on all cores
- GPU temperature under 80°C
- RAM usage below 75% capacity
- Consistent 5+ Mbps upload speed
If any metric exceeds these thresholds, implement the thermal and network optimizations below before attempting to stream. Pushing beyond these limits guarantees dropped frames and stream instability.
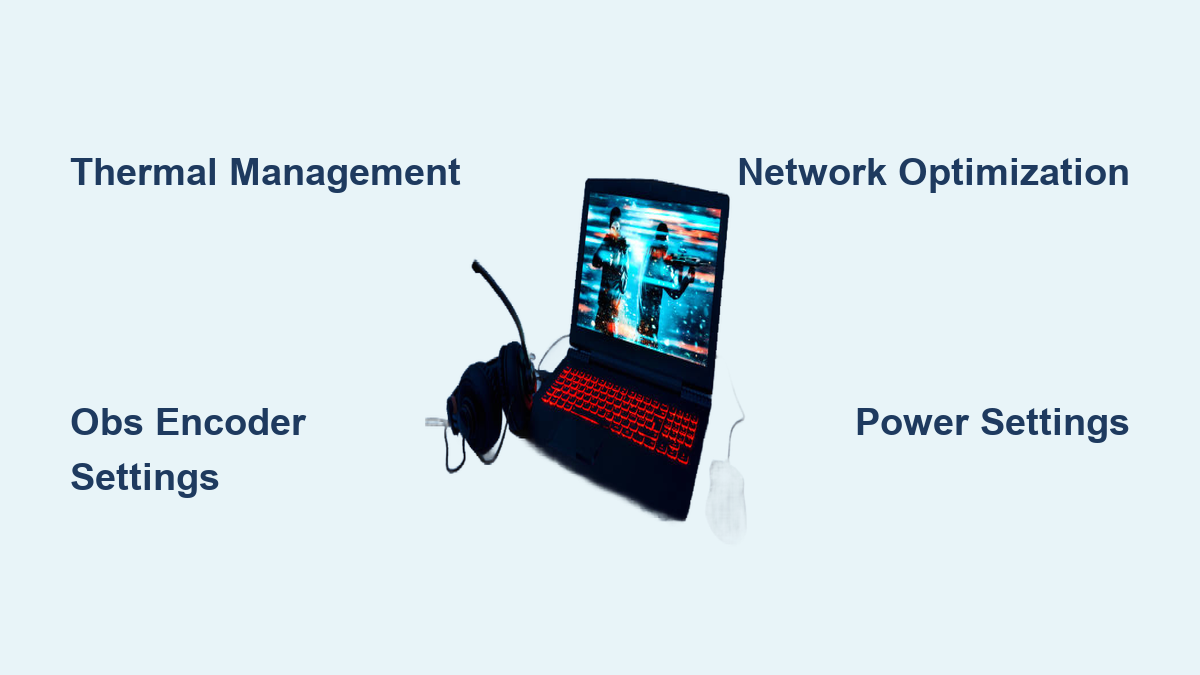
Thermal Management Fixes That Prevent Performance Collapse

Overheating remains the #1 cause of streaming failures on gaming laptops. When your CPU hits 95°C, thermal throttling slashes performance by up to 40%—exactly when you need it most. These proven cooling techniques maintain stable temperatures during marathon streams.
Immediate Cooling Upgrades You Can Implement Today
Replace thermal paste with Thermal Grizzly Kryonaut for a 10-15°C temperature drop. This $10 fix requires only basic screwdriver skills and pays immediate dividends. Elevate your laptop 2-4 inches using a stand or books—this simple airflow improvement drops temperatures by 5°C instantly. Install an active cooling pad with 140mm+ fans positioned directly under intake vents for maximum effect.
Software Thermal Controls for Sustained Performance
Undervolt your CPU using ThrottleStop—reduce voltage by 50-100mV without stability loss. Configure aggressive fan curves in BIOS or MSI Afterburner that ramp up fans starting at 50°C CPU temperature. Disable Windows Search indexing during streams to reduce background disk activity. Set CPU power limits to PL1=45W and PL2=65W for consistent performance without thermal spikes.
Pro Tip: Monitor temps in real-time with HWiNFO64’s sensor panel. If CPU exceeds 85°C or GPU hits 80°C, immediately reduce game settings before damage occurs.
OBS Studio Configuration That Maximizes Streaming Quality
Most streamers use default OBS settings that murder their performance. These battle-tested configurations balance visual quality with minimal resource consumption—ensuring smooth streams even on mid-range laptops.
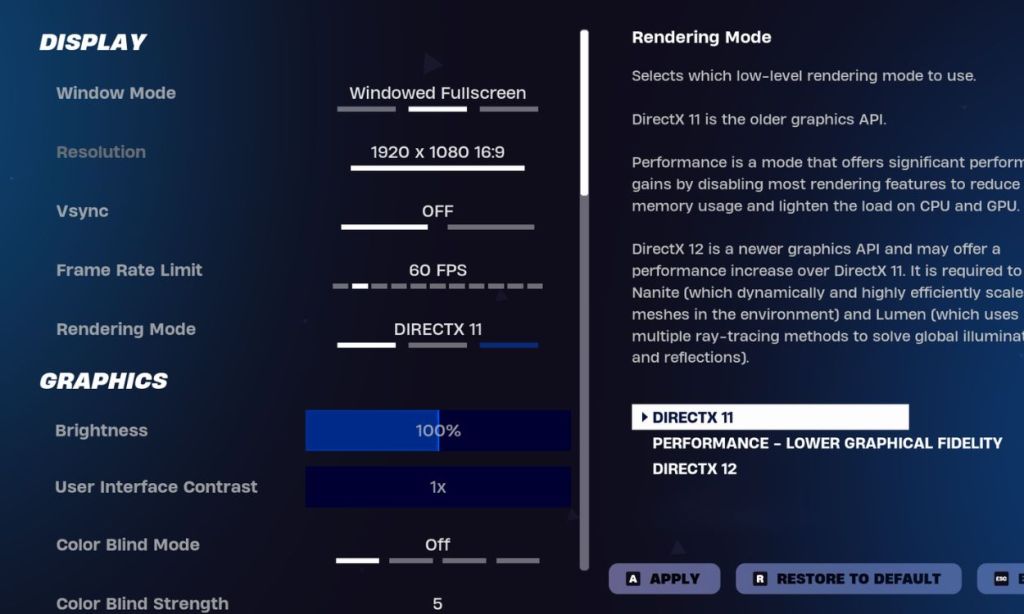
Video Settings That Prevent Frame Drops
Set base resolution to match your game (typically 1920×1080) but output resolution to 1280×720 for most streams. Use 60 FPS for action games, 30 FPS for slower content. Apply Lanczos downscale filter for quality streams or Bilinear when performance is critical. Most importantly, cap your game’s frame rate at 90 FPS when streaming at 60 FPS—this 10-15 FPS buffer prevents encoding overload.
Encoder Settings for Professional-Quality Streams
For Nvidia RTX 20-series+ users:
– Rate Control: CBR
– Bitrate: 6000 kbps (1080p60), 4500 kbps (720p60)
– Preset: Quality
– Look-ahead: On
– Psycho Visual Tuning: On
Critical mistake to avoid: Never use x264 encoding on laptops unless absolutely necessary—it consumes 30-40% more CPU resources than NVENC. Switching to hardware encoding often solves 80% of performance issues immediately.
Network Optimization That Eliminates Buffering

Your internet connection makes or breaks your stream quality. Most streamers test speed once and assume stability—but network conditions change constantly. These router tweaks guarantee consistent upload performance.
Router Configuration Steps You Must Implement
Enable Quality of Service (QoS) to prioritize your streaming laptop above all other devices. Forward essential ports: 1935 (RTMP), 80, and 443 for OBS connectivity. Switch DNS servers to 1.1.1.1 (Cloudflare) or 8.8.8.8 (Google) for faster domain resolution. Crucially: Separate your 2.4GHz and 5GHz networks and exclusively use 5GHz for streaming—its wider channels handle high-bitrate streams reliably.
Wi-Fi Optimization When Ethernet Isn’t Possible
If you must use Wi-Fi, configure these settings:
– Channel: 149 or 161 (5GHz DFS channels with least interference)
– Channel Width: 80MHz or 160MHz
– Security Protocol: WPA3-SAE if available
– Band Steering: Disable to force 5GHz connection
Test connection stability with PingPlotter before every stream—consistency matters more than raw speed. Anything over 50ms latency or 0.1% packet loss will cause stream instability.
Game-Specific Optimization Settings That Maintain Playability
Universal tweaks help, but game-specific adjustments deliver the biggest performance gains. These proven configurations maintain visual quality while freeing resources for streaming.
Fortnite Streaming Configuration
Set 3D Resolution to 85% when streaming at 720p (100% for 1080p streams). Disable Shadows and Anti-Aliasing completely—these settings consume disproportionate resources. Lower Textures to Medium and Effects to Low while keeping View Distance at Epic for competitive advantage. This configuration maintains 90+ FPS while streaming at 60 FPS with minimal visual impact.
Valorant Performance Tweaks
Set Material Quality to Low-Medium and Texture Quality to Low—these provide the biggest FPS gains with least visual impact. Disable Vignette and VSync while enabling Experimental Sharpening for clearer visuals. Keep Anti-Aliasing at MSAA 2x or Off to maximize frame rates during intense gunfights.
Power Management Settings That Unlock Hidden Performance
Windows power plans throttle performance by default—exactly what you don’t need during streams. These settings force maximum hardware utilization.
Enable Ultimate Performance Mode
Run Command Prompt as administrator and enter:
powercfg -duplicatescheme e9a42b02-d5df-448d-aa00-03f14749eb61
Then configure:
– Processor power management: 100% minimum and maximum
– PCI Express link state power saving: Off
– Hard disk timeout: Never turn off
– Sleep mode: Never
In Nvidia Control Panel, set Power Management Mode to “Prefer Maximum Performance” and Texture Filtering to “High Performance.” These changes prevent Windows from throttling your hardware during critical moments.
Monitoring and Troubleshooting Guide for Stream Stability
Professional streamers don’t guess—they measure. Implement this monitoring stack to catch issues before viewers notice.
Real-Time Metrics That Predict Stream Failure
Track these critical values during streams:
– CPU usage: Maintain below 80% total system load
– GPU temperature: Keep under 80°C at all times
– Dropped frames: Never exceed 0.1% in OBS stats
– Network jitter: Consistently below 5ms
When CPU usage spikes, immediately switch to NVENC encoding if using x264, reduce game graphics settings, or close background applications. For audio desync issues, set all applications to 48kHz sample rate and adjust OBS sync offset between -200ms to +200ms.
Final Note: Start with thermal management and OBS encoder settings—these solve 90% of streaming issues on gaming laptops. Implement changes one at a time while monitoring performance metrics. Within one stream session, you’ll transform from buffering disaster to professional broadcaster with stable, high-quality streams that retain viewers and grow your audience.