How to Make Keyboard Softer: Easy Tips
That jarring clack of mechanical keys piercing through your late-night coding session or early morning emails isn’t just annoying—it’s actively working against your productivity and comfort. If your keyboard sounds like a typewriter convention every time you type, you’re not alone. Millions of keyboard users struggle with excessive noise that disrupts focus, disturbs others, and even causes finger fatigue. The best part? You don’t need to replace your beloved board to transform it into a whisper-quiet typing experience. This comprehensive guide delivers exactly how to make keyboard softer using techniques that work for both mechanical and membrane keyboards, with most solutions taking less than 30 minutes and costing under $20.
Stop Keycap Bottom-Out Noise With O-Rings
Mechanical keyboard users know that harsh bottom-out sound all too well—the moment your keycap hits the PCB with an unpleasant clack. O-rings eliminate this problem by cushioning the impact without altering your typing feel significantly. Unlike thicker dampeners that reduce key travel distance, 1.5mm O-rings provide the perfect balance of noise reduction while maintaining your preferred actuation point. You’ll need one ring per key (approximately 100 for full-size keyboards), and installation takes just 15-20 minutes with basic tools.
Installing O-Rings Without Damaging Keycaps
The key to successful O-ring installation is proper placement and tension management. Many beginners stretch the rings too thin or position them incorrectly, causing inconsistent typing feel. Always place the O-ring in the groove just above the switch stem—never on the very top of the keycap stem. Use tweezers for precise placement on smaller keys like modifiers.
Critical installation tips:
– Soak O-rings in warm water for 30 seconds to increase flexibility
– Start with larger keys (spacebar, enter) before moving to smaller ones
– Test each key after installation to ensure consistent resistance
– Replace any keycaps that feel wobbly or unstable
Transform Your Keyboard Case With Strategic Foam

That hollow, echoey sound coming from your mechanical keyboard isn’t just the switches—it’s your case amplifying every keystroke like a tiny drum. Installing proper dampening foam inside your keyboard case absorbs these vibrations before they become noise pollution. Standard 4mm neoprene foam reduces overall keyboard volume by 30-40% while maintaining structural integrity—thicker foam risks putting pressure on your PCB.
Choosing and Cutting the Perfect Foam
Not all foam works equally well for keyboard dampening. Avoid cheap craft foam that degrades quickly—opt for closed-cell neoprene or sorbothane specifically designed for vibration absorption. The cutting process requires precision to avoid interference with internal components.
Foam installation checklist:
– Power down and unplug your keyboard completely
– Remove all keycaps and carefully separate the case halves
– Clean the interior surface with 90%+ isopropyl alcohol
– Cut foam pieces slightly smaller than the case cavity (1-2mm gap)
– Press firmly into place without overlapping switch mounting points
Upgrade to Silent Switches For Dramatic Results
If you’re serious about how to make keyboard softer, nothing beats installing dedicated silent switches. These specialized components contain built-in dampening pads that eliminate both bottom-out and top-out noise—the two primary sound sources in mechanical switches. Cherry MX Silent Reds, Gateron Silent Browns, and ZealPC Zilents deliver 60-70% noise reduction compared to standard switches while maintaining responsive typing characteristics.
Compatibility and Installation Considerations
Before ordering silent switches, verify compatibility with your specific keyboard. Most mechanical boards use Cherry MX-style stems, but Kailh Box switches require different silent variants. Hot-swap keyboards let you change switches in minutes, while soldered boards require desoldering skills.
Critical compatibility checks:
– Confirm your PCB supports 5-pin switches (most silent variants require this)
– Verify switch height matches your keycaps (some silent switches sit higher)
– Check if your keyboard has switch cutouts that might interfere
– Research community recommendations for your specific model
Lubricate Existing Switches Without Mushy Feel
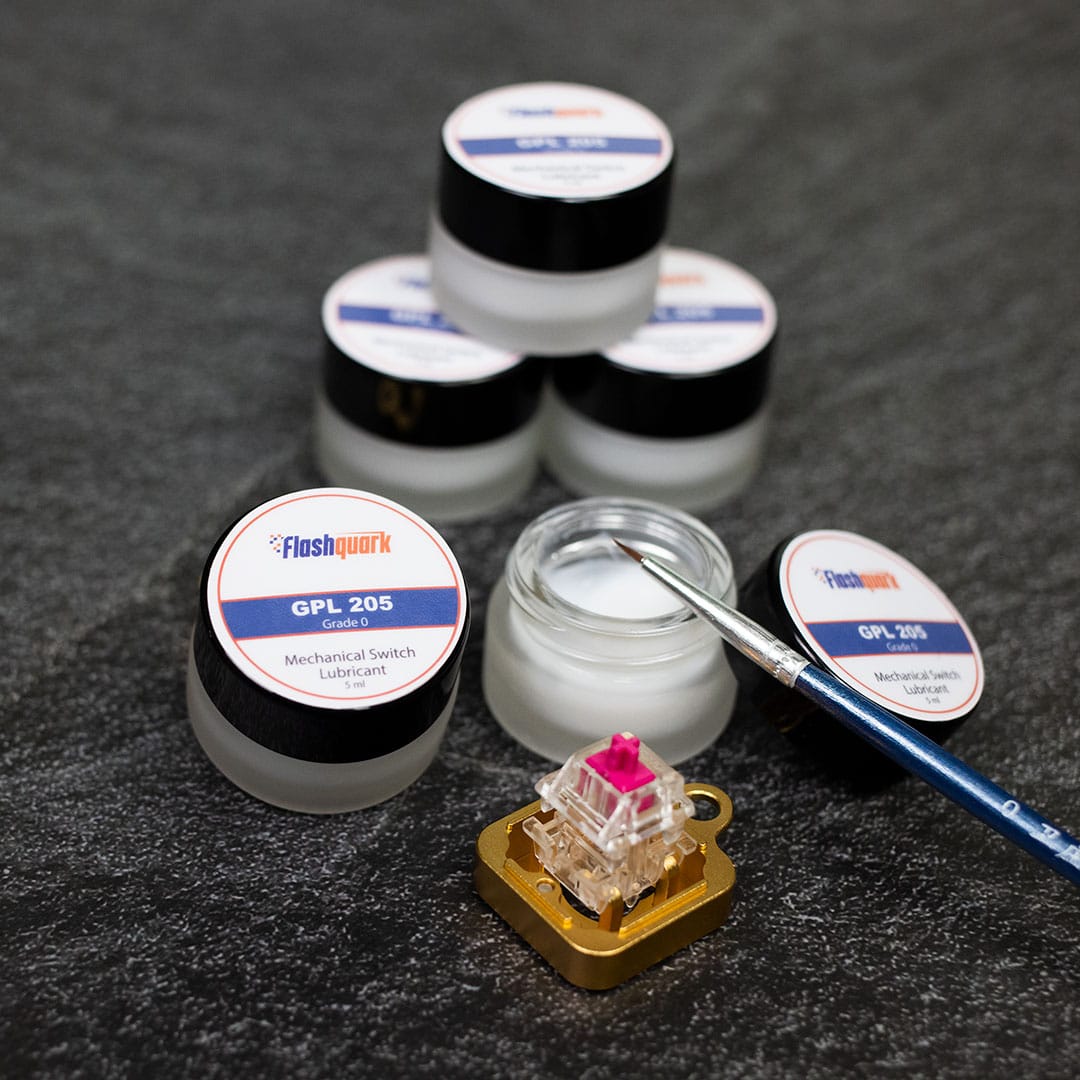
Switch lubrication dramatically reduces internal friction sounds that contribute to keyboard noise, but many users ruin their switches with improper technique. The secret lies in using the right lubricant for your switch type and applying it sparingly to critical contact points only. Linear switches benefit from Krytox 205g0 on stems, while tactile switches need lighter Tribosys 3203 on housing rails to preserve feedback.
Precision Lubrication Technique
Proper switch lubing transforms scratchy, inconsistent keystrokes into smooth, quiet operation. Start by removing one switch to practice your technique before committing to your entire board. Use a toothpick or micro brush for precise application—never dump lube directly into switches.
Lubrication sweet spots:
– Apply thin coat to switch stem where it contacts housing rails
– Add microscopic amount to spring coils to eliminate spring ping
– Lubricate stabilizer stems where they contact housing
– Avoid contact points between stem and housing top/bottom
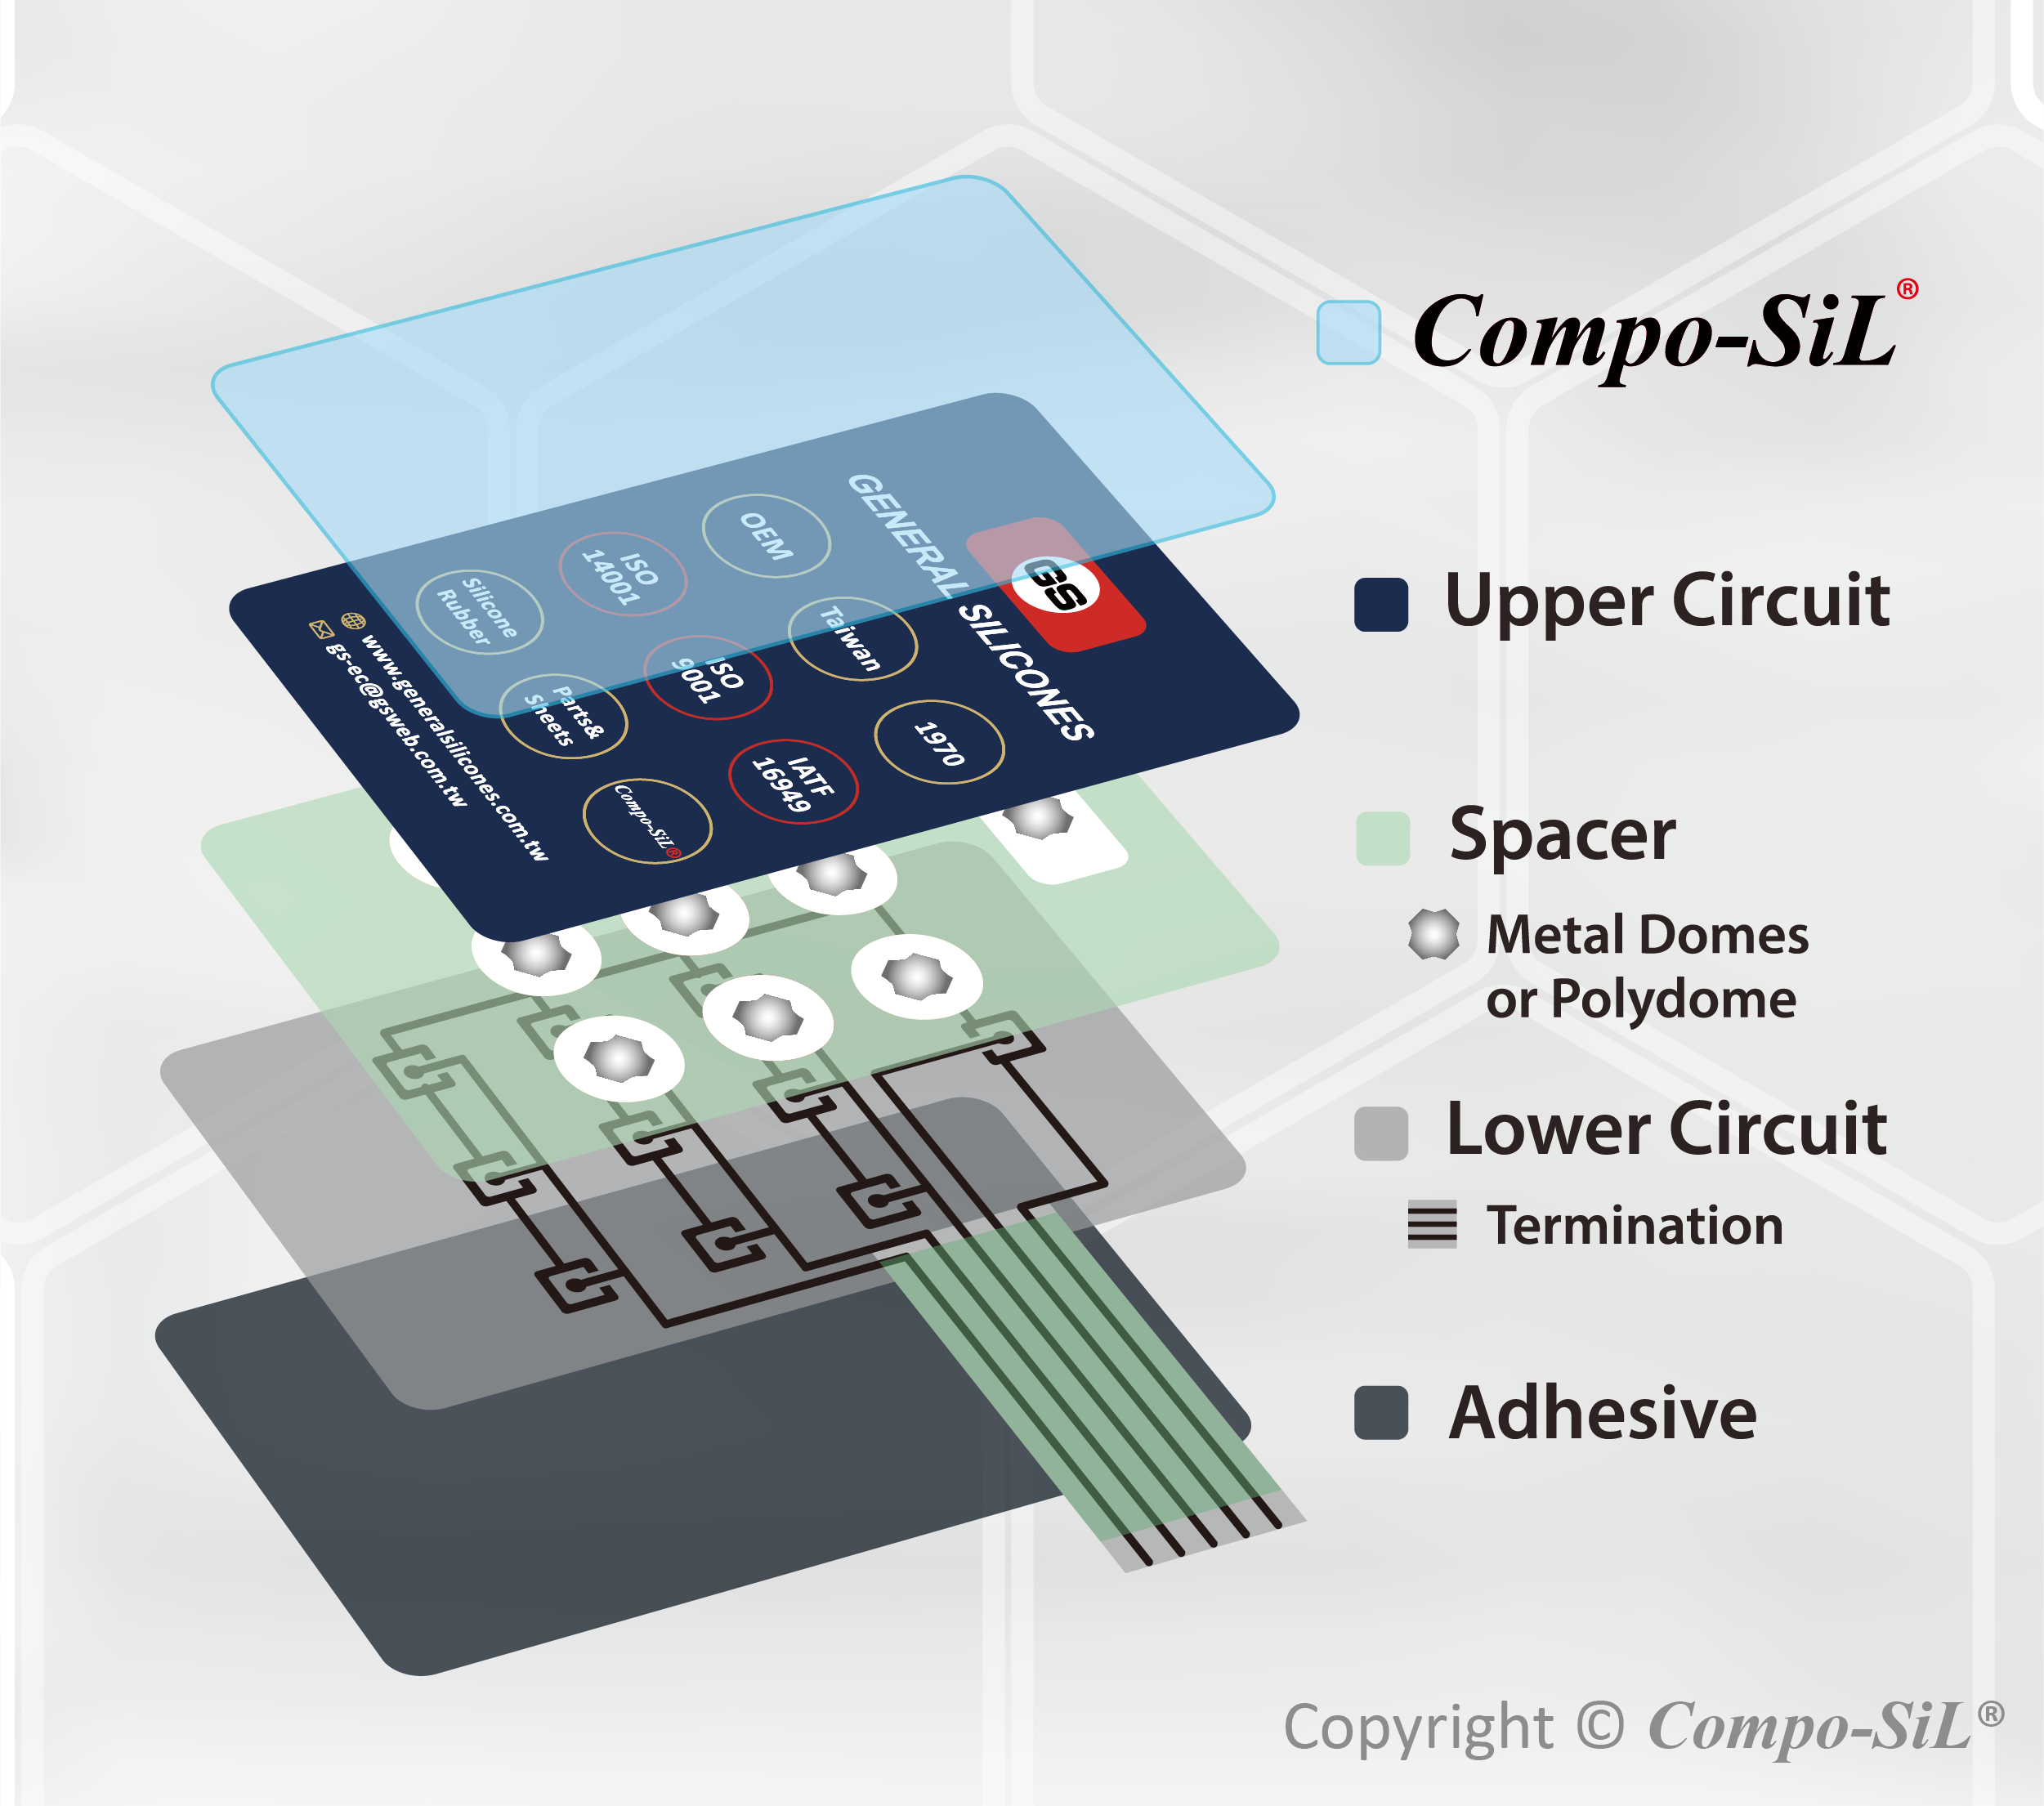
Membrane Keyboard Quietness Without Replacement
Unlike mechanical boards, membrane keyboards create noise primarily from the keycap slamming against the plastic case. The solution? A thin silicone damping layer between the membrane and case bottom that absorbs impact energy. A 1mm silicone sheet cut precisely to your keyboard’s dimensions transforms that harsh “thock” into a soft thud while maintaining full functionality.
Installing Membrane Damping Without Damage
Membrane keyboard modifications require extra care since you’re working with delicate rubber domes and membrane layers. Always power down completely and work on a clean, static-free surface. Remove keycaps carefully using a flat tool to avoid snapping stems.
Critical membrane mod steps:
– Take clear photos of assembly before disassembly
– Use plastic spudgers instead of metal tools
– Ensure no wrinkles or folds in the silicone sheet
– Test each key before final reassembly
– Allow 24 hours for any adhesives to cure fully
Budget Fixes That Actually Work Immediately
You don’t need specialized tools or technical skills to start reducing keyboard noise tonight. A thick desk mat (4mm+) with rubber backing absorbs vibrations before they transfer to your desk surface, reducing perceived noise by 20-25%. For membrane keyboards, a universal silicone cover costs $5-12 and provides immediate noise reduction—just ensure it’s 0.5mm thickness to maintain typing accuracy.
Household Item Hacks For Emergency Situations
When you need silence NOW and can’t wait for ordered parts, get creative with what’s already in your home. These temporary solutions provide noticeable improvement until you can implement permanent fixes.
Emergency quietness solutions:
– Cut mouse pad material to fit under keyboard
– Place folded tissue paper between keycaps and case
– Use dental floss around stabilizer wires to reduce rattle
– Apply small pieces of masking tape to keycap bottoms
Maintain Lasting Quietness With Proper Care
Even the best keyboard modifications degrade without proper maintenance. Dust and debris accumulating under keycaps increase switch noise over time by creating inconsistent resistance. Establish a cleaning schedule that prevents this buildup before it affects your typing experience.
Quarterly Deep Cleaning Protocol
Your keyboard deserves more attention than just blowing air between keys. Every three months, perform this deep cleaning routine to maintain optimal quietness:
- Remove all keycaps with proper puller technique
- Vacuum debris from switch housings using soft brush attachment
- Clean keycaps in warm soapy water (never dishwasher)
- Apply contact cleaner to any sticky membrane contacts
- Lubricate stabilizers if they’ve become scratchy
Final Note
Start with the simplest solution—adding a thick desk mat or installing O-rings—to immediately reduce keyboard noise by 30-40% without permanent modifications. If you’re still wondering how to make keyboard softer after trying these methods, consider that some mechanical keyboard noise is inherent to the design—complete silence would require switching to scissor-switch or laptop-style keyboards. Remember that typing technique significantly impacts noise levels; practicing lighter keystrokes that don’t bottom out keys completely reduces sound by up to 50% on its own. Test each modification on a few keys first to ensure compatibility with your typing style, and document your results to identify what works best for your specific keyboard and usage patterns. Within an hour and under $20, you can transform your noisy keyboard into a smooth, quiet typing companion that respects both your focus and your household’s peace.