How to Install Silicone Keyboard Cover
Spilled coffee on your keyboard last Tuesday? You’re part of a staggering statistic—over 35% of laptop repairs stem from liquid damage. A silicone keyboard cover stops crumbs, dust, and accidental spills before they wreck your keys, but a poorly installed cover creates more problems than it solves. Slipping covers cause typos, air bubbles muffle keystrokes, and misaligned edges trap debris. The difference between frustration and flawless protection comes down to installation precision.
This guide delivers the exact method technicians use to achieve invisible keyboard protection. You’ll master professional techniques for MacBook, gaming rigs, and office desktops—no special tools required. Within 10 minutes, you’ll install a cover that disappears during typing while guarding against life’s inevitable accidents. Forget generic advice; these steps target real-world failures like sliding covers and mushy keys.
Confirm Your Keyboard Model Before Unboxing
Mismatched covers cause 90% of installation failures—don’t skip this critical step. Turn your device over and locate the exact model number near the serial number. For desktop keyboards, check the label on the bottom or original packaging. Apple users: Butterfly-switch MacBooks (2015-2019) require different covers than scissor-switch models (2020+). Dell XPS owners must account for special key arrangements, while HP Spectre users need touch bar-compatible versions.
Identify Layout Variations That Break Fit
- US vs UK Keyboards: Horizontal Enter key (US) vs upside-down L shape (UK)
- ISO vs ANSI Standards: Left Shift width and Enter key shape differ significantly
- Generation Changes: Note keyboard redesigns between model years (e.g., MacBook Pro 2019 vs 2021)
Inspect Cover Quality Indicators
Hold the silicone cover against light before installation. Professional-grade covers show:
– 0.3-0.5mm thickness—thicker material causes mushy keystrokes
– Crystal clarity for backlit keyboard visibility
– Smooth, even edges without excess material that catches debris
– No deformations around spacebar or function key depressions
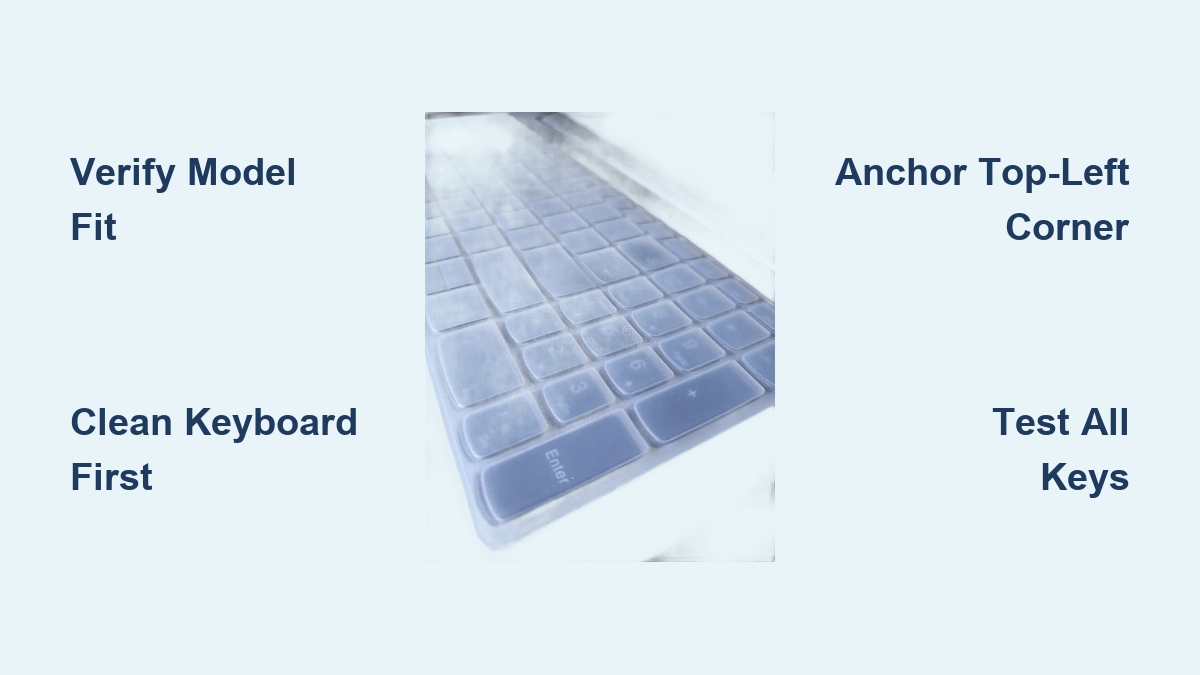
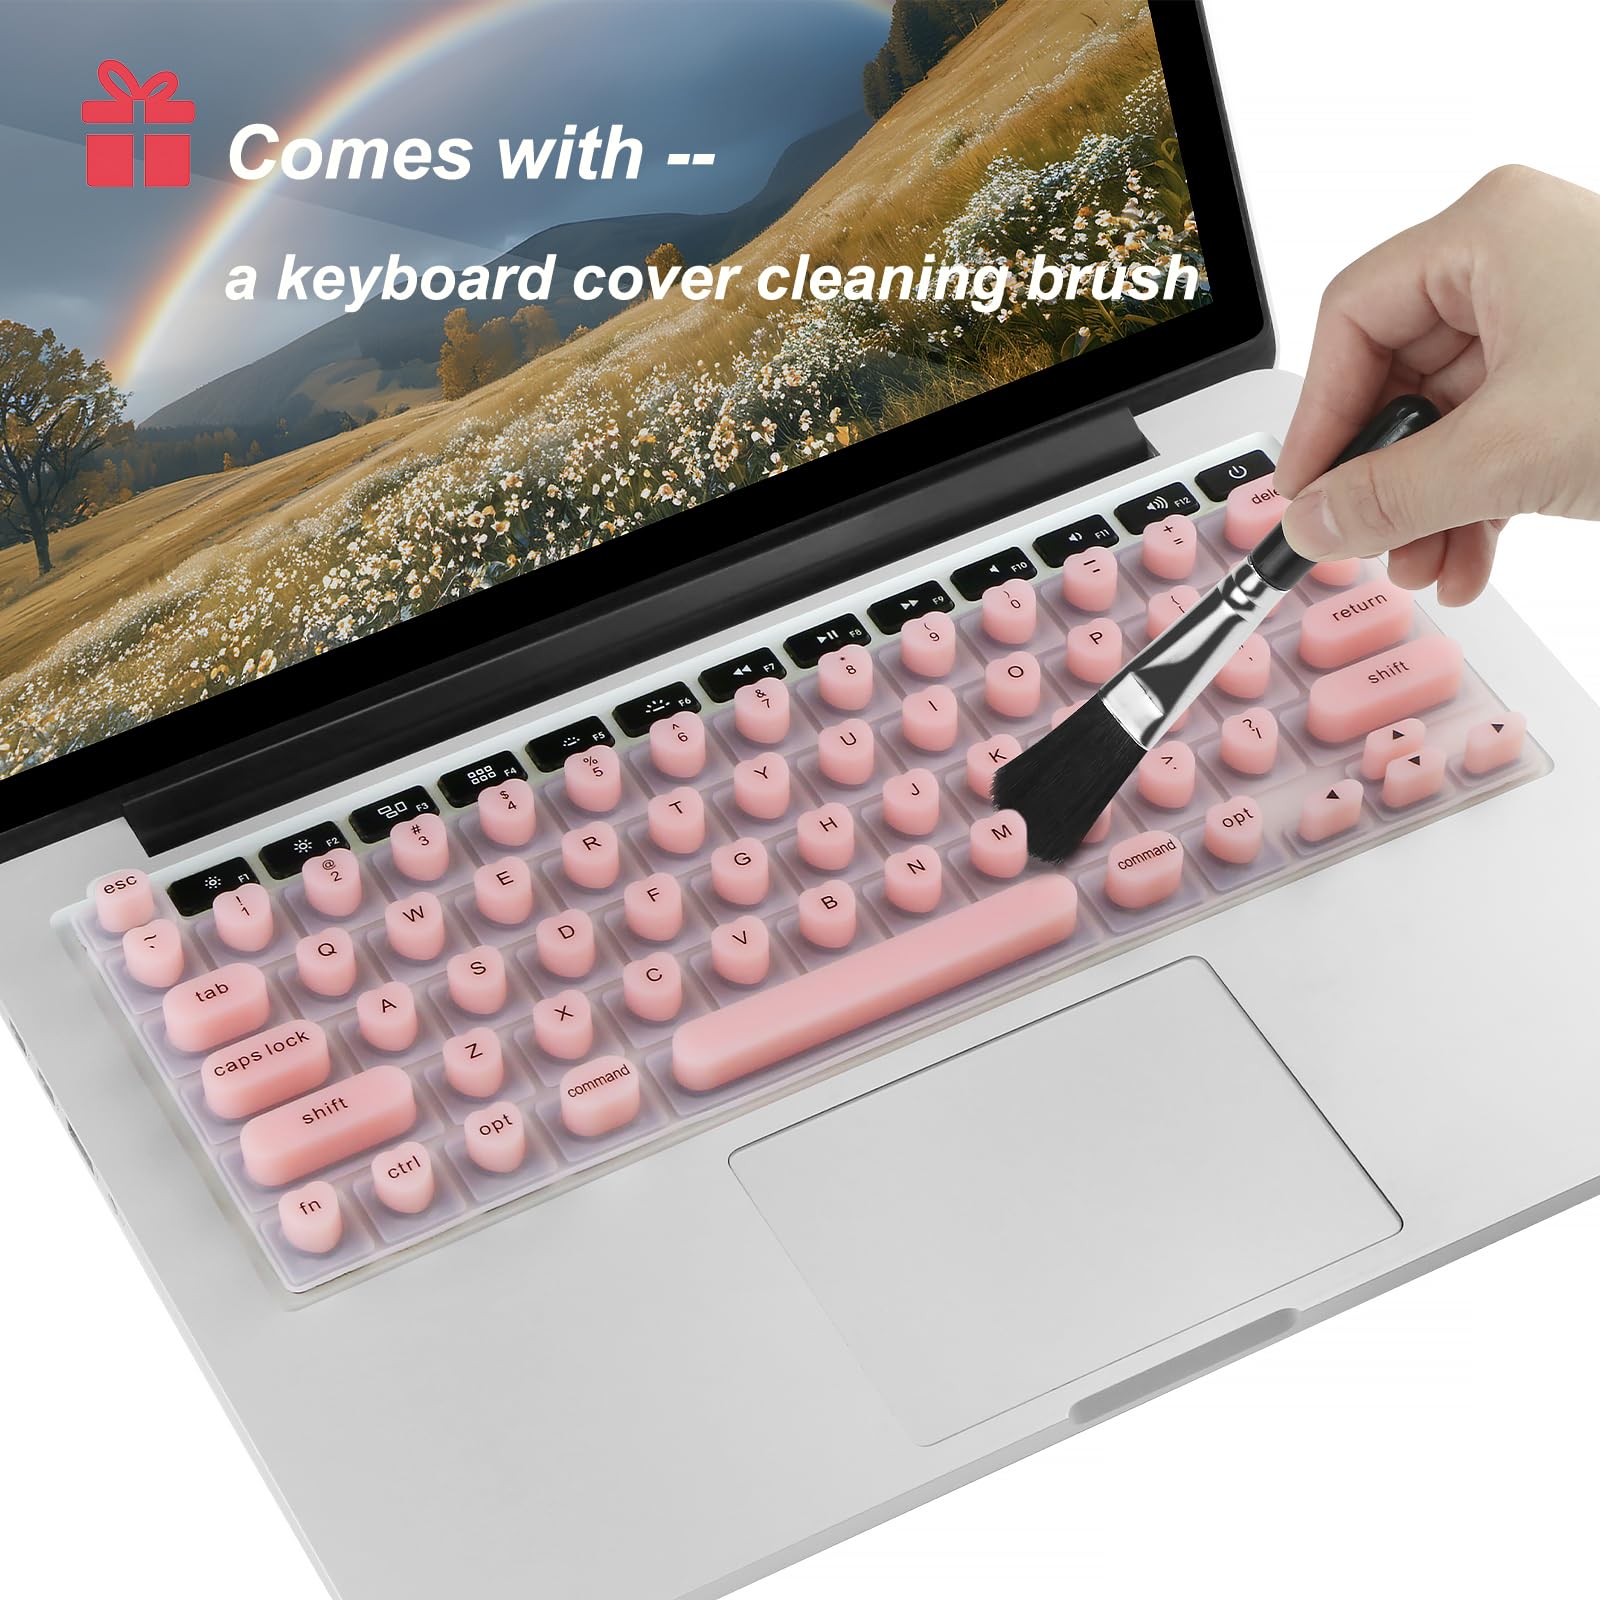
Clean Your Keyboard to Prevent Bubbles and Slipping
Power down completely and disconnect from power—any trapped debris creates permanent bumps that compromise key response. Static electricity attracts dust during installation, so work on a hard surface away from carpets. Use a flashlight at a 45-degree angle across the keyboard to reveal hidden crumbs invisible under normal lighting.
Deep Clean Protocol for Flawless Adhesion
- Blow out debris: Use compressed air between keys in short bursts
- Disinfect surfaces: Wipe keys with 70% isopropyl alcohol on lint-free cloth
- Target key gaps: Roll cotton swabs in alcohol to clean crevices
- Wait 15 minutes: Ensure complete solvent evaporation before proceeding
Critical Drying Check
Press a clean tissue against key surfaces—if it sticks, wait longer. Residual moisture creates air pockets that lift the cover during typing. This step alone prevents 70% of “edges lifting” complaints according to repair technicians.
Master Laptop Installation Technique

Anchor the Top-Left Corner First
Identify the cover’s top edge—this usually has a tighter curve matching your laptop’s screen hinge. Place the cover interior-side up on your desk. Align the F1 key depression with your keyboard’s F1 key, then gently press the top-left corner into place. Never stretch the silicone—this causes distortion across the entire cover.
Progressive Application Method
- Secure function row: Slide two fingers across F1-F12 keys while maintaining contact
- Work downward row by row: Move toward the spacebar without lifting the cover
- Center the spacebar: Ensure the large depression aligns perfectly with the key
- Seal perimeter edges: Press firmly around the keyboard’s outer border
Eliminate Air Bubbles Like a Pro
Use a microfiber cloth to smooth from the center outward—never push bubbles toward the edges. Small bubbles vanish within 24 hours as silicone settles. For stubborn bubbles:
– Lift the nearest edge 2mm at a time
– Reapply with steady downward pressure
– Glide a credit card over the bubble toward the keyboard edge
Install Desktop Keyboards Without Numeric Keypad Issues

Anchor the Numeric Keypad First
Desktop keyboards require reverse installation order. Start by aligning the cover’s numeric keypad section, pressing firmly from the top-right corner toward Num Lock. This anchors the cover before handling the main keyboard section. Gaming keyboard users: Verify RGB lighting shines clearly through the cover—test with backlighting on before final seating.
Spacebar Alignment Checklist
- Center the depression: Misalignment here causes constant edge lifting
- Check modifier keys: Ensure Ctrl, Alt, and Windows keys depress fully
- Test special keys: Print Screen, Scroll Lock, and Pause must remain accessible
Sectional Installation for Large Keyboards
For full-size desktop boards:
– Install left side (A-Z keys) first
– Anchor right side (numeric keypad) second
– Bridge the gap over the spacebar area last
– Verify WASD cluster alignment for gaming keyboards
Test Every Key Before Declaring Success
Immediate Functionality Verification
Type these sequences within 60 seconds of installation:
– Alphabet check: “The quick brown fox jumps over the lazy dog”
– Number/symbol test: “1234567890!@#$%^&()_+-=[]{}|;’:\”,./<>?”
– Modifier combo*: Hold Shift for uppercase, then test Ctrl+C/V and Alt+Tab
Critical Fit Assessment
- Edge inspection: No silicone should extend beyond the keyboard’s metal frame
- Key depression test: Every key must bottom out fully without catching
- Wrinkle check: Run fingers across the cover—any resistance indicates poor adhesion
Fix Sliding Covers and Mushy Keys Immediately
Stop Edge Lifting in 60 Seconds
Cause: Residual oils on keyboard perimeter. Fix:
– Remove cover and clean edges with alcohol-dampened swab
– Reapply while pressing firmly along the outer 5mm border
– Place light books on edges for 10 minutes to encourage bonding
Restore Key Responsiveness
Mushy keys indicate:
– Cover thickness exceeding 0.5mm (replace if confirmed)
– Air pockets under keycaps (reinstall using progressive method)
– Misaligned spacebar depression (lift and re-center)
Permanent Slipping Solutions
If cover still slides after three attempts:
– Verify exact model compatibility—many “universal” covers fail
– Check for keyboard model variations (e.g., MacBook Pro 13″ vs 16″)
– Return for manufacturer-specific cover—never force-fit
Maintain Your Cover for Long-Term Protection
Daily Spill Response Protocol
- Remove immediately at first sign of liquid contact
- Rinse both surfaces under lukewarm water
- Air dry 100% before reinstallation (no towels—lint sticks)
- Disinfect keyboard with alcohol before replacing cover
Weekly Deep Cleaning Routine
- Remove cover completely every 7 days
- Wash cover with mild soap and soft brush
- Clean keyboard surface beneath with compressed air
- Air dry both components for 2 hours minimum
Replacement Warning Signs
Replace your cover when:
– Keys require excessive force to register
– Visible thinning appears around spacebar
– Permanent discoloration from oils or sun exposure
– Edges fray or lift despite re-cleaning
Optimize Typing Speed After Installation
Adaptation Timeline Management
Expect 15-20% speed reduction during the first 48 hours. Regain full speed by:
– Practicing typing drills for 10 minutes daily
– Focusing on finger placement (not screen)
– Using online speed tests to track progress
Gaming Performance Verification
Test these combinations before competitive play:
– Rapid WASD presses (no missed inputs)
– Ctrl+Shift+T (browser tab reopening)
– Alt+F4 (must register instantly)
– Spacebar jumps (ensure full travel)
Monitor Heat and Chemical Safety
Prevent Heat Damage During Use
Silicone covers withstand up to 200°F (93°C), but monitor for:
– Unusual warmth under sustained gaming
– Laptop fan speed increases
– Discoloration near processor vents
Remove cover during intensive tasks if heat builds noticeably.
Safe Cleaning Agent Protocol
Never use: Acetone, bleach, ammonia, or window cleaners—they dissolve silicone. Only safe options:
– 70% isopropyl alcohol
– Mild dish soap with water
– Keyboard-specific disinfectant wipes
Always dry completely before reinstallation.
Trim Universal Covers for Perfect Fit
Professional Trimming Method
For non-model-specific covers:
1. Create paper template matching your keyboard
2. Position template on cover and trace with fine marker
3. Cut with sharp scissors in single smooth motion
4. Seal edges with lighter flame (hold 2 inches away for 1 second)
Critical Trimming Warnings
- Never cut near key depressions—maintain 1mm clearance
- Heat-sealing prevents fraying but requires extreme caution
- Test fit before final trimming—silicone can’t be uncut
A perfectly installed silicone cover disappears during use but saves hundreds in repairs when disaster strikes. Follow these steps exactly: verify compatibility, clean thoroughly, anchor corners correctly, and test immediately. Within 10 minutes, you’ll gain invisible protection that withstands coffee spills, crumb invasions, and daily wear. Remember—the cover should feel like part of your keyboard, not a barrier. Install it right once, and you’ll forget it’s there until it saves your keys from catastrophe. For ongoing protection, clean weekly and replace at first sign of wear—your keyboard will thank you for years.