How to Clean Computer Keyboard: Quick Steps
Sticky keys, sluggish responses, and crumbs spilling from your keyboard aren’t just annoying—they’re productivity killers. If you’ve ever battled coffee spills, pet hair, or years of dust buildup beneath your keys, you know how frustrating a dirty keyboard can be. Proper how to clean computer keyboard techniques restore typing precision, prevent costly replacements, and extend your device’s life. Whether you’re dealing with a mechanical gaming rig, a MacBook’s delicate butterfly mechanism, or a standard office keyboard, this guide delivers tested solutions for every scenario. You’ll learn exactly which tools to use, how to avoid common pitfalls, and why rushing the drying process causes more harm than good.
Ignoring keyboard grime accelerates wear, traps bacteria, and can even trigger permanent damage. Studies show keyboards harbor more germs than toilet seats, yet most users wait until keys stick or malfunction before cleaning. By following these targeted methods, you’ll revive responsiveness in under an hour for basic cleanings—and tackle deep-seated debris without voiding warranties. Let’s transform your typing experience with steps proven safe for every keyboard type.
Essential Safety Steps Before Cleaning
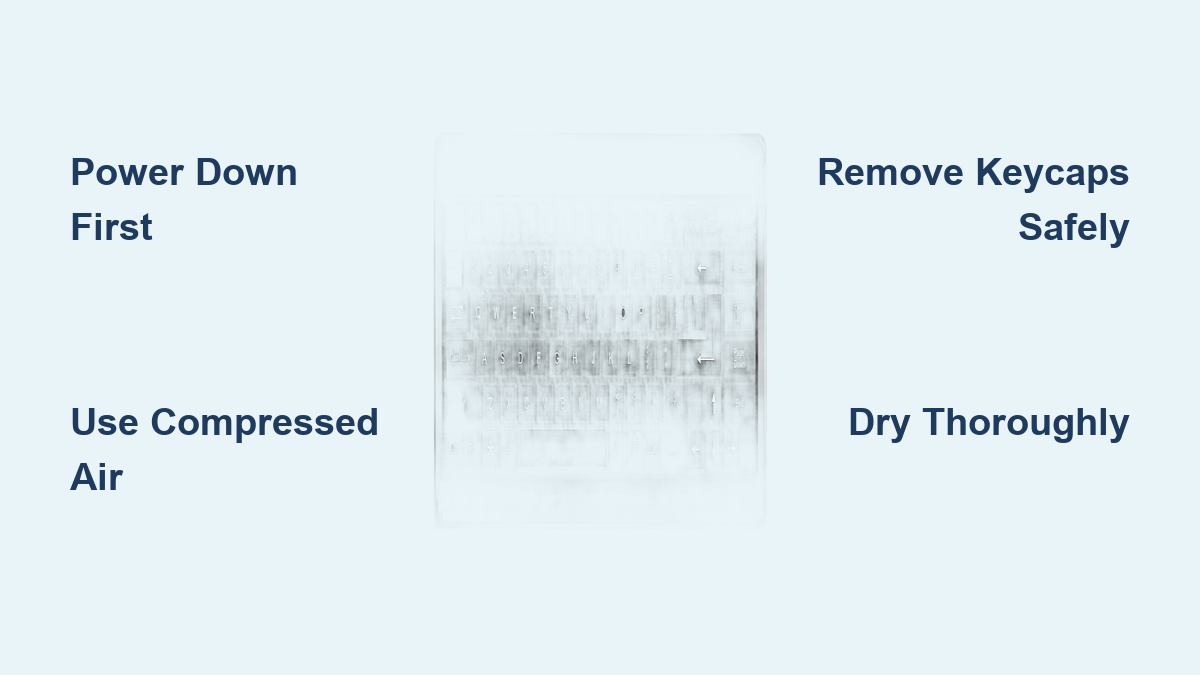
Always disconnect and power down completely before touching your keyboard. For wired models, unplug the USB cable from your computer. Wireless keyboards need their batteries removed or power switches turned off. Laptop users must shut down the system and unplug the charger—never clean while powered on, as stray key presses could delete files or alter settings. Skipping this risks short circuits or accidental data loss.
Assess your keyboard’s condition first to choose the right approach. Check for unresponsive keys, visible crumbs between keys, sticky residue, or discoloration. Identify your type: standard external (most office keyboards), laptop-integrated (like Dell or HP models), mechanical (with removable keycaps), or Apple’s butterfly mechanism (MacBooks from 2015–2019). Using aggressive methods on delicate keyboards—like prying off MacBook keys—can cause irreversible damage.
Why Skipping Safety Causes Disaster
Attempting to clean a connected keyboard might send your cursor wildly across the screen, triggering unwanted commands. Moisture trapped near circuits from incomplete drying can corrode contacts over time. One user reported frying their USB port after wiping keys with a damp cloth while the laptop remained plugged in. Always verify power is fully off using multiple checks: unplug cables, remove batteries, and confirm no indicator lights glow.
Quick Debris Removal Methods for Daily Maintenance
Shake and Air Technique for Loose Crumbs
Flip your keyboard upside down over a trash can and shake gently for 10–15 seconds to dislodge loose debris. Hold a compressed air canister ½ inch from the surface, spraying in short left-to-right bursts. Rotate the keyboard 90 degrees and repeat from all sides—this reaches debris trapped in corners most users miss. Never tilt the canister while spraying, as propellant liquid can leak onto keys. For stubborn crumbs stuck under keys, angle the air straw at 45 degrees and blast from multiple directions.
Surface Wipe Down for Fingerprints and Dust
Dampen a microfiber cloth with water only (never spray liquid directly on keys). Wipe key surfaces using light pressure, moving in one direction to avoid pushing grime deeper. For oily fingerprints, add one drop of dish soap to a cup of water and re-dampen the cloth. Focus on space bars and letter keys touched most—these collect 80% of surface grime. Dry immediately with a second clean cloth. Skip paper towels; their fibers scratch keytops over time.
Deep Clean External Keyboards Without Damage

Remove Keycaps Safely for Mechanical Models
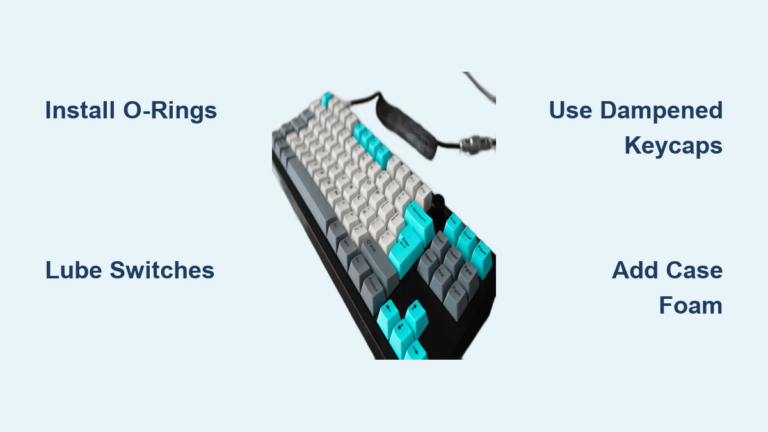
Snap a photo of your keyboard layout before removing any keys—this prevents reassembly errors. Use a plastic keycap puller (or a butter knife wrapped in cloth) to lift keycaps straight up. Start with larger keys like Shift or Enter, as they’re easier to handle. Never yank keys sideways; this bends stabilizer wires. For non-mechanical keyboards, skip removal—prying keys risks breaking plastic hinges.
Soak and Scrub Process for Grimey Keycaps
Submerge removed keycaps in warm, soapy water for 30 minutes. Scrub textured areas with a soft toothbrush to lift oil buildup—this dissolves the “tacky” film caused by hand oils. Rinse under cool water and air-dry on a towel for 24 hours minimum. Rushing this step leaves moisture in crevices, causing electrical shorts when reinstalled. Pro tip: Add a splash of white vinegar to water for discolored keycaps—it lifts stains without bleach’s risks.
Laptop Keyboard Care for Apple and Windows Models
MacBook Butterfly Mechanism Cleaning Protocol
Hold your MacBook at a 75-degree angle (not vertical) to prevent debris from falling deeper. Spray compressed air horizontally across keys in 2-second bursts, then rotate the laptop to spray from the right and left sides. If keys remain sticky after three attempts, stop immediately—DIY fixes often void Apple’s warranty. Visit an Apple Store; technicians use specialized tools to clean butterfly mechanisms safely.
Standard Laptop Cleaning Without Liquid Damage
Power down completely and unplug all cables. Spray compressed air between keys while holding the can upright. For sticky residue, dampen a cotton swab with 99% isopropyl alcohol and wipe key edges—never saturate the swab. Wait 4 hours before powering on; moisture hides in keyboard membranes and causes ghost typing if rushed. Avoid disinfecting wipes—they often contain bleach that yellows key legends over time.
Fix Sticky Keys Fast With Precision

Identify and Target the Culprit
Sticky keys usually stem from spilled soda, food crumbs, or dried cleaning residue. Remove the affected keycap if possible (skip this for non-removable laptop keys). Inspect the keycap’s underside and switch housing—sugar residue appears shiny and sticky, while crumbs look like dark specks.
Clean and Restore Responsiveness
Soak the keycap in soapy water for 10 minutes, then scrub with a toothbrush. For the switch housing, use an alcohol-dampened cotton swab to wipe the stem and base. Dry both parts for 2 hours before reassembly. Test by pressing the key 10 times—if resistance remains, repeat cleaning. Never use acetone or nail polish remover; these melt plastic key stems.
Prevent Yellowing and Discoloration Long-Term
Yellowed keys stem from UV exposure, nicotine, or aging plastic—not just dirt. For mild discoloration, rub keys with a cotton swab dipped in a 1:10 bleach-water solution. Wipe immediately with a damp cloth to prevent chemical damage. Always test first on an inconspicuous keycap—bleach can erase lettering. To prevent future yellowing, keep keyboards away from direct sunlight and wash hands before typing. Keyboard covers block UV rays and reduce oil transfer from skin.
Essential Cleaning Toolkit You Already Own

Must-Have Household Items
- Compressed air canister: Clears deep debris without liquids
- Microfiber cloths: Lint-free drying for surfaces (old T-shirts work in a pinch)
- Cotton swabs: Precision cleaning for key edges
- 99% isopropyl alcohol: Dissolves grime without residue (70% works but dries slower)
- Soft toothbrush: Scrubs keycaps safely
Skip expensive “keyboard vacuums”—they often lack suction for tight spaces. A $2 makeup brush from the drugstore lifts crumbs between keys better than most gadgets. For mechanical keyboards, a $3 keycap puller prevents butter knife scratches.
Troubleshoot Post-Cleaning Issues Immediately
Keys Still Not Working? Extend Drying Time
If keys malfunction after cleaning, wait 24 hours—hidden moisture in switch housings causes temporary failures. Check keycap alignment; misseated keys won’t click properly. For mechanical keyboards, press the key 20 times to reset the switch. If problems persist, debris may be jammed under the membrane; revisit compressed air cleaning.
Lingering Stickiness? Remove Cleaning Residue
Sticky film after cleaning usually means dish soap residue dried on keys. Dampen a cloth with isopropyl alcohol and wipe key surfaces again—alcohol evaporates fast and won’t leave residue. Dry for 30 minutes before testing. Never use window cleaners; ammonia damages key coatings.
Master the Drying Process to Avoid Damage
Critical Drying Timeframes
- Light cleaning (damp cloth only): 2 hours minimum
- Deep cleaning (alcohol/swabs): 4 hours
- Washed keycaps: 24 hours flat
- Accelerate drying: Place near a cool fan—never use hairdryers or heaters
Verify dryness by touching key stems (the plastic pegs beneath keys)—they must feel cool and dry. Power on only after passing the “lick test”: press keys with your tongue (yes, really!). If you taste moisture, wait longer. One missed drop of water can cause corrosion in weeks.
Regular keyboard cleaning takes less time than fixing a failed USB port. By dedicating 20 minutes monthly to debris removal and quarterly deep cleans, you’ll avoid 90% of sticky-key emergencies. Remember: gentle techniques with the right tools beat aggressive scrubbing every time. Keep compressed air handy for quick shake-and-spray sessions between deep cleans, and your keyboard will stay responsive for years. The fastest way to how to clean computer keyboard success? Start today—before crumbs turn into costly repairs.