How to Clean a Silicone Keyboard Cover
Your silicone keyboard cover catches every crumb from lunch, coffee splashes, and daily fingerprint grime. Within weeks, that pristine shield turns cloudy or yellowed, making typing feel sticky and unpleasant. Tossing it seems tempting, but how to clean a silicone keyboard cover properly can revive it to like-new condition—saving money and protecting your investment. This guide reveals proven methods that actually work, including which cleaners to avoid (they’ll ruin your cover permanently) and how to maintain crystal clarity with minimal effort. You’ll learn to tackle stubborn ink stains, remove pet hair embedded between keys, and disinfect safely during cold season—all without warping your silicone protector.
Power Down & Remove Your Silicone Keyboard Cover Safely
Always start with your computer completely powered off—not sleeping—to prevent static damage. Discharge static electricity by touching a metal desk leg before handling. Begin removal at the top-left corner using slow, steady pressure, supporting the cover with both hands as you peel. Never yank it like a bandage; think of removing a screen protector with careful precision. If resistance occurs, work gradually around the edges rather than forcing it.
Check for Irreversible Damage First
Inspect for tears along edges or stretched areas around spacebar and Enter keys. Permanent yellowing that won’t lift with cleaning indicates age-related silicone breakdown—time for replacement. Note sticky spots or embedded debris so you can target them during cleaning. Skipping this step risks worsening existing damage during the wash process.
Dislodge Crumbs Without Damaging Silicone

Hold your cover upside down over a trash can and gently shake for 10 seconds. This releases 80% of loose debris instantly. For particles trapped between key shapes, lightly tap the cover against a soft towel on your desk—this vibrates out stubborn crumbs without stretching the silicone. Avoid vigorous shaking that could tear thin areas.
Compressed Air Technique for Tight Spaces
Use short bursts from a compressed air canister held at a 45-degree angle. Quick puffs blow out debris from molded key edges without forcing particles deeper. Never spray continuously—the extreme cold can warp silicone. Test on one corner first; if you hear cracking sounds, stop immediately.
Daily Soap and Water Cleaning for Crystal Clarity
Fill a bowl with lukewarm water (body temperature—never hot). Add one drop of fragrance-free dish soap to create slight suds. Submerge the cover completely and soak for 5 minutes while soap breaks down oils. Using fingertips only, massage both sides in gentle circles, focusing on darkened areas around frequently pressed keys. Rinse under cool running water until absolutely clear—any soap residue attracts new dirt faster.
Microfiber Wipe Technique for Quick Maintenance
Dampen a clean microfiber cloth with the same mild soap solution (wring thoroughly). Wipe in straight top-to-bottom strokes, folding the cloth to reach tight corners around key protrusions. This 60-second routine prevents buildup between deep cleanings. Never use paper towels—they leave fibers that scratch silicone over time.
Eliminate Stubborn Stains Without Scratching
Baking Soda Paste for Yellowed Areas
Mix two tablespoons baking soda with water to toothpaste consistency. Apply with a soft toothbrush using gentle circular motions for 30 seconds on discolored spots. Let sit 5 minutes before rinsing—this lifts oxidation without abrasion. Rinse thoroughly; leftover grit creates a dirt magnet.
Isopropyl Alcohol for Sticky Residues
Dampen a cotton swab with 70% isopropyl alcohol (test on an edge first—discontinue if color transfers). Dab at sticky spots working from the stain’s outer edge inward. Alcohol dissolves gum and dried soda instantly but evaporates quickly, so reapply as needed. Avoid printed key labels to prevent fading.
Hydrogen Peroxide Whitening for Age Yellowing
Submerge yellowed portions in 3% hydrogen peroxide for 2 hours near a window (indirect sunlight boosts results). Check every 30 minutes—over-bleaching causes brittleness. Rinse completely with soap and water afterward. This reverses UV damage but won’t fix physical tears.
Disinfect Electronics-Safe Without Chemical Damage

Vinegar Solution Cold & Flu Protection
Combine equal parts white vinegar and water in a spray bottle. Mist over the entire cover and let sit 5 minutes to kill 99% of germs. The vinegar smell vanishes during air drying—no rinsing needed if you’re odor-sensitive. This method outperforms harsh chemicals that degrade silicone.
Approved Commercial Wipes Protocol
Use only alcohol-based electronics wipes (like Clorox Anywhere Wipes). Avoid bleach or ammonia products—they break down silicone within weeks. Wipe every surface, ensuring contact with key edges. Air dry uncovered for 10 minutes minimum before reinstalling to prevent sticky residue.
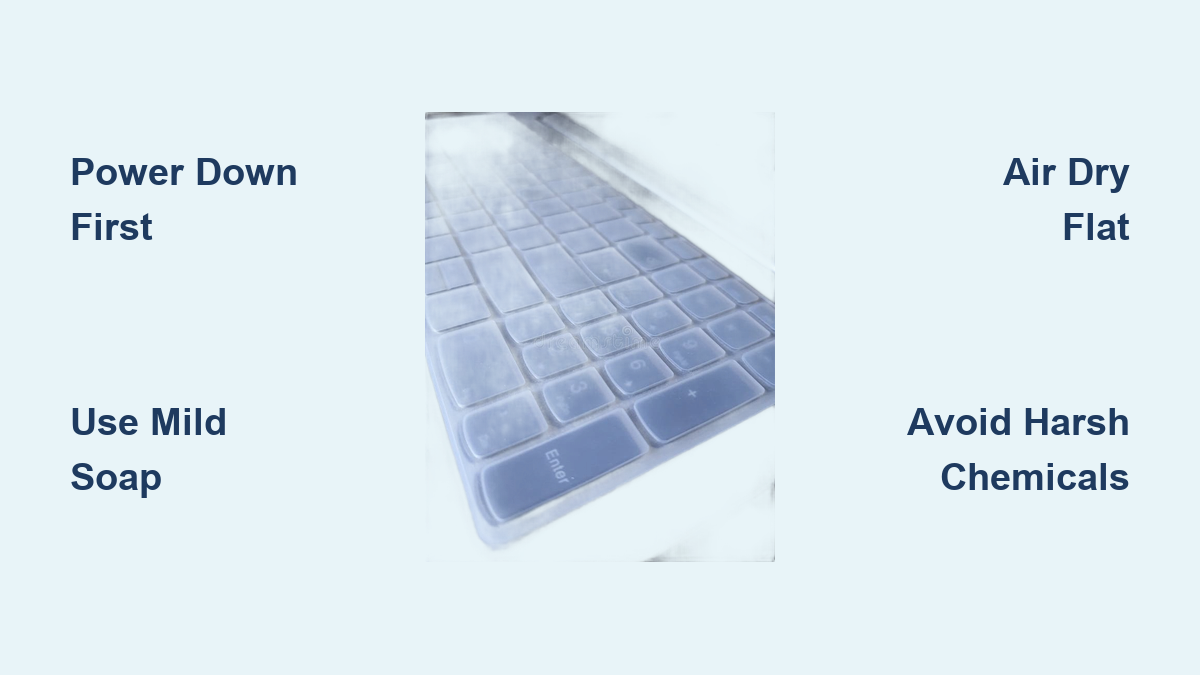
Air Dry to Prevent Warping Forever
Place your clean cover flat on a raised mesh rack or clean towel for the first 30 minutes. Then stand it vertically against a wall to drain completely between key shapes. Total drying takes 4-6 hours—never use hair dryers or direct sunlight. Heat above 104°F (40°C) permanently warps silicone, creating ripples that prevent snug fitting.
Storage Secrets for Longevity
Store in the original packaging or a sealed plastic bag away from windows. Never fold or crease—roll loosely if space-constrained. Keep in a cool drawer (59-95°F) to prevent UV yellowing. Proper storage doubles your cover’s lifespan between cleanings.
Handle Special Stains Like a Pro

Ink and Marker Emergency Protocol
Blot fresh ink immediately with a dry paper towel (no rubbing!). Follow with 70% isopropyl alcohol on a cotton swab, working from the stain’s edge inward. For permanent marker, lightly dampen a Magic Eraser and use feather-light pressure—excessive scrubbing alters the silicone texture.
Food Spill Rescue Guide
Rinse sugar spills (soda, juice) with cold water immediately to prevent crystallization. For oily residues (pizza grease), apply undiluted dish soap directly, wait 5 minutes, then wash normally. Milk or egg stains require enzyme dish soap—let sit 5 minutes before rinsing to break down proteins.
Pet Hair Removal Hacks
Roll a sticky lint roller across the surface in straight lines—this lifts cat hair in seconds. For embedded fur between keys, use a handheld vacuum on low with a brush attachment. Never use tape—it leaves adhesive residue that attracts more hair.
Maintenance Schedule That Actually Works
Cleaning Frequency by Usage
Daily typists: Quick microfiber wipe weekly + deep clean every 14 days. Light users: Surface clean bi-weekly + full wash monthly. If you eat at your desk or have pets: Daily quick wipes + weekly deep cleans. Set phone reminders for visual inspections—catching tears early prevents total failure.
Preventive Habits That Reduce Cleaning Time
Wash hands before computer use—this single habit cuts oil buildup by 70%. Keep a microfiber cloth in your desk drawer for instant spill response. Rotate multiple covers weekly to extend each one’s lifespan. Avoid eating over your keyboard entirely—it’s the #1 cause of irreversible stains.
Fix Common Cleaning Disasters
Cover Won’t Lay Flat After Washing
Cause: Over-stretching during removal or improper drying. Solution: Sandwich the cover between two heavy books for 48 hours. Prevention: Always dry flat on a mesh rack—never hang or fold. This reshapes warped silicone without heat damage.
Sticky Residue After Cleaning
Cause: Incomplete rinsing of soap or baking soda. Solution: Rewash under cool running water while rubbing surfaces together for 60 seconds. Test by running clean fingers across—it should feel glass-smooth, not tacky. Sticky residue accelerates new dirt buildup.
Permanent Color Fading Fixes
Cause: Bleach exposure or direct sunlight during drying. Prevention: Stick to approved cleaners—never use window spray or acetone. Once fading occurs, replacement is the only option. Invest in UV-resistant covers if working near windows.
Approved Cleaners vs. Silicone Killers
Safe Chemicals Only Checklist
Use exclusively: Mild dish soap, 70% isopropyl alcohol, white vinegar, 3% hydrogen peroxide. Test new products on a corner first—discontinue if texture changes or color transfers. Never risk: Bleach, ammonia, acetone, or abrasive cleaners—they break silicone bonds within hours.
Temperature Danger Zones
Water must stay between 59-104°F (15-40°C). Hotter water warps shapes; colder won’t cut oils. Store covers between 41-95°F (5-35°C)—extreme cold makes silicone brittle. Heat damage shows as permanent ripples or cloudiness that cleaning can’t reverse.
Restore your keyboard cover’s clarity in under 10 minutes with these precise techniques. By avoiding silicone-destroying chemicals and mastering the soap-and-water method, you’ll extend your cover’s life 3x longer than replacement cycles. Implement the weekly microfiber wipe habit today—your fingers (and your wallet) will thank you when that crystal-clear feel lasts years instead of months. Mark your calendar for bi-weekly deep cleans, and never tolerate a grimy keyboard again.