How to Fix Honeywell Keypad Door Lock Not Working
You’re standing outside your front door, fingers pressing the familiar code on your Honeywell keypad lock, but nothing happens. The keypad feels dead, or worse—it beeps but refuses to unlock your door. This frustrating scenario affects thousands of Honeywell keypad door lock not working situations each year. Don’t panic—most issues have simple fixes you can implement immediately. This guide reveals the exact troubleshooting steps to regain access to your home, from basic battery swaps to advanced diagnostics, so you never get locked out again.
Replace Dead Batteries Before Panic Sets In
Battery failure causes most Honeywell keypad lock not working issues—don’t waste hours troubleshooting when a simple battery swap could solve your problem. Your lock’s electronics require consistent power to function properly, and weak batteries cause erratic behavior long before complete failure.
Locate and Access the Battery Compartment
The battery compartment hides on the interior side of your Honeywell lock, typically near the bottom edge. Look for a rectangular cover secured with 2-4 Phillips head screws. Remove these screws carefully, then slide the cover downward before lifting it off. Some models feature a spring-loaded mechanism that releases when you press a small tab—check for these indicators before forcing the cover open.
Install Correct Batteries With Precision
Follow these critical steps when replacing batteries:
1. Remove all existing batteries—never mix old and new cells
2. Verify polarity markings inside the compartment (+ and – symbols)
3. Use only 4 fresh AA alkaline batteries (rechargeables lack sufficient voltage)
4. Test functionality immediately by pressing any button before reinstalling the cover
5. Secure the cover firmly to prevent moisture intrusion
Pro tip: Keep spare alkaline batteries in your emergency kit and replace them every 6 months—before they fail. Extreme temperatures accelerate battery drain, so consider lithium batteries if you live in freezing climates.
Clean Corroded Battery Contacts
Corrosion creates invisible barriers between batteries and contacts, starving your lock of power. Fix this properly:
– Power down completely by removing all batteries
– Dip a cotton swab in isopropyl alcohol (90%+ concentration)
– Scrub both contact points until metal shines bright
– Allow 5 minutes drying time before inserting new batteries
– Check expiration dates on new batteries—expired cells often leak prematurely
Diagnose Keypad Response Issues Systematically

When fresh batteries don’t solve your Honeywell keypad door lock not working problem, methodically test each component to isolate the failure point. Random button pressing wastes time—follow this diagnostic sequence instead.
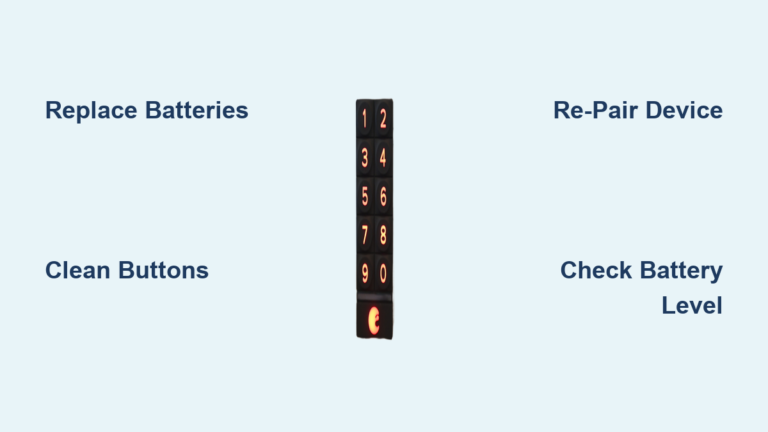
Test Each Button’s Functionality Thoroughly
Conduct this comprehensive keypad assessment:
1. Press every number from 0-9 individually, applying firm, consistent pressure
2. Listen for distinct confirmation beeps after each press
3. Feel for tactile feedback—working buttons provide a subtle click
4. Watch for LED illumination—should light briefly with each press
Critical insight: If multiple adjacent buttons fail, moisture damage has likely compromised the internal membrane. Single dead buttons often indicate physical wear—document which keys fail for accurate repair.
Perform a Master Reset To Clear Glitches
Programming corruption often triggers Honeywell keypad lock malfunctions. Reset your system properly:
1. Remove all batteries completely
2. Press and hold any keypad button for 15 seconds (longer than most guides suggest)
3. Reinstall fresh batteries while continuing to hold the button
4. Release after 5 seconds and listen for confirmation beeps
5. Test with the default code (typically 1234 or 0000)
This extended reset procedure clears deeper memory corruption than standard resets.
Fix Programming Code Problems That Block Access
When your Honeywell keypad responds but rejects valid codes, programming issues are usually to blame. These fixes restore code functionality without losing your security settings.
Recover Your Master Code Methodically
Before factory resetting (which erases all codes), try these recovery steps:
1. Check installation paperwork—master code often appears on setup sheets
2. Examine battery compartment—many models print default codes inside
3. Test common defaults: 1234, 0000, 1111, or 2024
4. Contact previous owner if this is a new-to-you property
Warning: After three failed code attempts, most Honeywell models lock out for 30 seconds—pace your attempts to avoid extended waits.
Reprogram User Codes Without Errors
Follow this foolproof programming sequence:
1. Press and hold the Program button for 3 seconds (located inside)
2. Enter your master code when prompted
3. Press 1 to add a new user code
4. Enter your desired 4-8 digit code slowly
5. Wait for confirmation beep before proceeding
6. Test the new code three times with the door open
Common mistake: Entering codes too quickly. Honeywell keypads require 0.5 seconds between digits—count “one-thousand” mentally between presses.
Inspect Mechanical Components When Electronics Work
If your keypad lights up and beeps but the deadbolt won’t move, mechanical issues are likely blocking operation. These checks identify physical obstructions without disassembling your lock.
Verify Door Alignment With a Simple Test
Misaligned doors cause binding that mimics electronic failure:
1. Open your door completely
2. Test lock/unlock functions repeatedly
3. If operation becomes smooth—your door is misaligned
4. If problems persist—mechanical failure has occurred
Pro tip: Place a dollar bill in the door seam and close it. If you can pull the bill out with resistance, your alignment is acceptable. Excessive resistance indicates misalignment.
Clean Obstructions From Critical Areas
Check these trouble spots for blockages:
– Strike plate recess for paint chips or debris buildup
– Deadbolt path for wood splinters or insect nests
– Keyway for foreign objects (common in rentals)
– Gap between door and frame for seasonal swelling
Lubrication rule: Use graphite powder only—oil-based lubricants attract dirt and create sticky paste that worsens operation.
Handle Complete Power Failures With Emergency Access

When your Honeywell keypad shows zero response—not even LED lights—you need immediate access solutions while preserving security.
Use These Emergency Entry Methods Immediately
- Physical key access: Locate your emergency key (store one in your car or with a neighbor)
- Manual override: Some interior models feature a thumbturn for immediate access
- Temporary bypass: Cover the keypad with plastic wrap to prevent tampering while you fix it
- Professional assistance: Call a locksmith (average $75-$150) if keys are unavailable
Critical reminder: Always maintain at least two accessible physical keys for emergencies—store one securely off-site.
Prevent Future Lockouts With Proactive Maintenance
Avoid recurring Honeywell keypad door lock not working issues with these simple preventive measures that take minutes each month.
Implement This 5-Minute Monthly Maintenance Routine
- Test all user codes with the door open
- Check battery indicator (if your model has one)
- Clean keypad surface with microfiber cloth
- Inspect door alignment by operating the lock
- Verify strike plate isn’t showing wear marks
Seasonal adjustment: In winter, switch to lithium batteries—they maintain voltage down to -40°F where alkalines fail at 0°F. Install a weatherproof cover if your lock faces north or gets direct rain exposure.
When Professional Help Becomes Necessary
Some Honeywell keypad lock problems exceed DIY capabilities. Recognize these red flags indicating professional service:
Identify Irreparable Component Failures
Seek professional assistance when you notice:
– Burnt circuit board smell—immediate replacement required
– Grinding motor sounds—indicates gear damage
– Random lock/unlock cycles—serious electrical fault
– Complete code memory loss—circuit board failure
Warranty insight: Honeywell covers electronic components for 1-2 years. Before calling, locate your model number (inside battery compartment) and serial number (engraved on back plate). Document specific symptoms with timestamps—this speeds warranty processing significantly.
Quick Fix Protocol For Immediate Access
When your Honeywell keypad door lock not working crisis hits, follow this proven sequence:
- Replace all batteries with fresh alkaline cells (AA)
- Perform master reset (remove batteries, hold button 15 seconds)
- Test default codes (1234, 0000, 1111)
- Reprogram master code using interior programming button
- Thoroughly test with door open before closing
Final tip: Keep a printed copy of these steps in your emergency binder—you’ll appreciate it when standing outside in the rain. Regular maintenance prevents 90% of lock failures, so add “test Honeywell lock” to your monthly home checklist. With proper care, your keypad lock should provide reliable security for years without another frustrating “not working” episode.