How to Fix Garage Door Keypad Not Programming
You press buttons on your garage door keypad, but nothing happens. No lights, no response, no way to enter your code. This frustrating scenario leaves you locked out of your garage, scrambling for your remote, or worse—completely stranded. When your garage door keypad won’t program, it disrupts your entire routine and creates security concerns. The good news is that most programming failures aren’t permanent hardware issues but rather fixable problems that you can address yourself without calling a technician.
Programming failures typically stem from simple oversights rather than complex mechanical problems. Whether you’re installing a new keypad or reprogramming an existing one after changing batteries, understanding why these devices fail to accept codes can save you hours of frustration and unnecessary service calls. This guide walks through the most common causes and proven solutions to get your keypad working reliably again.
Recognize Clear Programming Failure Indicators
Keypad Shows No Response When Pressed
When your keypad remains completely dark after pressing buttons, you’re dealing with what’s technically called a “no-response failure.” This typically indicates power or initialization problems rather than programming issues. Check if any lights activate when you press buttons—complete darkness suggests battery or wiring issues rather than programming failures. If you see no indication of life from the keypad, programming attempts will be futile until you address this fundamental power problem.
Error Codes Flash in Specific Patterns
Most modern keypads communicate failure through specific flash patterns rather than displaying text messages. Pay close attention to these patterns—three flashes usually indicates an invalid code entry, while rapid continuous flashing often signals interference or range problems. Count the number of flashes between pauses to identify the specific error. Many homeowners miss these visual cues, wasting time trying to reprogram when they should be addressing the underlying issue the flashes indicate.
Partial Programming Success Occurs
Some keypads accept the initial programming sequence but fail to save subsequent codes, creating a frustrating halfway state. This often happens when the programming sequence gets interrupted or times out too quickly. You might successfully enter your code but find it doesn’t work afterward, or the keypad accepts the first digit but rejects the rest. This partial failure typically indicates timing issues between steps rather than a hardware malfunction.
Verify Foundational Requirements Before Programming

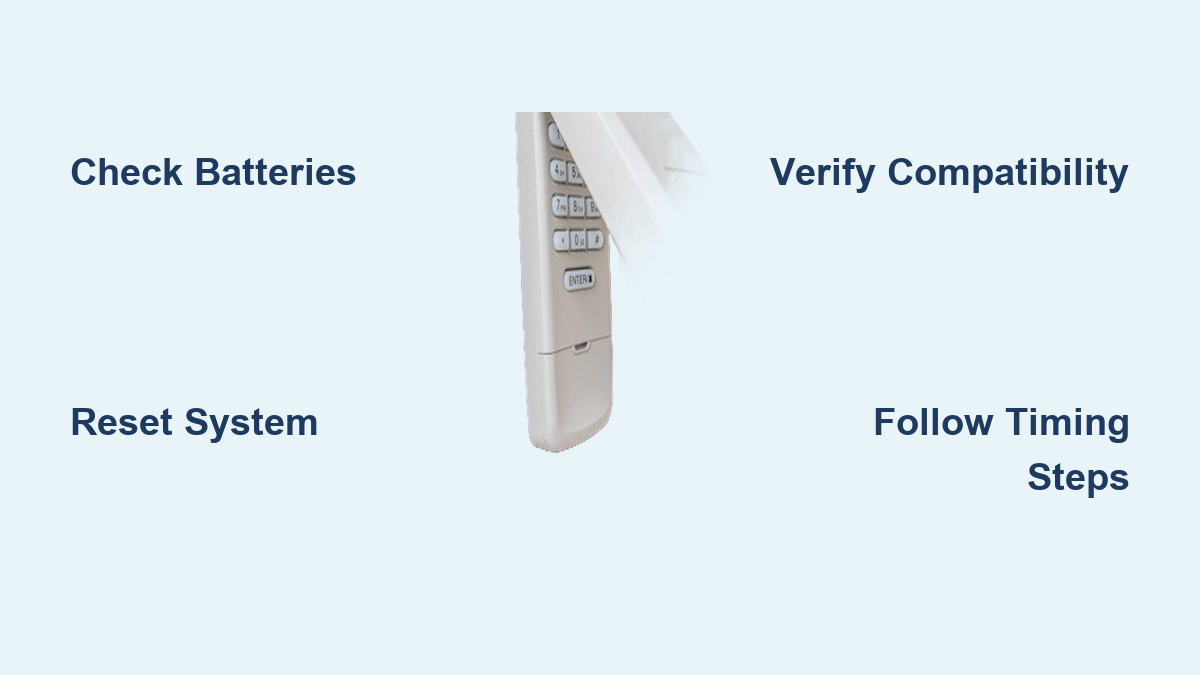
Test Power Source Integrity Thoroughly
Dead or weak batteries represent the most common cause of programming failures, accounting for over 70% of cases. Remove the battery cover and test with a multimeter—fresh batteries should read 1.5V or higher. Even “new” batteries can fail, so swap them out regardless of age if programming fails. For outdoor keypads, check for corrosion on battery contacts, which can prevent proper power delivery even with fresh batteries installed. Clean contacts with a cotton swab and isopropyl alcohol before installing new batteries.
Confirm System Compatibility Before Proceeding
Not all keypads work with every garage door opener model. Check your opener’s frequency (typically 315MHz or 390MHz) against the keypad specifications. Older openers using dip switches may require specific keypad models—mismatched frequencies cause silent programming failures where the keypad appears to work but never connects to the opener. Consult both your opener manual and keypad documentation to verify compatibility before investing time in programming attempts.
Perform Complete Reset Before Reprogramming
Always execute a master reset before attempting new programming. This clears corrupted memory that prevents fresh code acceptance. Most keypads require holding the “Learn” button for 6-10 seconds until lights flash, then waiting 30 seconds before reprogramming. Skipping this reset step is the second most common reason for programming failures after battery issues. The reset process varies by manufacturer, so consult your specific model’s instructions for the correct sequence.
Execute Correct Programming Sequence Step-by-Step
Locate and Activate the Opener’s Learn Button Properly
Find the programming button on your opener motor unit—typically purple, red, or yellow depending on brand. Press this button once (don’t hold it) to activate programming mode. You’ll have 30 seconds to complete keypad programming before the system times out. Many homeowners hold the button too long, canceling programming mode instead of activating it. Listen for an audible click from the opener unit to confirm successful activation.
Enter Keypad Programming Mode Without Timing Errors
Press and hold the “Program” button on your keypad until the LED stays solid (usually 3-5 seconds). Release immediately when the light changes—holding too long cancels programming mode on many models. Count “one-one-thousand, two-one-thousand” to ensure proper timing. If the LED doesn’t change state, the keypad isn’t entering programming mode, and you’ll need to troubleshoot power or reset issues before proceeding.
Input Your Desired Code Within Critical Timeframes
Enter your 4-digit code within 10 seconds of entering programming mode. Press “Enter” to confirm—you should see the LED flash or hear a click from the opener unit. Test the code immediately while standing close to the keypad. Rushing this step or entering digits too slowly causes most programming failures. Set a visible timer to stay within the critical window—many homeowners fail because they don’t realize how quickly the system times out.
Troubleshoot Specific Programming Failure Scenarios
Address Signal Interference Issues Effectively
Metal garage doors and interference from WiFi routers can disrupt programming signals. Move closer to the opener during programming—within 5 feet if possible. Temporarily disable nearby electronics like baby monitors or security cameras that operate on similar frequencies. If you live in a densely populated area, your neighbor’s garage door system might be causing interference—try programming at different times of day when fewer systems are active.
Correct Timing Issues Between Programming Steps
Rushing the programming sequence causes most failures. Count “one-Mississippi” between each button press. If your opener’s manual specifies 30-second windows, set a visible timer—don’t guess the timing. Many homeowners fail because they press buttons too quickly, not allowing the system to process each step. Create a checklist of timing requirements for your specific model to follow precisely during programming.
Resolve Code Complexity Problems Immediately
Avoid sequential numbers (1234), repeating digits (1111), or codes starting with zero. These patterns often trigger security rejections in modern systems. Choose random 4-digit combinations with no personal significance for best results. Some systems reject codes containing your birth year or address numbers for security reasons. If your preferred code fails repeatedly, try a completely random combination to determine if the issue is code-related.
Reset Corrupted System Memory Completely
Perform Deep Factory Reset When Standard Reset Fails
When standard resets don’t work, perform a deep reset by removing batteries for 60 seconds, then reinstall while holding any button. This clears stubborn programming blocks that prevent new codes from saving. Some models require batteries held out overnight—check your manual for specific reset duration. For wall-mounted keypads, turn off power at the circuit breaker for 2 minutes before attempting reset.
Clear Opener Memory Banks Before Reprogramming
Your opener stores old keypad codes that can interfere with new programming. Hold the “Learn” button for 10 seconds until the LED turns off, then release. This erases all remotes and keypads, requiring reprogramming of everything afterward. Many homeowners skip this step when adding a new keypad, causing conflicts with existing devices. Always clear memory when experiencing persistent programming failures.
Test Individual Components to Isolate the Problem
Determine whether the keypad or opener causes programming failures by testing other remote controls. Try programming a handheld remote—if it fails too, the opener’s receiver board may need replacement. Success with remotes but not the keypad points to a keypad malfunction rather than an opener issue. This diagnostic step prevents wasted effort troubleshooting the wrong component.
Prevent Future Programming Failures Proactively
Maintain Battery Health With Strategic Replacement
Replace keypad batteries annually, even when they seem fine. Use lithium batteries in extreme climates—they maintain voltage better in temperature swings that cause programming glitches. Check battery contacts seasonally for corrosion, especially in humid environments. Many programming failures occur when batteries are at 70-80% capacity—enough to light the keypad but not power the programming sequence.
Protect Keypad From Environmental Damage
Install weather shields over outdoor keypads to prevent moisture intrusion. Water damage causes intermittent programming failures that appear random but follow weather patterns. Consider relocating the keypad if it’s directly exposed to rain or sprinklers. For extreme climates, choose a keypad rated for your specific temperature range—standard models may fail outside 32-100°F.
Document Successful Programming Procedures
Write down working codes immediately after programming. Include the exact programming sequence steps that worked—different brands require slightly different approaches, and remembering these saves time during future reprogramming. Create a waterproof programming cheat sheet and tape it inside the garage near the opener for quick reference during future setup attempts.
Determine When to Replace Rather Than Repair
Recognize Keypad Replacement Indicators
Replace keypads older than 7-10 years or those with cracked cases. Internal corrosion causes chronic programming failures that cleaning won’t fix. Newer models offer better security protocols and reliability. If you’ve tried multiple resets with fresh batteries and still can’t program the keypad, replacement is often more cost-effective than continued troubleshooting.
Identify Opener Receiver Issues Early
If multiple keypads fail to program with the same opener, the radio receiver likely needs replacement. This component costs $30-60 and installs in minutes—far cheaper than replacing the entire opener. Check for loose wiring connections to the receiver board before assuming component failure. Many “receiver issues” are simply loose connections that can be tightened with a screwdriver.
Most garage door keypad programming failures resolve through systematic troubleshooting starting with fresh batteries and factory resets, then methodically working through brand-specific sequences. Document what works—your future self will thank you when reprogramming becomes necessary again. When in doubt, consult your owner’s manual for model-specific instructions rather than relying on generic online advice that may not match your system.