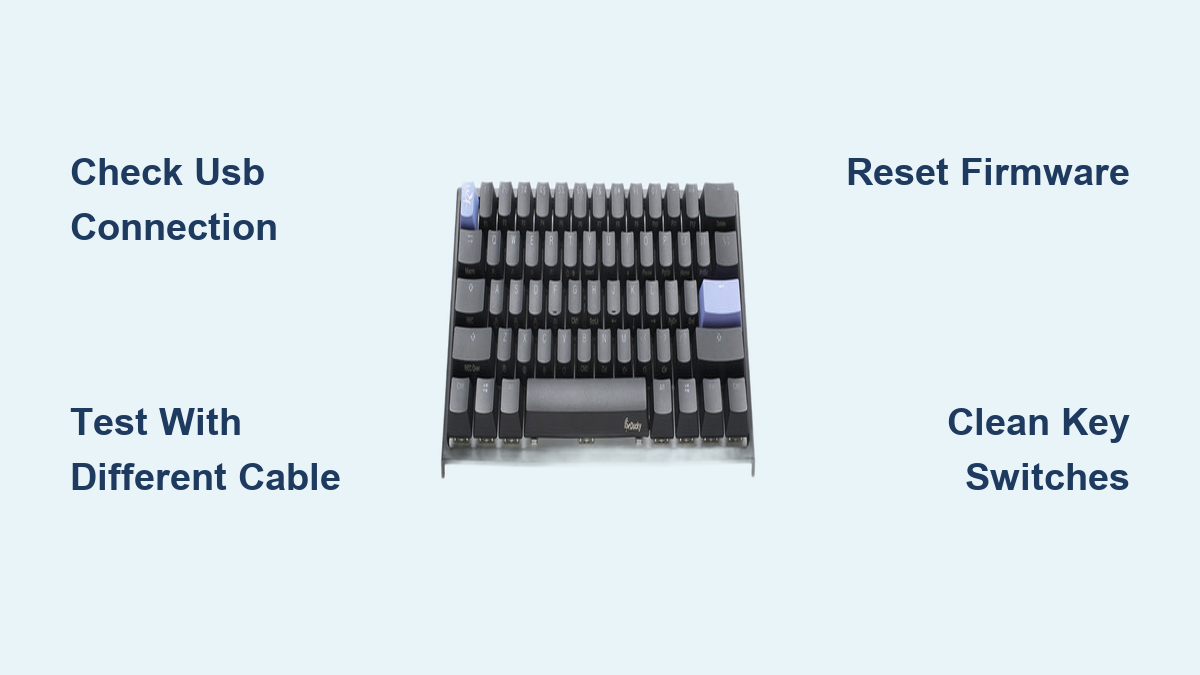
How to Fix Ducky Keyboard Not Working
Your Ducky keyboard suddenly stops responding during an intense gaming session or important work task, leaving you staring at a lifeless board. Before assuming the worst, understand that most Ducky mechanical keyboard issues stem from straightforward problems you can diagnose and often fix yourself. This guide provides a systematic approach to restoring functionality to your premium mechanical keyboard without unnecessary frustration or expense.
Power Connection Verification Process
Start with the most common failure point—the power connection. Many users mistakenly assume their keyboard is dead when the issue lies with the USB connection. Unplug your Ducky keyboard completely, wait 10 seconds to discharge any residual power, then firmly reconnect it to a different USB port. Avoid front panel ports on desktops as they often provide inconsistent power delivery.
Test across multiple devices to determine if the problem originates with your computer or the keyboard itself. Connect your Ducky to a laptop, tablet, or gaming console to isolate the issue. If the keyboard functions properly on another device, your primary computer requires troubleshooting rather than the keyboard.
No Power Indicator Response
Complete absence of LED illumination signals a critical power failure. When your Ducky shows no signs of life, immediately check these potential causes:
– Verify your USB cable with another device to confirm it transmits data
– Examine the keyboard’s USB port for visible debris or bent pins
– Try connecting through a powered USB hub to rule out power insufficiency
– Inspect the cable for physical damage near connection points
Intermittent Power Symptoms
Flickering or inconsistent LED behavior indicates unstable power delivery. This problematic pattern typically stems from:
– Internal cable damage causing intermittent connection
– Loose connection between cable and keyboard PCB
– Power management settings interfering with USB devices
– Electrical interference from nearby components
Key Response Pattern Analysis
Systematically document your keyboard’s failure pattern—this diagnostic step determines your next troubleshooting direction. Open a simple text editor like Notepad and test keys across the entire board to identify specific failure zones.
Isolated Key Failures
Individual non-responsive keys usually point to localized issues. When specific keys fail while others function normally, consider these common causes:
– Debris trapped beneath keycap interfering with switch activation
– Mechanical wear in the switch mechanism affecting consistent response
– Physical damage to the switch housing or internal components
– Recent firmware updates altering key mapping configurations
Test key behavior under different conditions. If certain keys work only when pressed with excessive force or fail only during rapid typing, you’re likely dealing with mechanical rather than electrical issues.
Row or Column Failure Patterns
Entire rows or columns failing simultaneously indicates matrix-level problems. When multiple keys in a pattern stop working together, investigate these potential causes:
– Damaged circuit traces on the keyboard PCB
– Failed diodes affecting multiple key connections
– Firmware corruption impacting specific key mappings
– Physical damage from previous liquid exposure
USB Connection and Cable Diagnostics
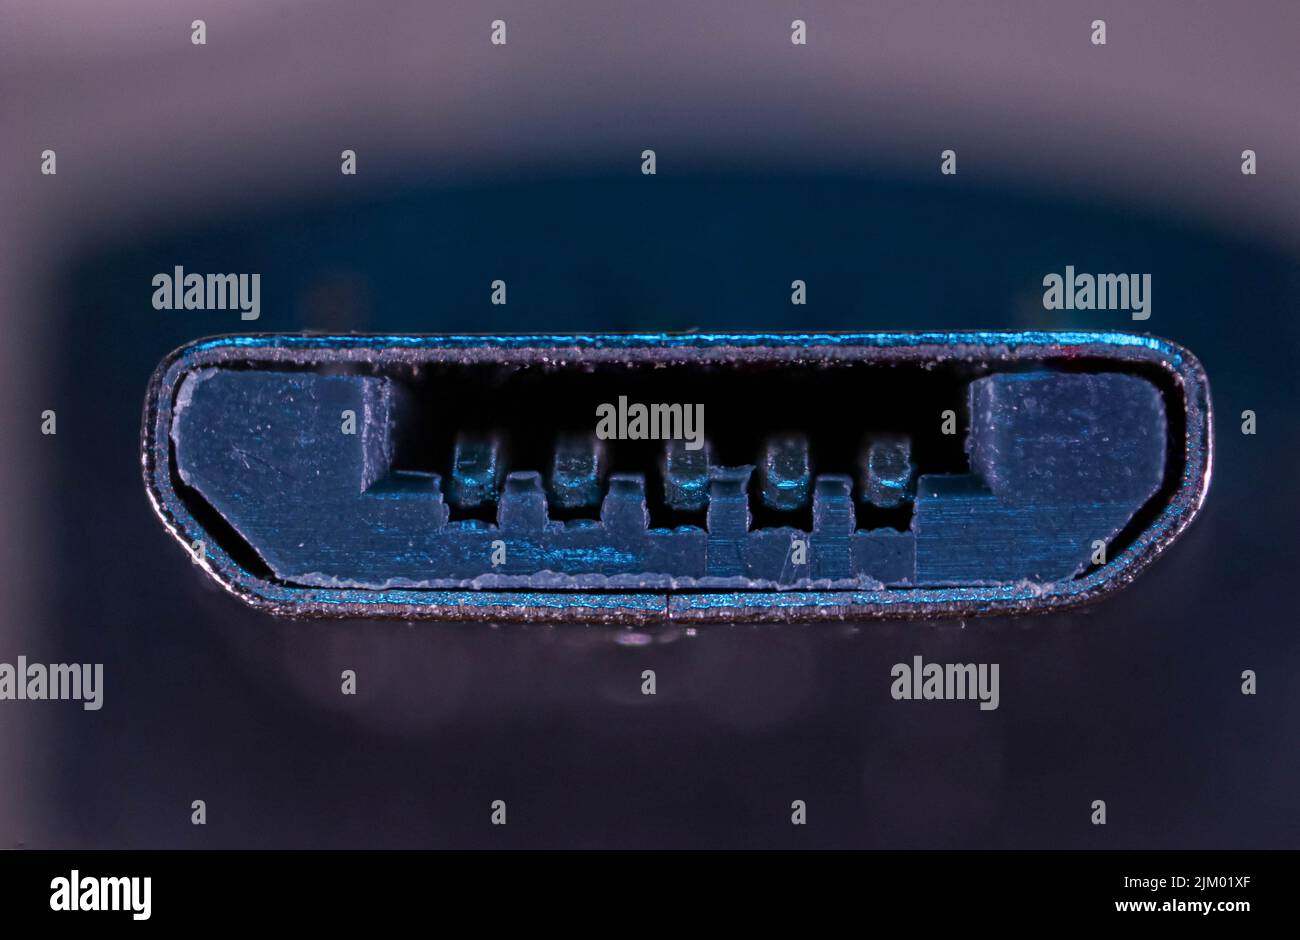
Cable failures account for the majority of keyboard issues. The constant movement and bending these cables endure often leads to internal wire breakage while maintaining external appearance.
Cable Testing Methodology
Perform thorough cable validation using this systematic approach:
1. Test your cable with another USB device to verify basic functionality
2. Gently flex the cable near both ends while connected to identify intermittent points
3. Try multiple cables of the same connector type (USB-C or Micro-USB)
4. Avoid using charging-only cables that lack data transmission capability
Select replacement cables carefully when needed:
– Match connector types precisely (USB-C to USB-A, Micro-USB, etc.)
– Choose cables with strain relief at connection points
– Prioritize cables with thicker gauge wiring for better signal integrity
– Consider detachable cable models for future prevention
USB Port Maintenance Protocol
Computer USB ports require regular maintenance to maintain reliable connections:
– Power down your computer completely before cleaning ports
– Use compressed air to remove accumulated dust and debris
– Gently clean port contacts with isopropyl alcohol and cotton swabs
– Check for bent pins inside the port using a flashlight
Test different port types on your computer:
– Try both USB 2.0 (black plastic) and USB 3.0 (blue plastic) ports
– Connect directly to motherboard ports rather than front panel extensions
– Avoid using unpowered USB hubs that may not provide sufficient power
Firmware and Configuration Reset Procedures
Firmware issues can cause unexpected keyboard behavior without physical damage. Ducky keyboards store configuration settings in onboard memory that sometimes requires resetting.
Standard Factory Reset Process
Most Ducky models support a universal reset method:
1. Disconnect the keyboard from power
2. Hold the designated reset key combination (typically D+Space)
3. Reconnect the keyboard while maintaining the key combination
4. Wait for LED confirmation (usually three flashes)
5. Release keys and test basic functionality
Model-specific reset procedures vary—consult official documentation for exact combinations as they differ between Ducky One 2, Shine 7, and Mecha series keyboards. Incorrect reset sequences may not trigger the recovery process.
DIP Switch Configuration Review
Physical switches on the keyboard base override firmware settings and can cause unexpected behavior when misconfigured:
– Verify Windows key disable switch position (usually OFF for normal operation)
– Check layout configuration switches match your regional settings
– Ensure macro layer switches aren’t inadvertently activated
Reset all DIP switches to default positions before testing, then reconfigure as needed. Document your preferred configuration to avoid future confusion.
Advanced Diagnostic Techniques
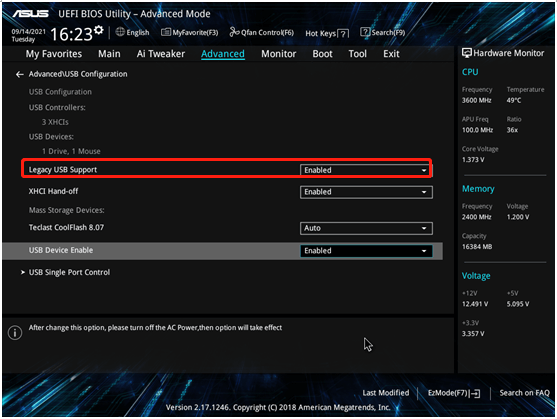
BIOS-level testing isolates software conflicts by removing operating system variables from the equation. Restart your computer and enter BIOS/UEFI setup (typically by pressing Del, F2, or Esc during boot). If your keyboard functions in BIOS but not in your operating system, the issue lies with your software configuration rather than the hardware.
Safe Mode Validation
Windows Safe Mode eliminates third-party software interference:
1. Restart your computer while holding the Shift key
2. Navigate to Troubleshoot → Advanced Options → Startup Settings
3. Select Safe Mode with Networking
4. Test keyboard functionality with minimal drivers loaded
If your keyboard works in Safe Mode, recent software installations, driver conflicts, or system updates are likely causing your issues rather than hardware failure.
Hardware Diagnostic Tools
Utilize built-in system tools to identify underlying issues:
– Online keyboard testers for comprehensive key verification
– Windows Device Manager to check for driver conflicts or errors
– System File Checker (sfc /scannow) to repair corrupted system files
– USB controller diagnostics through Device Manager
Preventative Maintenance Practices
Regular cleaning prevents most mechanical keyboard issues before they develop into serious problems. Once monthly, remove keycaps using a proper puller and clean beneath with compressed air. For deeper cleaning, wash keycaps in mild soapy water and allow complete drying before reinstallation.
Environmental Protection Measures
External factors significantly impact keyboard longevity:
– Maintain workspace humidity between 40-60% to prevent static damage
– Avoid eating or drinking near your keyboard to prevent liquid damage
– Store your keyboard in a dust cover during extended non-use periods
– Use anti-static mats when performing maintenance or repairs
Temperature management protects internal components:
– Allow keyboards to acclimate when moving between extreme temperatures
– Avoid direct sunlight exposure during use or storage
– Never store keyboards in environments below freezing or above 100°F
When to Seek Professional Assistance
Contact Ducky support when basic troubleshooting fails and your keyboard shows no signs of life. Have your serial number, purchase receipt, and detailed symptom description ready. Most Ducky keyboards include a one-year warranty covering manufacturing defects.
Warranty Claim Preparation
Document your issue thoroughly before contacting support:
– Record videos demonstrating the problem
– Note exact model and firmware version
– List all troubleshooting steps already attempted
– Keep original packaging for potential return shipments
Consider professional repair for:
– Physical damage to USB ports requiring soldering
– Multiple failed switches needing replacement
– PCB damage from liquid exposure
– Complex firmware recovery when standard methods fail
Your Ducky keyboard’s issue is likely solvable with systematic troubleshooting rather than requiring replacement. Start with the simplest solutions—cable and connection checks—before progressing to firmware resets and advanced diagnostics. Remember that most mechanical keyboard failures stem from preventable issues rather than catastrophic hardware failure. By documenting your symptoms precisely and following this structured approach, you’ll maximize your chances of restoring full functionality to your premium mechanical keyboard. When in doubt, Ducky’s official support channels provide model-specific guidance that can resolve even stubborn issues.