How to Clean Mechanical Keyboard: Quick Steps
Your mechanical keyboard has served you faithfully through countless gaming sessions, late-night coding, and marathon typing projects. But lately, those sticky keys and mysterious crumbs under the spacebar have become impossible to ignore. The difference between a freshly cleaned mechanical keyboard and a neglected one isn’t just cosmetic—it directly affects your typing accuracy, switch lifespan, and overall satisfaction with your investment.
This comprehensive guide walks you through the proven best method for cleaning your mechanical keyboard, whether you’re dealing with routine dust buildup or recovering from a catastrophic coffee spill. You’ll learn exactly which tools to use, how to avoid common mistakes that damage switches, and establish a maintenance schedule that keeps your keyboard performing like new for years. Discover the best way to clean mechanical keyboard components without voiding warranties or damaging sensitive electronics.
Essential Tools and Workspace Setup for Safe Cleaning

Required Cleaning Arsenal You Can’t Skip
Before touching your keyboard, gather these proven tools that professional keyboard enthusiasts swear by:
Core cleaning tools:
– Compressed air canister with precision straw
– Wire keycap puller (avoid plastic ring types)
– 99% isopropyl alcohol (minimum 70%)
– Size 00 soft-bristled paintbrush
– Lint-free microfiber cloths
– High-quality cotton swabs
– Small bowl for solution mixing
– Distilled water
Optional upgrades:
– Anti-static wrist strap
– UV light sanitizer
– Dielectric grease for stabilizers
Critical Safety First Steps Before Cleaning Begins
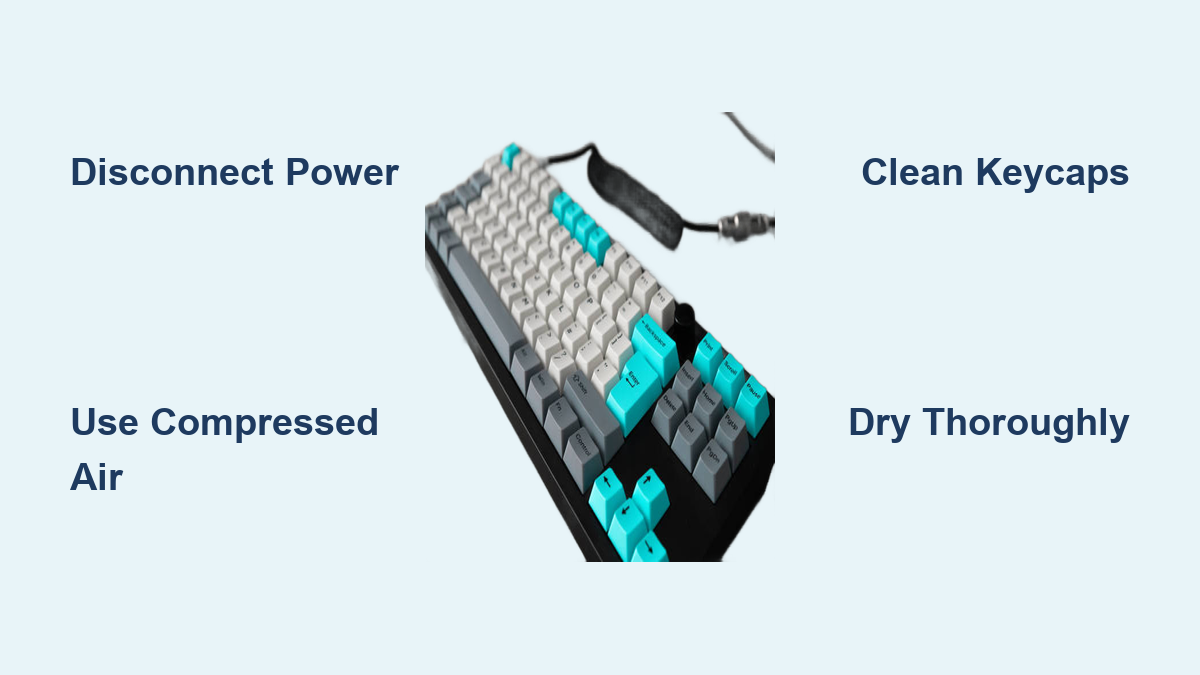
Disconnect immediately—unplug USB cables or remove wireless receivers and batteries. Create your cleaning zone on a flat, well-lit surface covered with a clean towel. Position the keyboard upside-down to let gravity assist debris removal during initial cleaning phases. This simple positioning prevents debris from falling deeper into your switches as you work.
Initial Debris Removal Strategy That Actually Works
Gravity and Air Attack Method for Surface Cleaning
Hold your keyboard at a 45-degree angle and work systematically across the surface. Use short, controlled bursts of compressed air between keycaps, starting from the top row and moving downward. Focus extra attention on debris magnets: function key areas, spacebar vicinity, and keyboard edges.
Follow with your soft-bristled brush using consistent top-to-bottom strokes. This combination removes approximately 80% of loose debris before deeper cleaning begins. Never shake your keyboard vigorously—this forces particles deeper into switch housings where they cause long-term damage.
Safe Keycap Removal and Cleaning Without Damaging Stems
Systematic Removal Process for Every Key Size
Start from a corner and work methodically across the keyboard. Your wire keycap puller should grip the keycap sides—avoid pulling straight up. Instead, gently wiggle while applying upward pressure to prevent stem damage.
Critical for large keys: Spacebar, shift, enter, and backspace contain stabilizer bars. Document their positions with a phone photo before removal to ensure correct reassembly. Attempting to guess stabilizer placement after removal often leads to rattling keys or inconsistent feel.
Keycap Deep Clean Method That Prevents Legend Fading
Create a warm water bath with one drop of mild dish soap per cup. Submerge keycaps for 30-45 minutes—no longer, as extended soaking can fade legends. Use a soft toothbrush for textured surfaces where grime accumulates.
For stubborn residue, mix 50/50 isopropyl alcohol and distilled water. Dip cotton swabs in this solution for precision cleaning of sticky spots. Rinse thoroughly under lukewarm water, then air-dry on a microfiber towel for 4-6 hours minimum. Never use acetone or harsh chemicals that damage keycap legends.
Base and Switch Housing Deep Clean Without Causing Damage

Exposed Surface Cleaning Techniques That Work
With keycaps removed, the real cleaning begins. Use compressed air to clear switch housings and PCB surfaces—hold the canister upright to prevent liquid propellant discharge. Mix 1:1 isopropyl alcohol and distilled water for your cleaning solution.
Lightly dampen (never saturate) a microfiber cloth and wipe between switches where grime collects. For tight spaces, use cotton swabs barely moistened with alcohol solution. Avoid direct liquid contact with switch mechanisms to prevent corrosion—this is the most common mistake that turns a routine cleaning into a keyboard repair job.
Stabilizer Maintenance for Smooth Key Performance
Large keys use stabilizers that need specific attention. Clean stabilizer housings with alcohol-dampened swabs, removing old lubricant and debris. Apply rice-grain sized amounts of dielectric grease to stabilizer contact points using a toothpick—over-lubrication attracts debris and creates sticky keys that ruin your typing experience.
Emergency Spill Response Protocol That Saves Your Keyboard
Liquid Spill Protocol: 30-Second Action Plan
Act within 30 seconds: Disconnect power, invert keyboard, and remove batteries. For water spills, allow 48-72 hours drying time in ventilated area. Rotate keyboard angles during drying for complete moisture evaporation.
For sugary spills, immediate disassembly is critical. Remove keycaps and rinse affected areas with distilled water, then follow with alcohol cleaning. Document all connections before disassembly for proper reassembly—this step saves hours of frustration later.
Reassembly and Testing Protocol That Guarantees Success
Systematic Reconstruction Process to Avoid Mistakes
Start with stabilizer wires and lubrication, then install large keys first to establish alignment. Work methodically across the keyboard using your reference photo. Test each key immediately after installation—press 3-4 times to verify proper seating and consistent feel.
Critical tip: If a key feels different during testing, remove it immediately and recheck stabilizer placement. Waiting until full reassembly means disassembling everything again to fix one problematic key.
Functionality Verification With Online Testing Tools
Use online keyboard testers to confirm every key registers correctly. Test modifier combinations and special functions. Address sticking keys immediately—they rarely resolve themselves and often worsen over time. Pay special attention to keys that felt different during reassembly, as these indicate improper seating or debris interference.
Long-Term Prevention Strategy for Minimal Maintenance
Daily Quick Maintenance Routine That Works
30-second routine: Invert keyboard and shake gently to dislodge loose particles. Use compressed air in short bursts between frequently-used keys. Wipe surfaces with a dry microfiber cloth to prevent oil buildup that attracts debris. This simple habit prevents 80% of deep cleaning needs.
Monthly Surface Refresh That Maintains Performance
Clean keycap surfaces and keyboard frame using slightly dampened microfiber cloth with distilled water. Ensure cloth is barely moist to prevent liquid intrusion. Clean cable (if applicable) with alcohol-dampened cloth, focusing on stress points. This monthly refresh maintains your keyboard’s responsiveness and prevents gradual performance degradation.
Critical Safety Warnings Every Keyboard Owner Must Know
Chemical Handling That Prevents Accidents
Use isopropyl alcohol only in well-ventilated areas—never mix with other chemicals. Test new cleaning solutions on spare keycaps before full application. Store chemicals in sealed containers away from heat sources. One careless mistake with improper chemicals can permanently damage your expensive mechanical keyboard.
Warranty Protection Strategies During Cleaning
Review warranty terms before internal disassembly—many manufacturers void warranties for unauthorized opening. Document all modifications and consider professional service for high-value keyboards or warranty-covered units. Taking photos at every disassembly step creates a roadmap for safe reassembly without voiding coverage.
A clean mechanical keyboard doesn’t just look better—it feels better, lasts longer, and maintains the precise typing experience you paid for. Establish these cleaning routines now, and your keyboard will reward you with years of consistent performance. The 30-minute investment in proper cleaning today prevents hours of troubleshooting sticky switches tomorrow. Remember the best way to clean mechanical keyboard components is systematically, with the right tools, and without rushing critical steps—your fingers (and your keyboard) will thank you for years to come.