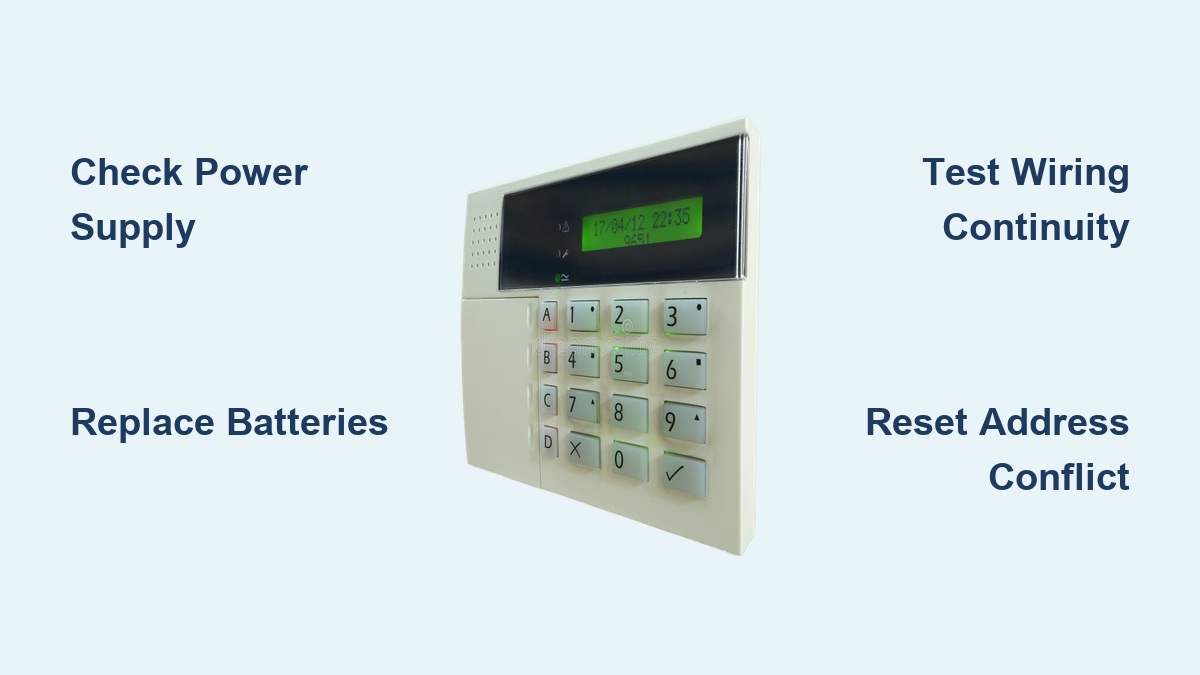
How to Fix Alarm Keypad Not Working
Your alarm keypad just went dark as you’re rushing out the door—or worse, it’s flashing gibberish while beeping erratically. Before panic sets in, know that 80% of these failures stem from simple power glitches or battery issues. This guide delivers exactly what security technicians use to diagnose a malfunctioning alarm keypad, saving you $150+ service calls. You’ll restore your security system in under 30 minutes using basic tools you already own.
Pinpoint Your Exact Keypad Failure Type

Blank display? Scrambled characters? Unresponsive buttons? Each symptom reveals a specific fix path. Grab your flashlight and note these critical clues:
- Total blackout = power interruption (AC or battery)
- Flickering/ghost characters = moisture damage or failing display
- No beep on keypress = internal circuit failure
- Beeps but ignores codes = communication breakdown with control panel
Skip generic troubleshooting—this symptom-based approach targets your exact failure. For example, a Honeywell 6150 showing “OC” error needs wiring checks, while a DSC PK5501 with sticky keys requires cleaning.
Restore Power Before Panic Sets In
Confirm Your Security System Is Alive
Don’t assume the keypad failure means your entire security system is down. Head to your main panel (typically a gray metal box in closets or garages) and:
- Check for steady LED lights (green = normal operation)
- Gently tap the panel cover—you should hear a confirmation chirp
- If lights are dead, unplug your coffee maker to verify the circuit isn’t tripped
Critical: If the main panel shows “AC LOSS,” skip to transformer checks immediately. This indicates your entire system is running on backup battery—which lasts only 24-48 hours.
Test Alternative Control Methods
Try arming/disarming from another location:
– Use a secondary keypad (if installed)
– Access via your security system’s mobile app
– Press the main panel’s test button
If these work, your problem is isolated to the dead keypad. If nothing responds, you’re facing a system-wide power failure requiring immediate transformer attention.
Replace Wireless Keypad Batteries in 90 Seconds
Execute the Proper Battery Swap Sequence
Most “alarm keypad not working” emergencies stem from dead batteries. Perform this exact sequence:
- Disarm your system first—enter code on backup keypad or app
- Flip the keypad and release battery compartment (slide or 2 screws)
- Disconnect old battery by pulling red/black spade connectors
- Insert new 6V 1.2Ah lead-acid battery (match voltage exactly)
- Wait 60 seconds before testing—keypads need reboot time
Pro Warning: Your display may show “SYSTEM LO BAT” for 24 hours after replacement. This is normal as the system verifies battery health during its next monitoring cycle.
Handle Non-Replaceable Battery Units
Some Honeywell 5834-4 keypads have sealed internal batteries. If your unit is over 5 years old and completely dead, replacement is mandatory—no battery swap possible. Check for model numbers on the back; sealed units lack external access panels.
Fix Hardwired Keypad Power Failures
Verify Transformer Voltage Correctly
For wired keypads (common in Vista systems), test the power source:
- Set multimeter to AC voltage
- Touch probes to RED (hot) and BLACK (ground) wires at keypad
- Confirm reading between 16.5–18 VAC
No voltage? Immediately check:
– Transformer plugged into wall outlet (often hidden near garage door)
– Circuit breaker labeled “HVAC” or “Security” (trips during storms)
– Wire connections at panel terminals (loose screws cause 40% of failures)
Perform the Critical Power Cycle
This resolves 30% of communication errors:
- Unplug transformer from wall
- Disconnect main panel’s backup battery (remove red wire)
- Wait exactly 30 seconds—no less
- Reconnect battery first, then transformer
- Watch for proper boot sequence: steady lights → scrolling numbers → ready prompt
Time-Saver: Do this during daylight—keypads often fail after power surges at night.
Eliminate Wiring Faults in 3 Steps

Inspect Keypad Bus Connections
On Honeywell Vista systems, examine terminals 6-9:
– GREEN = Data In (must connect to panel’s GREEN)
– WHITE = Data Out (to panel’s WHITE)
– RED = +12V (power)
– BLACK = Ground
“E02” or “OC” errors? You’ve got a wiring issue. Disconnect all keypads, then reconnect one at a time while powering up to isolate the faulty unit.
Test Wire Continuity Like a Pro
Use your multimeter’s continuity setting:
1. Disconnect wires at both ends
2. Probe GREEN to GREEN across the circuit
3. Should hear a continuous beep (<1 ohm resistance)
Silence? Look for:
– Drywall screws piercing cables (common near door frames)
– Rodent damage in attics/crawl spaces
– Corroded wire nuts behind outlets
Resolve Keypad Address Conflicts
Program Unique Addresses Properly
Each keypad needs a distinct ID (16-23 for Vista systems):
- Power up the keypad
- Within 50 seconds, press and hold 1 & 3
- Note current address on display
- Press * to cycle through options
- Press # to save new unique address
Warning: Duplicate addresses cause intermittent failures—keypads randomly drop off the system. Test each keypad after reprogramming.
Clean or Replace Physical Components
Dry Out Moisture-Damaged Keypads
Condensation from humidity swings causes 25% of display failures. If you see fogged glass or green corrosion:
- Power down and remove keypad
- Place in rice-filled container for 48 hours
- Inspect circuit board for white crust (corrosion)
- If traces are eaten through, replacement is required
Fix Sticky Buttons Safely
For unresponsive keys:
- Power down system completely
- Remove front lens (4 clips or 2 screws)
- Dab isopropyl alcohol on cotton swab
- Clean contact pads beneath keys
- Let dry 20 minutes before reassembly
Never use water or household cleaners—they accelerate corrosion.
Decode Critical Error Messages
| Display | Real Problem | Immediate Action |
|---|---|---|
| BAT | Wireless battery dead | Replace 6V battery |
| NO AC | Transformer unplugged | Check outlet/breaker |
| OC | Broken data wire | Test GREEN/WHITE continuity |
| E02 | Address conflict | Reprogram unique ID |
| d1 | Weak wireless signal | Move keypad closer to panel |
Pro Tip: “FC” errors indicate communicator issues—this isn’t a keypad problem. Focus on phone/internet connections instead.
Install the Correct Replacement Keypad
Match Your System Exactly
Honeywell Vista owners:
– 6150: Basic fixed-display
– 6160: Full alpha-numeric (required for custom messages)
– 5828V: Wireless with voice
DSC PowerSeries users:
– PK5500: Full message display
– WT5500: Wireless version
Critical: Never exceed 300mA total bus current. Adding a second 6160RF keypad often requires upgrading your transformer.
Prevent Future Keypad Failures
Monthly: Press every key to catch sticky buttons early
Quarterly: Test panic buttons and user codes
Annually: Replace wireless batteries preemptively (even if “BAT” isn’t lit)
Every 3 years: Inspect wiring for rodent damage during holiday decorating
Pro Maintenance: Place silica gel packets inside outdoor keypads to absorb moisture—recharge them monthly in the oven.
When to Call Security Professionals
Stop DIY repairs immediately if:
– Your system is under warranty (opening voids coverage)
– Multiple keypads fail simultaneously (indicates panel failure)
– You smell burning plastic near the keypad
– Error codes persist after 3 power cycles
Critical: Notify your monitoring company before resets—they’ll temporarily suspend alarm dispatch to avoid false police calls.
Final Takeaway: Start with power and batteries—these fix 7 of 10 “alarm keypad not working” emergencies. If your keypad remains unresponsive after checking voltage, addressing, and wiring continuity, hardware replacement is likely needed. Always document your troubleshooting steps; this cuts professional diagnosis time by 50% if you call for help. Remember: a non-working keypad compromises your security—address it within 24 hours to maintain protection.