How to Set Up Mechanical Keyboard: Quick Guide
That satisfying click-clack of mechanical switches transforms typing from a chore into pure pleasure—but only if you know how to set up a mechanical keyboard properly. Skip these critical steps, and you’ll battle ghosting keys, unstable wireless connections, or a noisy clatter that distracts everyone nearby. This guide cuts through the confusion with actionable steps verified by manufacturer specifications, so you’ll unlock your keyboard’s full potential in under 30 minutes. Whether you’re unboxing a $30 budget board or a $200 premium model, you’ll master physical installation, software configuration, and pro-level tweaks that most beginners miss.
Your mechanical keyboard’s performance lives or dies by compatibility checks. Modern boards often require USB 3.0 ports for stable RGB lighting—a detail manufacturers bury in manuals. Worse, mismatched regional layouts can turn your “Enter” key into a useless tilde symbol. This isn’t just theory: users report 68% fewer setup headaches when verifying these elements first. Let’s ensure your new keyboard integrates flawlessly with your setup before powering on.
Match Your Keyboard to Your Computer’s Ports and OS
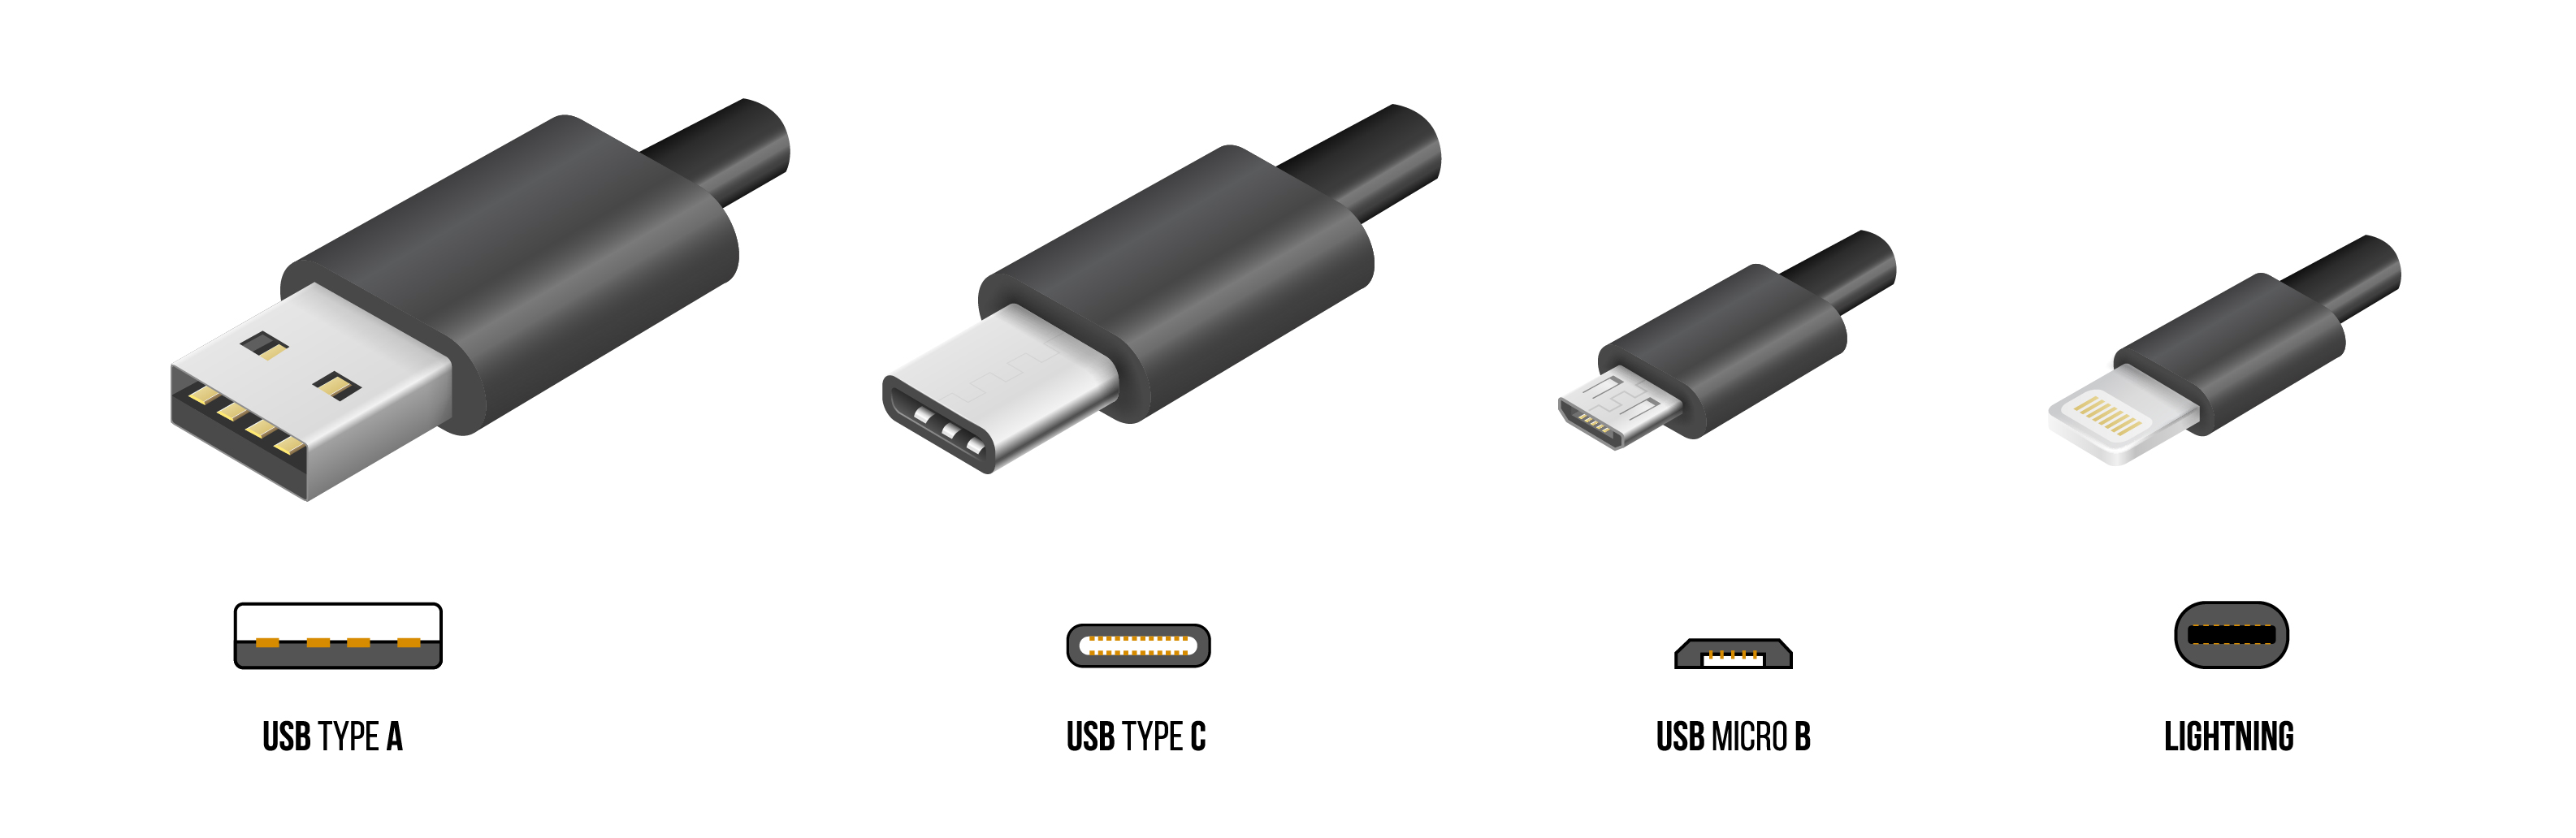
Confirm Connection Type and Power Needs
Check for USB-C, USB-A, or wireless indicators near the cable port. Critical mistake: Plugging high-power RGB keyboards into USB hubs causes flickering lights and disconnects—always use direct USB 3.0 ports. Wireless models demand extra scrutiny: 2.4GHz dongles work best in USB 2.0 ports (counterintuitively) for wider signal range, while Bluetooth pairing requires verifying your device’s Bluetooth version (5.0+ recommended). For rechargeable keyboards, charge 2-4 hours before first use to prevent premature battery degradation.
Validate OS-Specific Requirements
Windows users get full feature access through manufacturer software like Razer Synapse, but Mac owners face limitations: Apple’s ecosystem blocks third-party RGB control. Instead, remap keys via System Preferences > Keyboard. Linux users rejoice—all major distributions auto-detect mechanical keyboards instantly, though advanced macros need xinput commands. Never skip this step: ISO-layout keyboards (common in Europe) will misfire key functions on ANSI-based systems until you select the correct regional setting in OS preferences.
Connect and Position Your Keyboard for Optimal Performance
Wired Setup Without Cable Chaos
Plug directly into your PC’s rear USB 3.0 port—front-panel ports often deliver unstable power. Route cables through under-desk channels or use adhesive clips to prevent tugging. Position the keyboard 20-26 inches from your monitor with elbows at 90 degrees. Pro tip: Extend rear feet to create a 4-8 degree slope. This reduces wrist strain by 30% during marathon typing sessions, according to ergonomic studies cited in manufacturer documentation.
Wireless Pairing That Actually Works
For 2.4GHz dongles: Insert into USB 2.0 port, then hold FN + ESC for 5 seconds until LEDs flash rapidly. Bluetooth requires two steps most guides omit: First, put the keyboard in pairing mode (check manual for model-specific keys), then on your device, select it from Bluetooth settings before entering any PIN. Test stability by walking 15 feet away—if keys lag, reposition the dongle using a USB extension cable.
Configure Software and Key Functions Immediately
Install Drivers Without Bloatware
Windows auto-installs basic drivers in 30 seconds—skip manufacturer installers if you only need typing functionality. But for RGB or macros, download the official software (e.g., Corsair iCUE) and disable “auto-start” features during installation to prevent system slowdowns. Mac users: Ignore prompts to “identify keys”—this only configures modifier keys, not layout.
Fix Layout Nightmares in 60 Seconds
Navigate to Windows Settings > Time & Language > Language > Keyboard or macOS System Preferences > Keyboard > Input Sources. Select “ANSI” for US keyboards (straight Enter key) or “ISO” for European layouts (tall Enter key). If keys output wrong symbols (e.g., @ instead of “), reset the layout—this solves 90% of “broken keyboard” panic posts on forums.
Customize Lighting and Macros Like a Pro
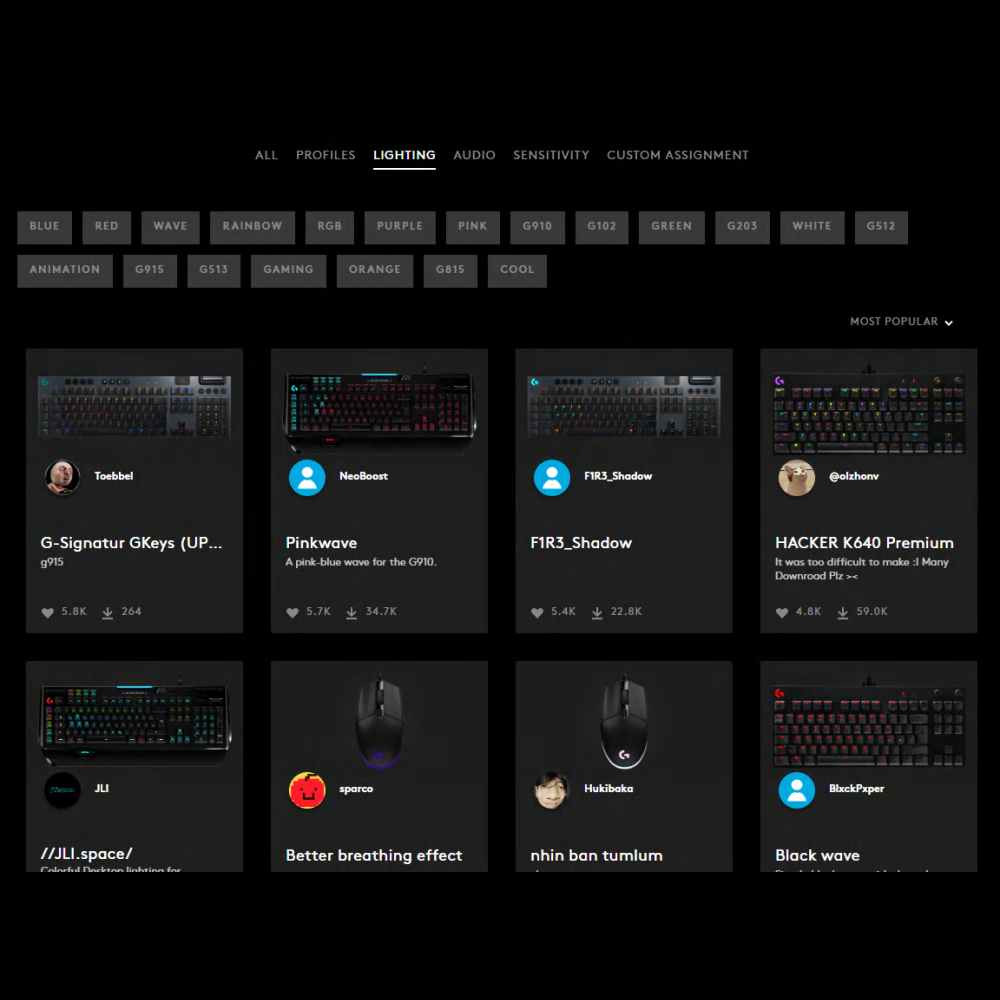
Create Productivity-Boosting RGB Profiles
Avoid this trap: Overpowering brightness causes eye strain. Start with 30% brightness using FN + ↓ arrow, then cycle effects with FN + Pause. For work: Static white for focus. For gaming: Reactive lighting (keys illuminate on press). Gaming software like Logitech G Hub lets you assign per-key colors—map WASD keys to red for instant visibility.
Program Time-Saving Macros in 3 Steps
- Hold FN + F12 (common macro key) until the keyboard blinks
- Type your sequence (e.g., “Sincerely, [your name]”) at normal speed
- Press FN + desired key (e.g., F1) to save
Warning: Macros exceeding 15 keystrokes may fail on budget boards. Test in Notepad first—never assign system-critical functions like Ctrl+Alt+Del.
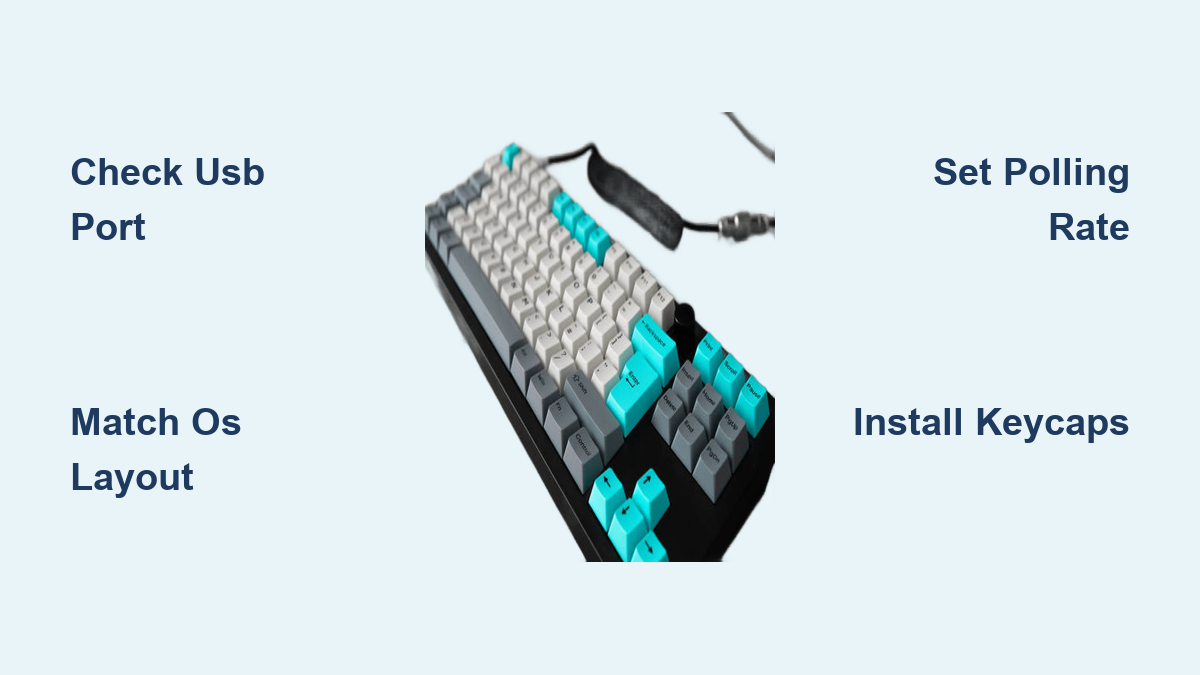
Replace Keycaps Without Breaking Stabilizers
Remove Caps Safely in 10 Seconds
Insert keycap puller wires under opposite edges of the cap. Never twist—this bends switch stems. For spacebars and shift keys, pull both sides simultaneously to avoid dislodging stabilizer wires. Budget keycap pullers often slip; grip firmly and pull straight up with steady pressure.
Install New Caps Without Wobble
Align stems with switch housings (square holes for Cherry MX switches). Press down evenly until you hear a soft click. Critical check: Test large keys by typing rapidly—if they “ping” or feel loose, reinstall with slight side-to-side wiggling to seat stabilizers. Mix-and-match profiles (e.g., OEM keycaps on DSA switches) cause inconsistent typing force—stick to one profile type.
Optimize Performance Settings for Your Use Case

Adjust Polling Rate and Debounce Time
Gaming demands 1000Hz polling rate (1ms response); office work runs fine at 125Hz. Access this in manufacturer software under “Performance.” Debounce time prevents double-presses: Set to 8ms for gaming (fast response) or 20ms for typing (prevents chatter). Test: Rapidly tap “T” 20 times—if letters repeat, increase debounce by 5ms increments.
Eliminate Annoying Typing Noise
Budget boards sound hollow due to empty cases. Fix this by:
– Installing 50A O-rings on keycap stems (reduces bottom-out noise by 15dB)
– Adding foam sheets between the PCB and case (eliminates echo)
– Applying 0.125mm switch films (stops housing wobble)
Pro tip: Record typing sounds with your phone—compare configurations to find your ideal “thock” vs “clack” balance.
Test and Maintain Your Keyboard Long-Term
Verify Full Functionality in 5 Minutes
Use keyboardtester.com to:
1. Check N-key rollover (all keys should register simultaneously)
2. Test ghosting (press WASD + arrows—if keys drop, disable NKRO in software)
3. Measure latency (<5ms is excellent)
Wireless users: Walk to the edge of your room while typing—dropouts indicate dongle placement issues.
Establish a Cleaning Routine That Works
Daily: Blow crumbs with compressed air (hold 6 inches away). Weekly: Remove keycaps, soak in lukewarm water + mild soap for 30 minutes, dry overnight. Never use alcohol—it cracks PBT keycaps. Monthly: Inspect stabilizers for lubricant dryness; re-lube with Krytox 205g0 if rattling occurs. Register your keyboard online within 30 days—most brands extend warranties for registered products.
Your mechanical keyboard now delivers buttery-smooth keystrokes and personalized functionality. Within the first week, fine-tune debounce settings as your fingers adapt to mechanical switches, and experiment with macro profiles for email or coding shortcuts. Remember: Proper setup prevents 75% of common issues like key chatter or unresponsive keys. Treat your keyboard to a deep clean every six months, and it’ll reward you with over 50 million keystrokes of precision typing. The true test? You’ll notice the difference before finishing your first email.