How to Remove Laptop HDD: Quick Steps
When your laptop’s hard drive fails, or you’re preparing to sell your device, knowing how to remove the HDD properly becomes critical. Improper removal can lead to data corruption, physical damage to components, or security vulnerabilities. Whether you’re upgrading to an SSD, recycling your machine, or securing sensitive information before disposal, this guide provides the precise steps to extract your hard drive safely using only basic tools—without risking your valuable data or damaging your laptop’s internal components.
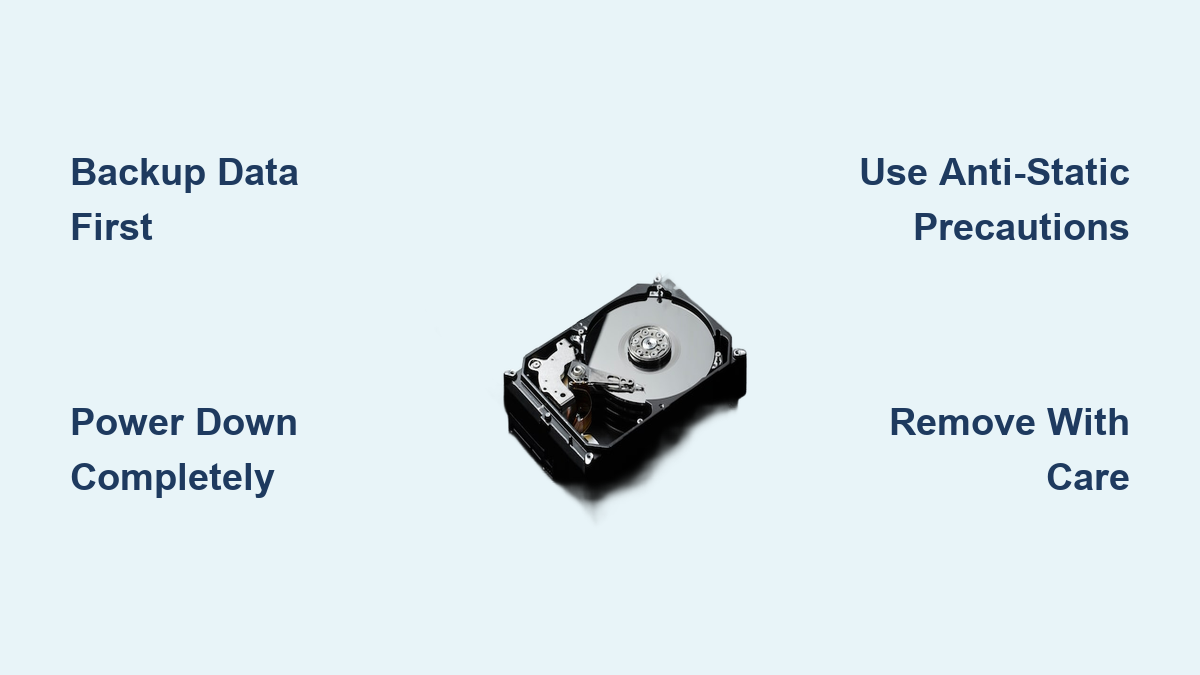
Secure Your Data Before Opening the Laptop
Complete Backup Verification Process
Before removing a single screw, ensure your data is safely backed up. Connect an external drive and initiate a full system backup—Windows users should utilize File History or create a system image through Control Panel, while Mac owners can rely on Time Machine’s automated process. For critical documents, financial records, or personal photos, open several files from your backup location to verify they’re not corrupted. Encryption adds an extra security layer; use BitLocker on Windows or FileVault on macOS to protect sensitive information during transfer. This precaution takes just minutes but prevents irreversible data loss when the drive is disconnected.
Document Essential Software Licenses
Removing your HDD erases your laptop’s ability to authenticate licensed software. Before proceeding, record your Windows product key (found in Settings > System > About > Product Key) and save software license files to your backup drive. For business applications, capture activation codes and serial numbers. This 30-second documentation prevents hours of reactivation headaches and potential software re-purchase costs when you install a new drive or decommission the machine.
Power Down and Prevent Static Damage
Complete Electrical Isolation Protocol
Never work on a powered laptop—residual electricity can fry components instantly. Shut down through your operating system, unplug the AC adapter from both the wall and laptop, then remove the battery if your model allows external access. Hold the power button for five full seconds to discharge any remaining power in the capacitors. Disconnect all peripherals including USB drives, SD cards, and docking stations; even seemingly disconnected devices can create electrical pathways that risk component damage during the removal process.
Effective Static Electricity Prevention
Static discharge remains the silent killer of computer components. Either clip an anti-static wrist strap to an unpainted metal surface on your workspace, or establish frequent contact with the laptop’s metal frame every few minutes. Work on a non-carpeted surface if possible, and avoid wearing synthetic fabrics that generate static. Humidity levels below 40% increase static risk, so consider working in a bathroom with a running shower or using a humidifier during dry winter months—this simple environmental adjustment reduces electrostatic discharge risk by up to 70%.
Locate and Access the Hard Drive Compartment
Identify Your Laptop’s Specific Access Point
Flip your laptop over and examine the bottom panel for the hard drive compartment. Most models feature a rectangular access panel secured by 2-4 screws, often marked with a hard drive icon. Dell laptops typically label this section clearly, while HP models sometimes hide the drive beneath the entire bottom panel requiring 8-12 screws to remove. Check under rubber feet and warranty stickers—manufacturers often conceal screws in these locations to maintain warranty validity. If uncertain, search “[your model] hard drive access” online or consult your manufacturer’s service manual using the service tag.
Remove Access Panel Without Damage
Use a PH.1 Phillips head screwdriver—the most common laptop screw size—and place screws in a small dish arranged in the same pattern they came out. This organization prevents confusion during reassembly. Gently lift the panel starting from the screw side; if it resists, check for hidden latches or adhesive strips. Some modern ultrabooks use tamper-proof screws requiring special tools, while business-class laptops often feature quick-release mechanisms. Never force the panel—applying excessive pressure can crack plastic components or damage internal connectors that share the same housing.
Properly Extract the Hard Drive from Its Bay
Disconnect Cables Without Damaging Connectors
The hard drive connects via two critical cables: a wide SATA data cable and a smaller power connector. Never pull cables by their wires—this instantly breaks fragile internal connections. Instead, grasp the plastic connector housing firmly and wiggle gently while pulling straight out. These connectors only fit one way, so don’t force them during reinstallation. Some laptops use proprietary connectors that require additional release mechanisms; if resistance feels excessive, consult your model’s service manual before applying more force.
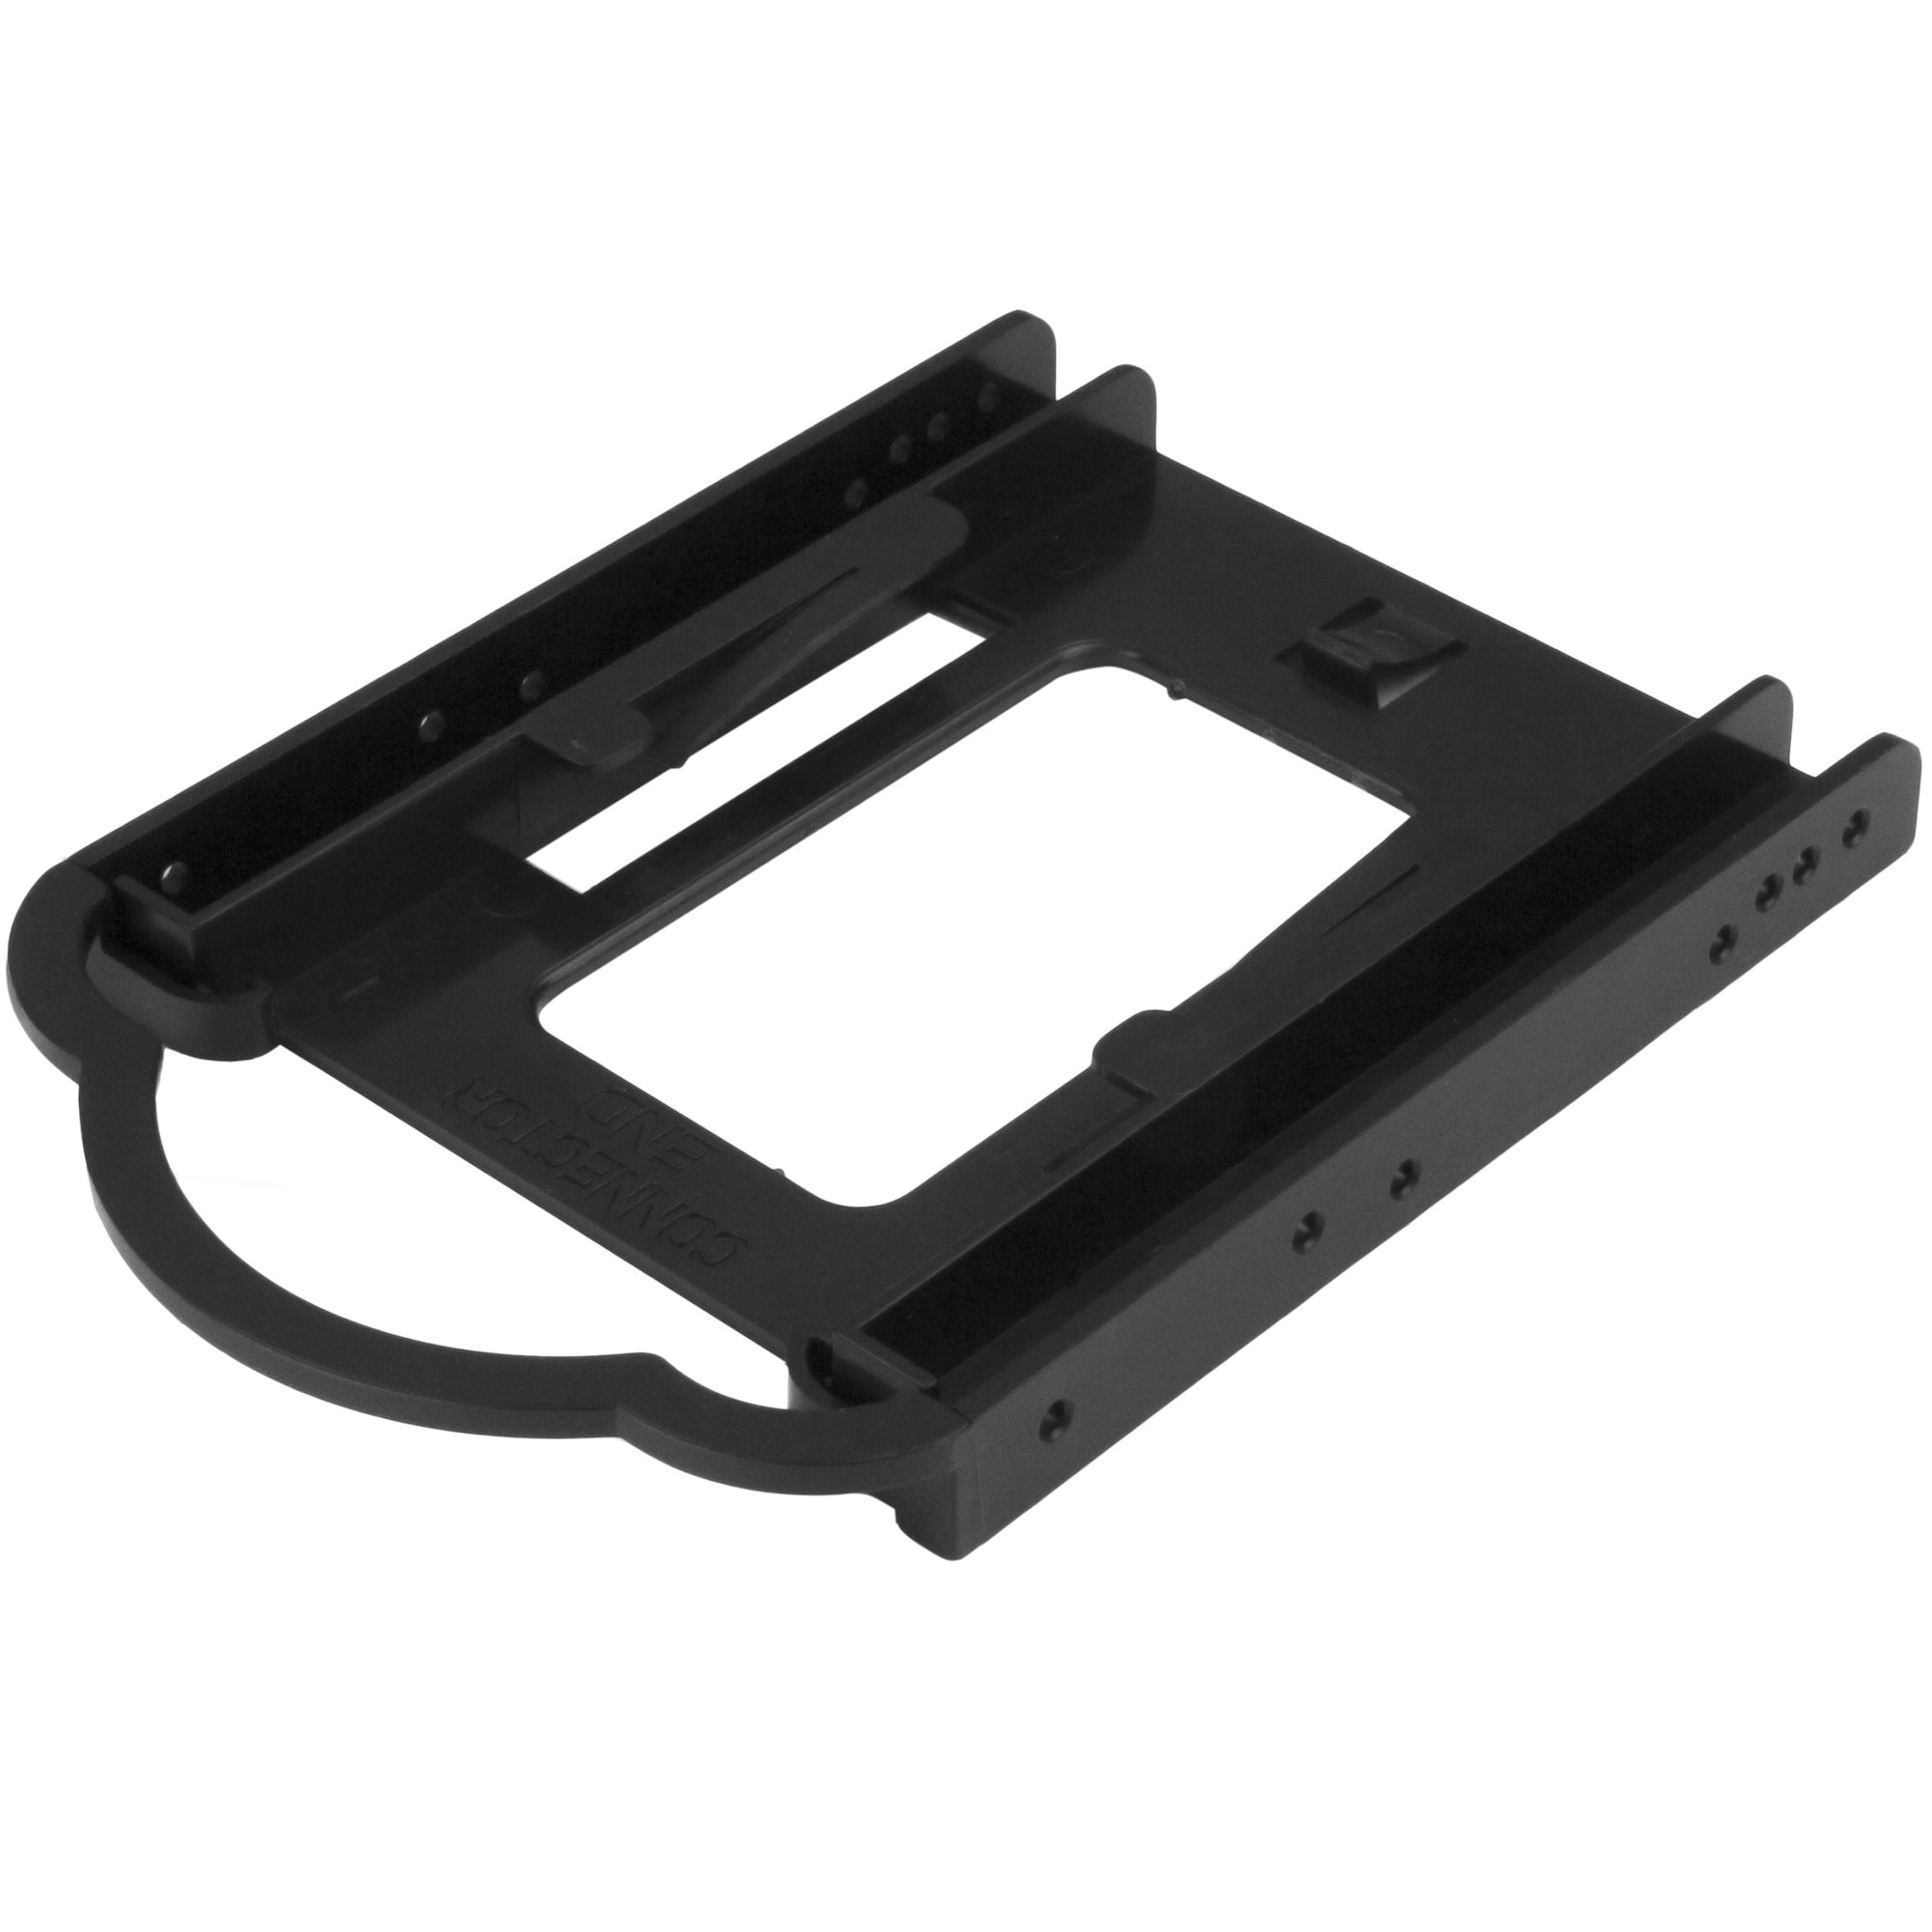
Remove Mounting Hardware Correctly
Most laptops secure drives with one of three systems:
– Four corner screws (common in older models)
– Tool-less rails (plastic clips that slide apart with a spudger)
– Metal caddies (entire bracket secured by 2-4 side screws)
Save all brackets and screws—they’re often model-specific and difficult to replace. The drive itself slides out parallel to the motherboard. If it sticks, check for hidden plastic latches or secondary mounting points. Pro Tip: Take photos at each disassembly stage—this visual reference prevents reassembly errors and helps identify where each component belongs.
Handle the Removed Hard Drive Safely
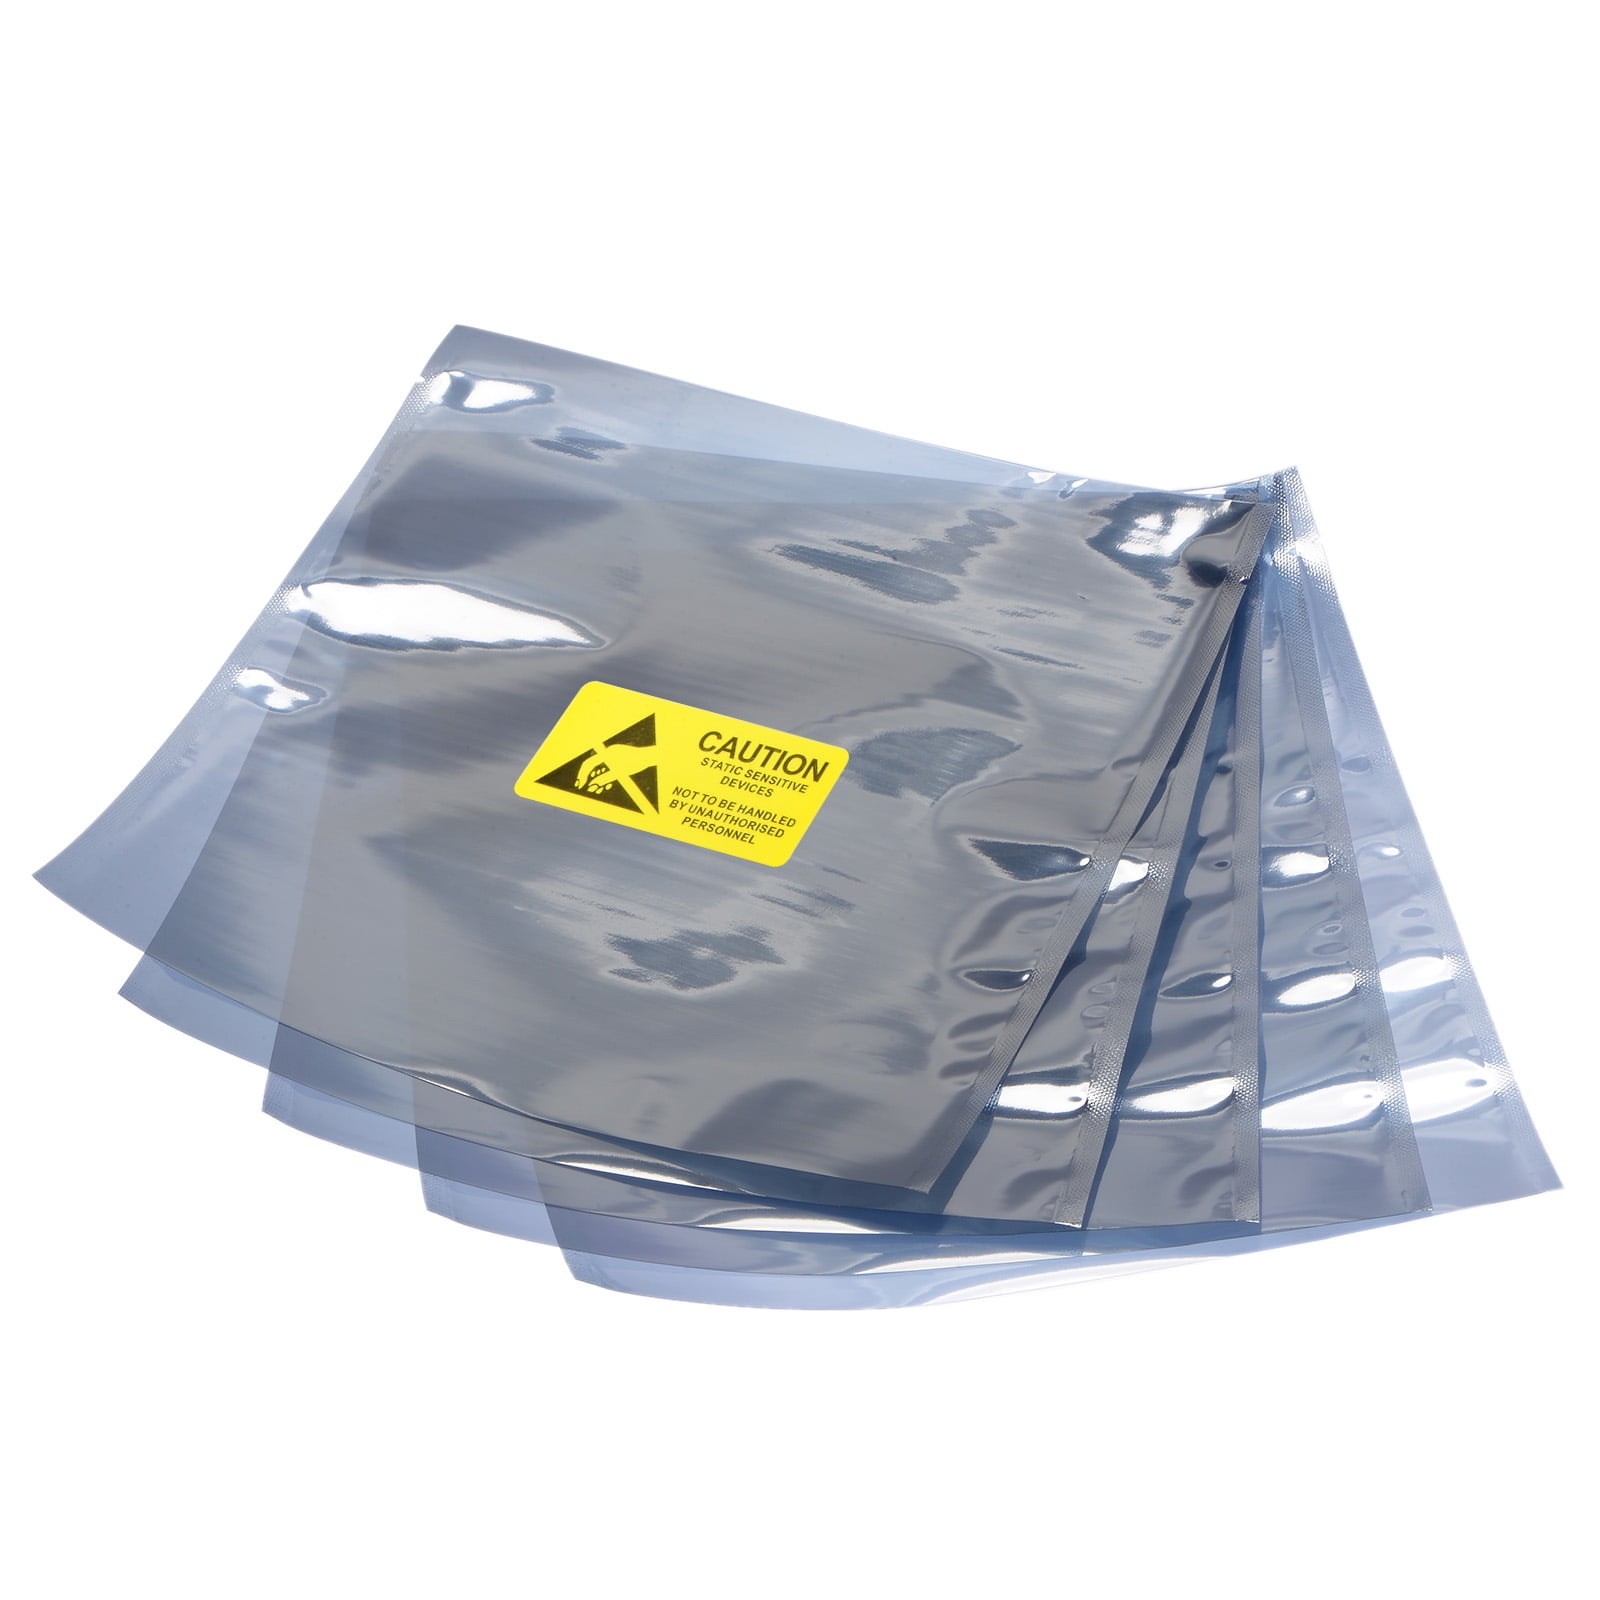
Immediate Anti-Static Storage Protocol
Place the extracted drive in an anti-static bag within 30 seconds of removal—handling time directly correlates with static damage risk. These silver-gray bags prevent electrostatic discharge from wiping your data. Store the drive flat in a cool, dry place away from magnetic sources like speakers or microwaves. Label the bag with the laptop model, removal date, and any special notes about the drive’s condition for future reference. Never stack heavy objects on removed drives, as even slight pressure can damage platter surfaces.
Prepare for Secure Disposal or Reuse
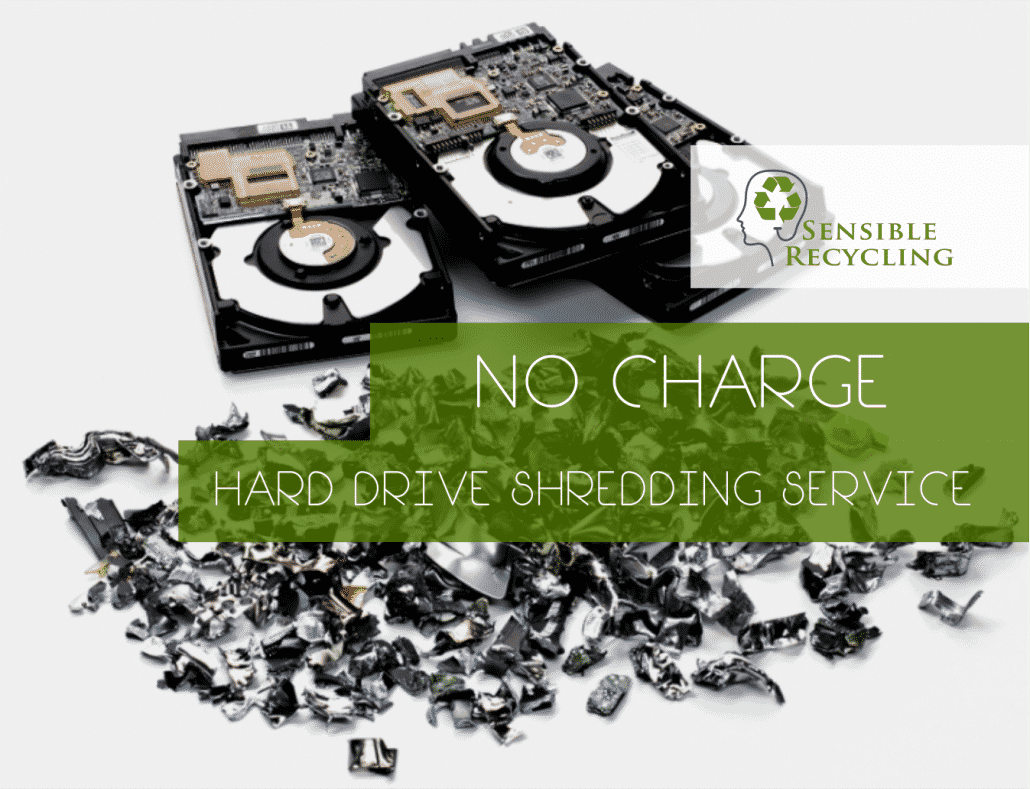
For data destruction: Software wiping provides basic security, but physical destruction guarantees data irrecoverability. Professional services shred drives completely, providing certificates for business compliance with GDPR, HIPAA, or SOX regulations. For reuse: The drive works perfectly in USB enclosures as external storage—just verify it matches the enclosure’s height (7mm vs 9.5mm). Most 2.5-inch SATA drives function identically across brands, making repurposing straightforward and cost-effective.
Reassemble Your Laptop Without Errors
Replace Access Panel Securely
Line up the panel’s edges carefully before inserting screws. Start all screws finger-tight, then snug them down in a criss-cross pattern—this prevents panel warping and ensures even pressure distribution. Never overtighten; laptop screws strip easily due to their small size and plastic threads. Replace the battery last, then reconnect your AC adapter. Before powering on, visually inspect the workspace for forgotten tools or loose screws that could cause short circuits.
Verify System Status After Removal
Power on your laptop—it will display a boot device error confirming successful HDD removal. This expected behavior indicates your system recognizes the missing storage component. If you’re installing a replacement drive immediately, insert it now following the reverse process. Otherwise, your laptop is ready for recycling or sale with the critical security step of HDD removal completed.
Dell-Specific Removal Requirements
Service Tag Lookup for Model-Specific Instructions
Dell owners gain a significant advantage through service tag lookup at Dell.com/support. Inspiron laptops often hide drives under the keyboard requiring additional disassembly, while Latitude business models typically use bottom-panel access. XPS ultrabooks may demand removal of the entire base assembly—service tag documentation reveals these critical differences. This manufacturer-specific guidance prevents unnecessary disassembly of unrelated components, saving an average of 15-20 minutes per repair.
Bracket Transfer Necessity for Replacement Drives
Dell’s removable brackets must transfer to replacement drives—they’re not universal across models. These metal frames use specific screw patterns, usually 4-6 tiny screws along the sides. Save these brackets carefully; they’re expensive to replace and often unavailable for older models. The bracket ensures proper vibration damping and secure mounting—installing a drive without its original bracket risks premature failure due to inadequate shock absorption.
Data Security After HDD Removal
Understanding Data Persistence Realities
Removing the HDD doesn’t delete your data—it merely separates storage from the laptop. Your photos, passwords, and documents remain intact on the drive itself. Some systems contain additional storage like SSD caches or embedded memory that may retain data fragments, though this is rare in older HDD-based laptops. Critical Reality: Simply deleting files or formatting the drive doesn’t destroy data—specialized software can recover information until the storage sectors are overwritten multiple times.
Professional Data Destruction Verification
For sensitive business data, combine software wiping with physical destruction. Run certified tools like DBAN for 3-7 overwrite passes, then use a shredding service. These services provide certificates proving destruction for audit compliance—essential for meeting HIPAA, GDPR, or SOX requirements. The certificate should include drive serial number, destruction method, date, and authorized personnel signature—this documentation protects your organization from liability in case of future data breaches.
Avoid These Critical HDD Removal Mistakes
Common Errors That Damage Components
Never:
– Remove screws while the laptop remains powered (even in sleep mode)
– Force connectors that don’t slide out easily
– Touch circuit board components with bare fingers
– Work on carpeted surfaces during dry winter months
– Stack items on removed drives or store them vertically
Always:
– Verify backup completion with file sampling before starting
– Photograph each disassembly stage for reassembly reference
– Handle drives exclusively by their edges and metal casing
– Test new drives in USB enclosures before full installation
Your laptop hard drive now rests safely in anti-static storage, ready for secure disposal, professional data destruction, or repurposing as external storage. This skill transfers across nearly all laptop brands—the process differs only in screw locations and bracket styles. Store this guide for future upgrades, and remember: proper preparation prevents data disasters. Whether you’re upgrading storage, recycling responsibly, or protecting sensitive information, following these precise steps ensures your data remains secure while preserving your laptop’s functionality for its next chapter.