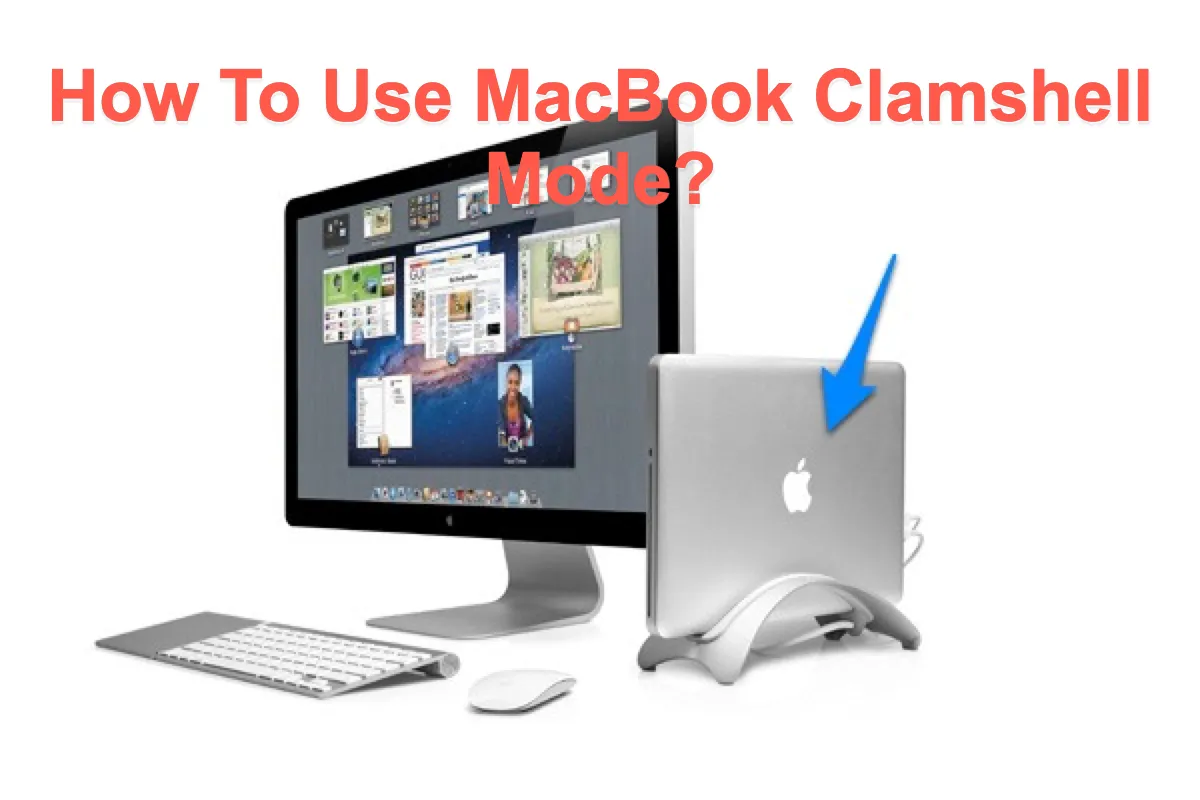
How to Use Monitor When Laptop is Closed
Your laptop’s tiny screen is killing your productivity. You’ve connected a gorgeous 27-inch monitor but dread the clutter of an open laptop hogging desk space. What if you could shut that laptop completely and use only your external monitor—like a sleek desktop workstation? This isn’t just possible; it’s simple with the right steps. Whether you’re a designer craving more canvas space or an office worker tired of hunching over a cramped display, this guide cuts through the confusion. You’ll learn exactly how to shut your laptop and use your monitor as the sole display on Windows or macOS—no sleep mode triggers, no black screens, and no overheating risks. By the end, you’ll have a clean, professional setup that transforms your laptop into a powerful desktop replacement.
The magic happens in “clamshell mode”—where your laptop runs with the lid closed while driving external peripherals. But mess up one setting, and you’ll trigger sleep mode or lose your display. Most tutorials skip critical nuances like macOS’s strict power requirements or Windows’ hidden wake settings. We’ll fix that. You’ll get step-by-step instructions verified against official OS documentation, plus pro fixes for the #1 issue: monitors going black when closing the lid. Ready to reclaim your desk? Let’s dive in.
Stop Windows from Sleeping When Closing Laptop Lid

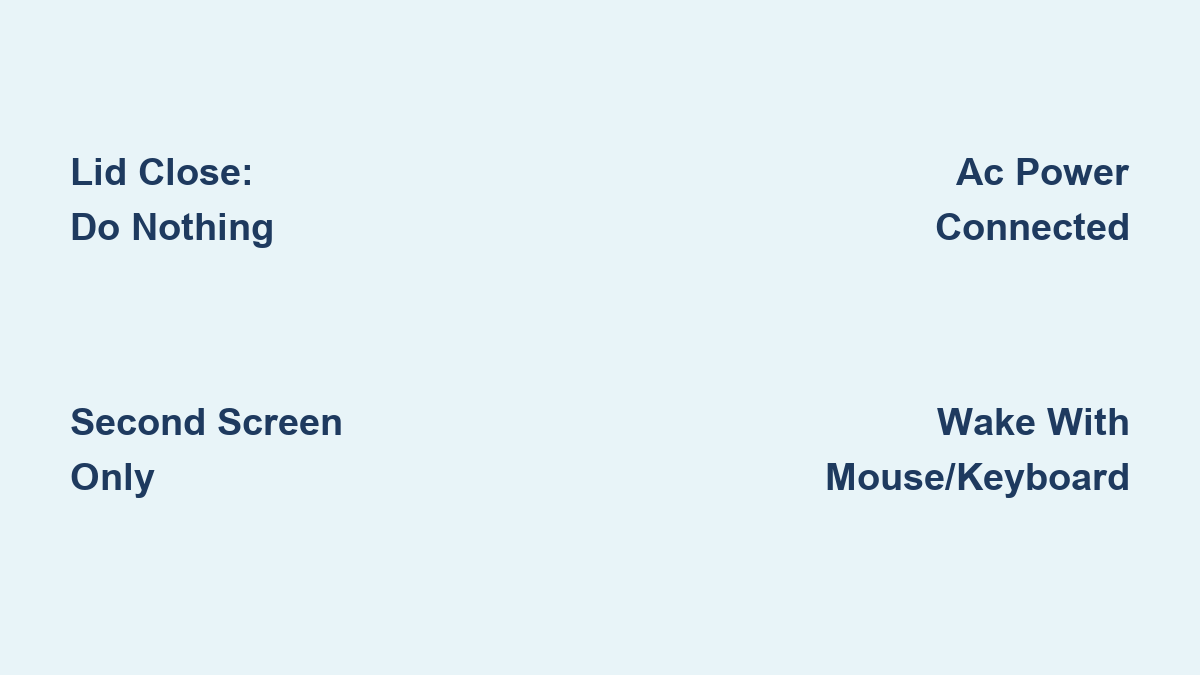
Change Lid Close Action to “Do Nothing”
Windows defaults to sleep mode when you close the lid—derailing your external monitor setup. Fix this in 20 seconds: Press Windows + I → System → Power & battery → Additional power settings → Choose what closing the lid does. Under both “On battery” and “Plugged in,” set the dropdown to Do nothing. Click Save Changes. This single step prevents automatic sleep, letting your laptop run headless. Skip this, and your monitor will blackout every time you shut the lid.
Force Monitor to Work as Primary Display
Now route all visuals to your external screen. Press Windows + P to open projection options. Select Second screen only—not “Extend”—to disable the laptop display entirely. Your monitor will go black for 2-3 seconds as Windows reconfigures, then show your desktop. Next, right-click the desktop → Display settings. Drag the menu bar icon (top number) to your external monitor. Check Make this my main display. For 4K monitors, click Advanced display settings to set 60Hz refresh rate—avoiding blurry text.
Activate MacBook Closed-Lid Mode Without Battery Drain
Meet macOS Clamshell Mode Requirements First
Unlike Windows, macOS demands three non-negotiable items for closed-lid operation:
– AC power adapter connected (battery-only mode forces sleep)
– External keyboard/mouse (USB or Bluetooth)
– Monitor connected via HDMI, USB-C, or Thunderbolt
Skip any one requirement, and your MacBook sleeps instantly when closing the lid. Pro tip: Use a USB-C dock that combines power delivery, monitor output, and keyboard/mouse ports into one cable. This prevents accidental disconnection of critical peripherals during setup.
Enable Closed-Lid Mode in 3 Steps
- Connect all peripherals while MacBook is awake and plugged in
- Wait for desktop to appear on external monitor (takes 5-10 seconds)
- Gently close the lid—do not force it
If the monitor stays black, press a key on your external keyboard. Navigate to System Settings → Displays to drag the menu bar to your external screen. macOS won’t let you disable the internal display software-wise, but with the lid shut, it stays dormant. Critical note: Never use clamshell mode on battery—macOS will sleep within 2 minutes to prevent overheating.
Fix Black Screen and Overheating Issues Immediately
Why Your Monitor Goes Black When Closing Lid (and How to Fix)
This almost always means Windows still thinks closing the lid = sleep. Revisit Power Settings → Choose what closing the lid does and confirm both dropdowns say Do nothing. On macOS, verify your power adapter is firmly plugged in—loose connections trigger sleep. If issues persist:
– Unplug/replug the monitor cable (HDMI/USB-C ports can glitch)
– Press Windows + P → Second screen only before closing the lid
– For Macs, wake the system by moving the external mouse after closing the lid
Prevent Laptop Overheating in Closed Position
Shutting the lid blocks airflow through keyboard vents, causing temperatures to spike 15-20°F. Combat this by:
– Placing your laptop on a hard, flat surface (never fabric or beds)
– Elevating the rear 0.5 inches with a book or stand for vent clearance
– Using a cooling pad with fans during intensive tasks (video editing/gaming)
– Opening the lid 1-2 inches if fans run constantly—this isn’t failure; it’s smart thermal management
Wake Laptop Without Opening the Lid (Windows Specific)
Enable Mouse to Wake Your Sleeping Laptop
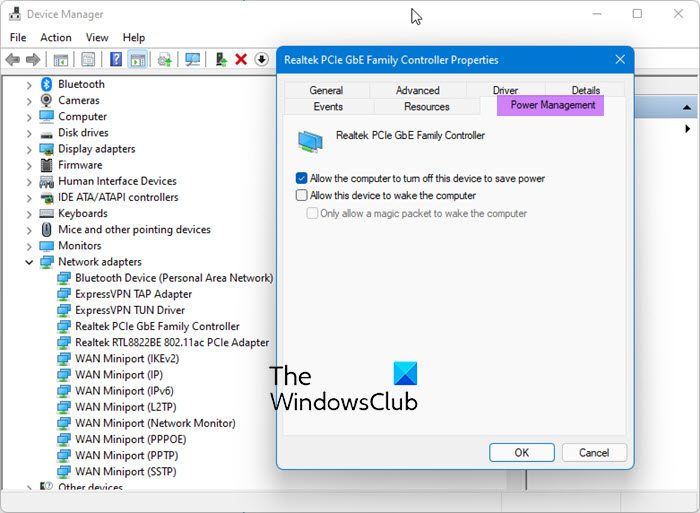
After closing the lid, you’ll need to wake the system. For USB mice: Open Device Manager → Mice and other pointing devices → right-click your mouse → Properties → Power Management → check Allow this device to wake the computer. Test by putting the laptop to sleep (Win + X → U → S), then moving the mouse. The monitor should instantly light up.
Activate Keyboard Wake Functionality
Follow the same steps in Device Manager under Keyboards, but add one critical step for Bluetooth keyboards: Enter BIOS/UEFI (press F2/Del during boot) → find Power Management → enable Allow Bluetooth devices to wake PC. Without this, your wireless keyboard won’t wake the system. Remember: Wake features only work from Sleep/Hibernate—not full shutdown.
Pro Tips for a Seamless Desktop Experience
One-Click Display Mode Switching (Win+P)
Memorize Windows + P—it’s your lifeline for instant display toggling. Press it when:
– Connecting/disconnecting monitors on the go
– Switching between presentation mode (“Duplicate”) and focused work (“Second screen only”)
– Troubleshooting black screens (cycle through options quickly)
Optimize Power Settings for Closed-Lid Reliability
Create a dedicated power plan: Settings → System → Power → Power mode → Best performance. Then:
– Set “Sleep after” to Never when plugged in
– Disable “Turn off display after” entirely
– Under Additional settings → Power buttons, set “Lid close” to Do nothing (redundant but failsafe)
This prevents Windows from overriding your settings during long work sessions.
Maintenance Checklist for Long-Term Reliability
Monitor Temperatures During Heavy Workloads
Download HWMonitor (free for Windows) or iStat Menus (macOS) to track CPU/GPU temps. If readings exceed 85°C (185°F) during clamshell use:
– Stop intensive tasks and let the laptop cool for 10 minutes
– Clean vents with compressed air monthly (dust buildup worsens overheating)
– Reduce workload—rendering 4K video in closed-lid mode is pushing limits
Update Drivers to Avoid Display Glitches
Outdated GPU drivers cause 70% of resolution/scaling issues. Check monthly:
– NVIDIA/AMD/Intel → Download latest driver from manufacturer site (not Windows Update)
– Docking stations → Visit brand’s support page for firmware updates
– After updates, revisit Display settings to reconfirm native resolution
Final Setup Checklist Before Closing Your Lid
- ✅ Power connected – Laptop must be plugged in (critical for Mac)
- ✅ Lid-close action set to “Do nothing” – Double-check Windows power settings
- ✅ External monitor as primary display – Drag menu bar icon in Display settings
- ✅ Wake permissions enabled – Mouse/keyboard can wake the system
- ✅ Hard surface with rear elevation – Prevents overheating
- ✅ Win + P set to “Second screen only” – Before shutting the lid
Shutting your laptop and using only your monitor isn’t just convenient—it’s a game-changer for ergonomics and productivity. You’ve eliminated neck strain from hunching over a small screen, freed up precious desk real estate, and gained true desktop-level workflow efficiency. Whether you’re crunching spreadsheets or editing videos, this setup proves your laptop can be both portable powerhouse and stationary workstation. The next time you close that lid, smile knowing your sleek, monitor-only workspace is ready to go with a flick of the mouse. No more compromises—just pure, uninterrupted focus.