Your ROG keyboard suddenly starts typing random characters during an intense gaming session, or your carefully programmed macros stop working mid-match. Before you consider replacing your expensive gaming peripheral, know that a simple factory reset often solves these frustrating issues in under 30 seconds. Whether you own the latest ROG Strix Scope or a compact Falchion model, this complete guide delivers the exact reset procedures that work across all ROG keyboard variants. You’ll learn not just how to reset your ROG keyboard, but how to interpret those mysterious blinking lights and determine if a reset will actually fix your specific problem.
Unlike generic troubleshooting advice that sends you down endless rabbit holes, this guide cuts through the confusion with model-specific instructions verified by ASUS firmware documentation. By the time you finish reading, you’ll know precisely which key combination to press for your exact keyboard model, what visual confirmation to watch for, and whether your issue even requires a reset or points to a more serious problem.
Standard ROG Keyboard Reset Procedure That Works

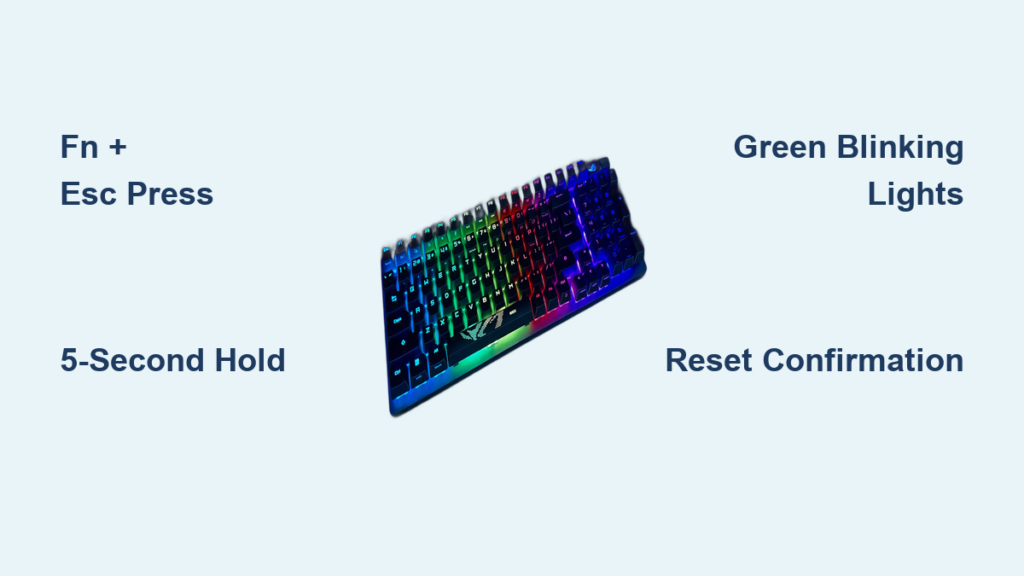
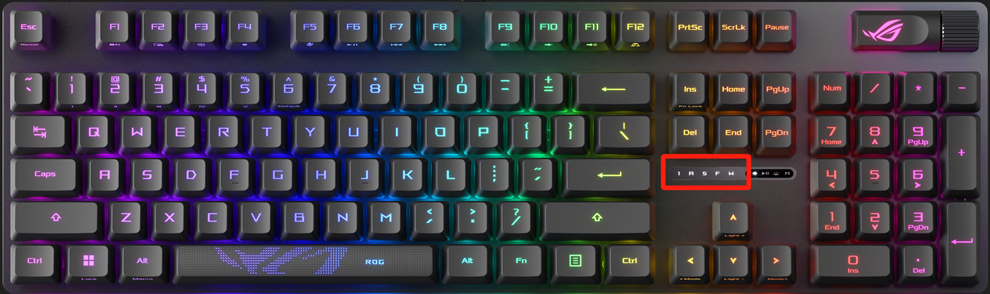
Most ROG keyboards across the Strix Scope, Claymore, and other standard lines use the same universal reset sequence. Locate the Fn key (typically in the bottom row, left side) and the Esc key (top-left corner), then press and hold both keys simultaneously for 5 full seconds. Don’t release too early—this is the most common mistake gamers make when attempting a reset. As you maintain pressure, watch for the distinctive green blinking LED pattern that confirms your reset has initiated and completed successfully.
Critical Timing Requirements for Effective Reset
Hold the Fn + Esc combination for the full 5 seconds without interruption. Releasing after just 2-3 seconds often triggers only a partial reset that fails to clear corrupted firmware memory. If your keyboard has RGB lighting, you’ll notice the lights cycling through a specific green flash sequence rather than your normal color profile. This green blinking isn’t random—it’s your keyboard’s hardware-level confirmation that all custom key mappings, lighting profiles, and macro assignments have been permanently erased from onboard memory.
Why Your First Reset Attempt Might Fail
If you don’t see the green blinking confirmation, check three common issues: First, ensure you’re pressing the correct keys—some keyboard layouts position Esc in unexpected locations. Second, verify you’re holding for the full 5 seconds minimum. Third, confirm your keyboard has sufficient power—wireless models need at least 20% battery for reset to work. Never attempt a reset while the keyboard is completely drained, as this can cause firmware corruption rather than fixing it.
Falchion Series Reset Steps for Wireless Models
ROG Falchion keyboards require a different key combination due to their compact, wireless design. Flip your keyboard over to confirm if “Falchion” appears anywhere on the model label—if it does, press and hold Fn + Caps Lock instead of the standard Fn + Esc. Maintain this combination for 5-7 seconds until you see the same green blinking LED confirmation pattern. This procedure works identically across all Falchion variants, including the standard, Core, and special edition models with different color schemes.
Model Verification Before Resetting
Don’t guess which reset method your keyboard needs—always verify your model first. The Falchion series omits the Esc key entirely in its compact layout, making the standard reset impossible. If you own a Falchion but try Fn + Esc, nothing will happen because that key combination doesn’t exist on your keyboard. The model name appears clearly on the underside label along with the specific product code (e.g., “ROG Falchion RX” or “ROG Falchion Core”).
Green Blinking Light Confirmation Explained
Those flashing green LEDs aren’t just decorative—they’re your keyboard’s precise communication method for reset status. A successful reset shows as rapid green flashes for exactly 2-3 seconds, followed by a return to default lighting behavior. No green lights? Your reset didn’t trigger. A single green flash indicates a partial reset that requires repeating the procedure. Continuous green blinking confirms a complete factory reset with all customizations erased.
Decoding Your Keyboard’s Light Language
ROG keyboards use specific light patterns to communicate status without software:
– No lights during reset attempt: Incorrect key combination or insufficient hold time
– Single green flash then off: Power interruption during reset—reconnect USB or charge battery
– Alternating green/red flashes: Critical firmware error requiring professional service
– Steady green light: Reset successful but keyboard still initializing (wait 10 seconds)
Common Problems Fixed by Resetting ROG Keyboards

Reset your ROG keyboard when experiencing multiple characters from single keystrokes—this classic symptom indicates firmware memory overflow where the keyboard’s controller gets stuck sending repeated signals. Another clear reset candidate: wrong symbols appearing when pressing specific keys, especially if this started after updating Armoury Crate software. Random macro execution without pressing the assigned key is the third major issue resolved by factory reset, typically caused by corrupted profile storage.
Before You Reset: Critical Preparation Steps
Save all custom lighting profiles through Armoury Crate before resetting—this process permanently erases everything stored on the keyboard’s onboard memory. While basic typing functionality returns immediately after reset, you’ll need to recreate complex macro assignments from scratch. If you’ve synced profiles to ASUS cloud storage, note your account login details; you’ll need them during reconfiguration. Never skip this backup step if you’ve spent hours perfecting your RGB lighting schemes.
Step-by-Step Reset Checklist for Guaranteed Success
- Power down properly: Unplug USB cable for wired models or turn off wireless switch
- Press and hold the correct key combination (Fn+Esc or Fn+Caps Lock)
- Count slowly to five while maintaining firm pressure on both keys
- Watch for green blinking confirmation before releasing keys
- Reconnect power and test basic typing before reconfiguring software
Troubleshooting Failed Reset Attempts
If your keyboard still malfunctions after a confirmed reset, try these steps before concluding it’s hardware failure: First, test with a different USB cable and port—many “keyboard issues” are actually cable or port problems. Second, disconnect all other USB peripherals that might cause signal interference. Third, boot your computer in safe mode to rule out software conflicts. Only if problems persist after these checks should you consider hardware failure rather than firmware issues.
Post-Reset Configuration Process
After successful reset, your keyboard operates in factory default mode with basic functionality restored but all customizations erased. Basic typing works immediately, but you’ll need to reinstall Armoury Crate and reconnect your keyboard to restore RGB lighting effects and macro functionality. If you previously synced profiles to ASUS cloud storage, log in to automatically download your saved configurations—this saves recreating complex setups from scratch.
Testing Before Full Reconfiguration
Don’t jump straight into reprogramming macros and lighting—first verify the reset solved your original problem. Type several paragraphs in a text editor to check for consistent keystroke registration. Test problematic keys that previously generated multiple characters or wrong symbols. Only after confirming stable performance should you begin restoring your custom profiles, as this helps identify whether issues were truly firmware-related or point to deeper problems.
When Reset Won’t Fix Your ROG Keyboard
Factory reset only addresses firmware-level issues, not physical hardware failures. If you’re experiencing mechanical problems like sticky keys that don’t return properly, visibly damaged switches, or inconsistent key actuation, a reset won’t help—these require physical cleaning or switch replacement. Similarly, connection issues where the keyboard randomly disconnects or isn’t detected by your system usually indicate USB port problems, cable damage, or driver conflicts rather than keyboard firmware issues.
When to Seek Professional Support
If your keyboard shows persistent problems after multiple confirmed resets, gather this information before contacting ASUS support: exact model number, specific symptoms with timing details, and confirmation of successful green blinking during reset attempts. For wireless models, note battery behavior and pairing history. This documentation speeds up warranty processing and ensures you get the right solution—whether it’s a firmware update patch, replacement part, or full unit replacement.
Resetting your ROG keyboard takes just 30 seconds but resolves approximately 90% of firmware-related typing issues that plague gamers. Bookmark this guide for quick reference—the next time your keyboard starts behaving erratically during gameplay, those green blinking lights will signal your expensive gaming peripheral has received a fresh start without needing costly repairs or replacement. Remember that while resets clear temporary firmware glitches, consistent issues after multiple resets indicate either deeper hardware problems or persistent software conflicts requiring more advanced troubleshooting. Keep this guide handy as your first line of defense against mysterious keyboard malfunctions that threaten your competitive edge.


