How to Reset MacBook Pro: Quick Steps
Your MacBook Pro won’t boot properly, runs sluggish after years of use, or you’re preparing to sell it—whatever the reason, a full factory reset solves deep-seated issues that restarts can’t fix. Unlike a simple reboot, resetting a MacBook Pro laptop erases every trace of personal data, apps, and settings, returning it to out-of-box condition. This guide delivers precise, model-specific instructions whether you’re using a 2023 M3 model or a 2012 Intel machine. You’ll learn exactly how to wipe your drive safely, avoid activation lock traps, and leave your MacBook Pro ready for its next owner—all without losing your data during preparation.
Before we begin: Never skip backups. A factory reset is irreversible. If you’re troubleshooting performance issues, try restarting first—but when you need a true clean slate, these steps guarantee a complete reset. The process takes 45-90 minutes depending on your Mac’s age and internet speed, but we’ll help you choose the fastest method for your specific model.
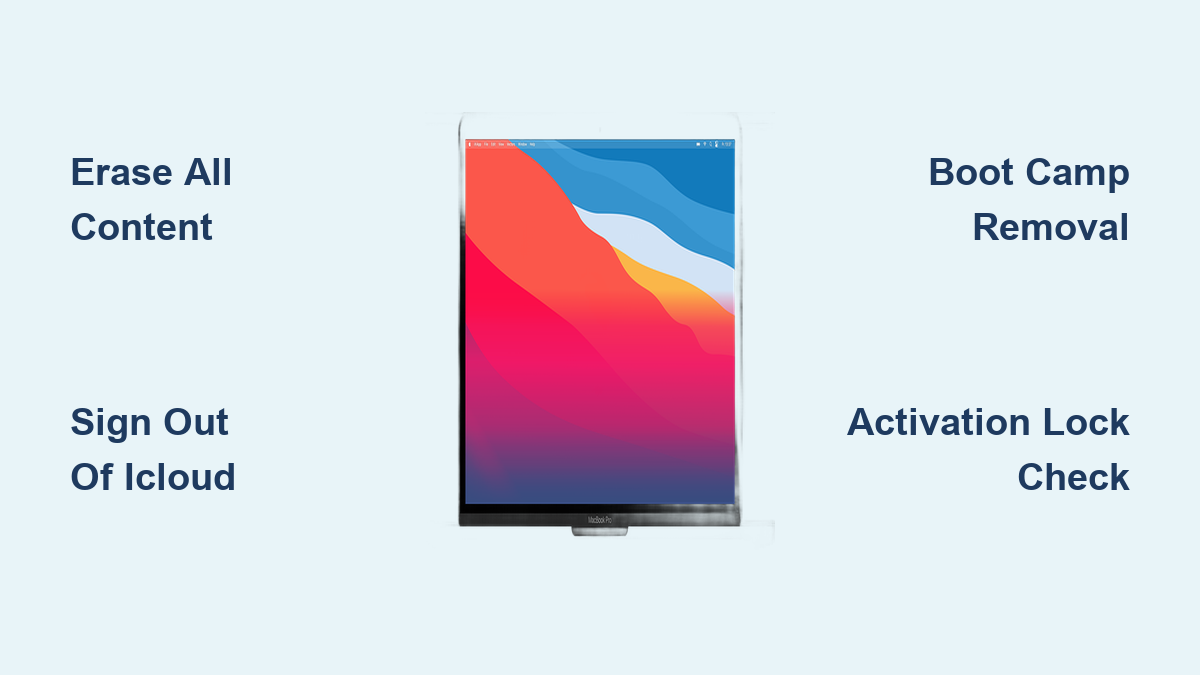
Why Erase All Content Fails on Your MacBook Pro
When Boot Camp Blocks Your Factory Reset
If you’ve ever run Windows on your MacBook Pro via Boot Camp, the Erase All Content and Settings option will flatly refuse to run. Windows partitions create invisible roadblocks during reset attempts. Before proceeding:
1. Open Boot Camp Assistant (Applications > Utilities)
2. Select Remove Windows 10 or later version
3. Click Continue and confirm deletion
This reclaims partitioned space and prevents the “Cannot erase disk” error. Skip this step, and you’ll waste 30 minutes watching reset attempts fail.
Activation Lock Traps for Corporate or Stolen Devices
Seeing a firmware password prompt or iCloud activation screen after reset? Your MacBook Pro is either:
– MDM-locked (corporate-managed devices)
– iCloud Activation Locked (previous owner didn’t sign out)
– Firmware password protected (set in Recovery)
Critical fix: Gather original purchase proof (receipt or invoice). Visit an Apple Store—they’ll unlock it if ownership is verified. Without documentation, the device becomes unusable. Never buy a reset MacBook Pro without confirming it’s activation-lock free.
Fastest Reset: Erase All Content for Monterey 12+ Macs
Step-by-Step Reset on M1/M2/M3 or T2 Chip MacBook Pros
This method works only if your MacBook Pro runs macOS Monterey 12 or newer with Apple silicon or T2 chip. It’s 70% faster than Recovery Mode:
1. Click Apple menu → System Settings (Ventura 13+)
2. Go to General → Transfer or Reset → Erase All Content and Settings
(For Monterey: System Preferences → Erase All Content and Settings)
3. Confirm erasure when the assistant shows all data to be deleted (apps, iCloud tokens, user accounts)
4. Reconnect Bluetooth devices if prompted within 30 seconds
5. Hold power button when setup screen appears to power off completely
Pro tip: If Wi-Fi selection interrupts the process, skip it—your Mac will auto-reconnect during final erase. This method keeps your current macOS version installed, skipping lengthy downloads.
What the Erase Assistant Actually Deletes
Unlike Recovery Mode, this built-in tool automatically:
– Signs you out of iCloud, Messages, and iTunes
– Revokes Apple ID tokens and device authorizations
– Deletes all user accounts and home folders
– Resets NVRAM (no manual reset needed)
– Does not reinstall macOS—it reuses your existing OS
The entire wipe takes 10-20 minutes. When the “Hello” screen appears, power off immediately—never complete setup. This leaves the Mac in true factory condition.
Intel MacBook Pro Reset: Recovery Mode Deep Dive
Correct Key Combinations for Your Model Year
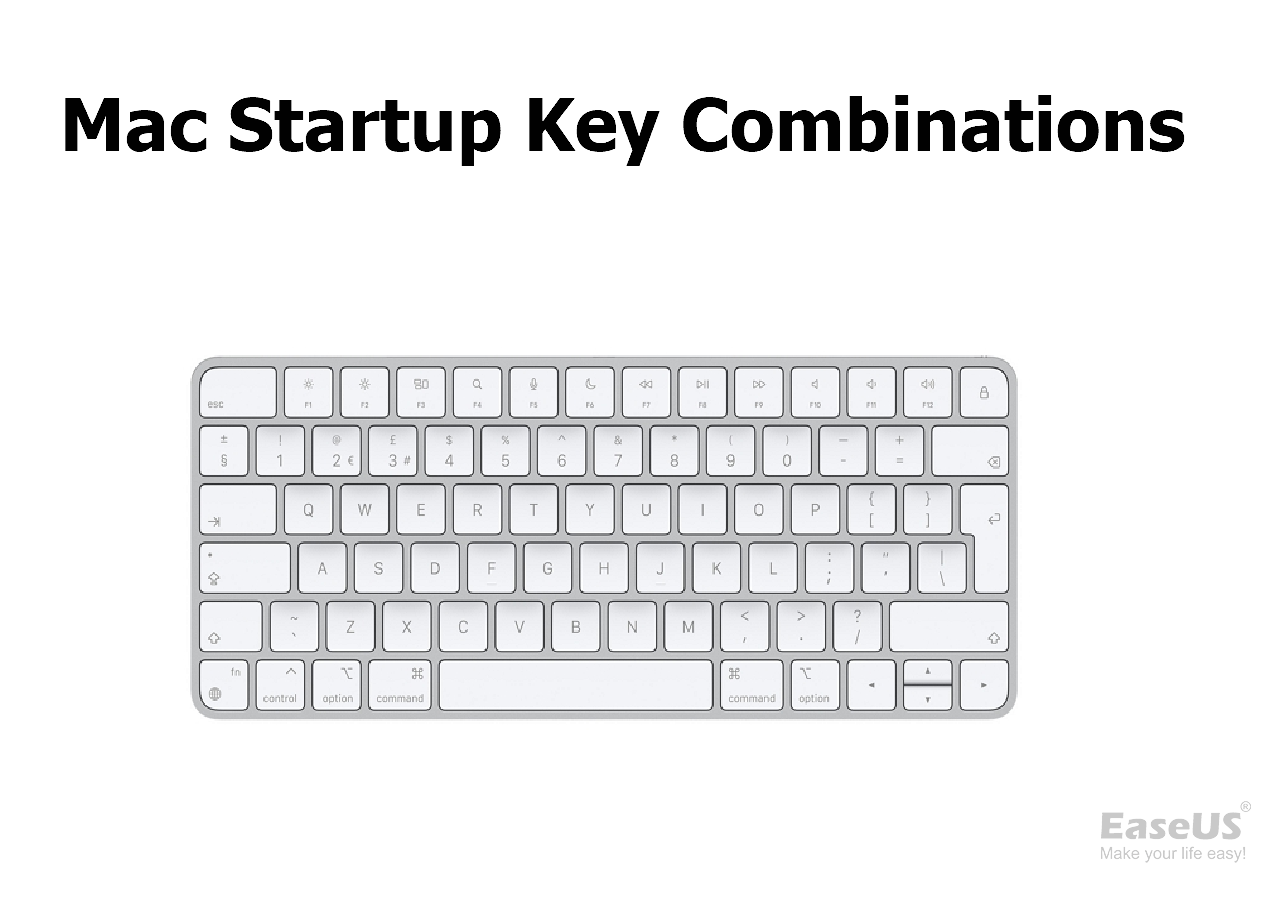
Press these immediately after power-on (hold until Apple logo/globe appears):
– 2015-2019 Intel Macs: Command + R (installs last-used macOS)
– Pre-2015 Macs: Option + Command + R (downloads compatible macOS)
– Macs with missing Recovery partition: Shift + Option + Command + R
Visual cue: If you see a spinning globe, you’re in Internet Recovery—this is normal for older models.
Disk Utility Erase: Critical Settings Explained
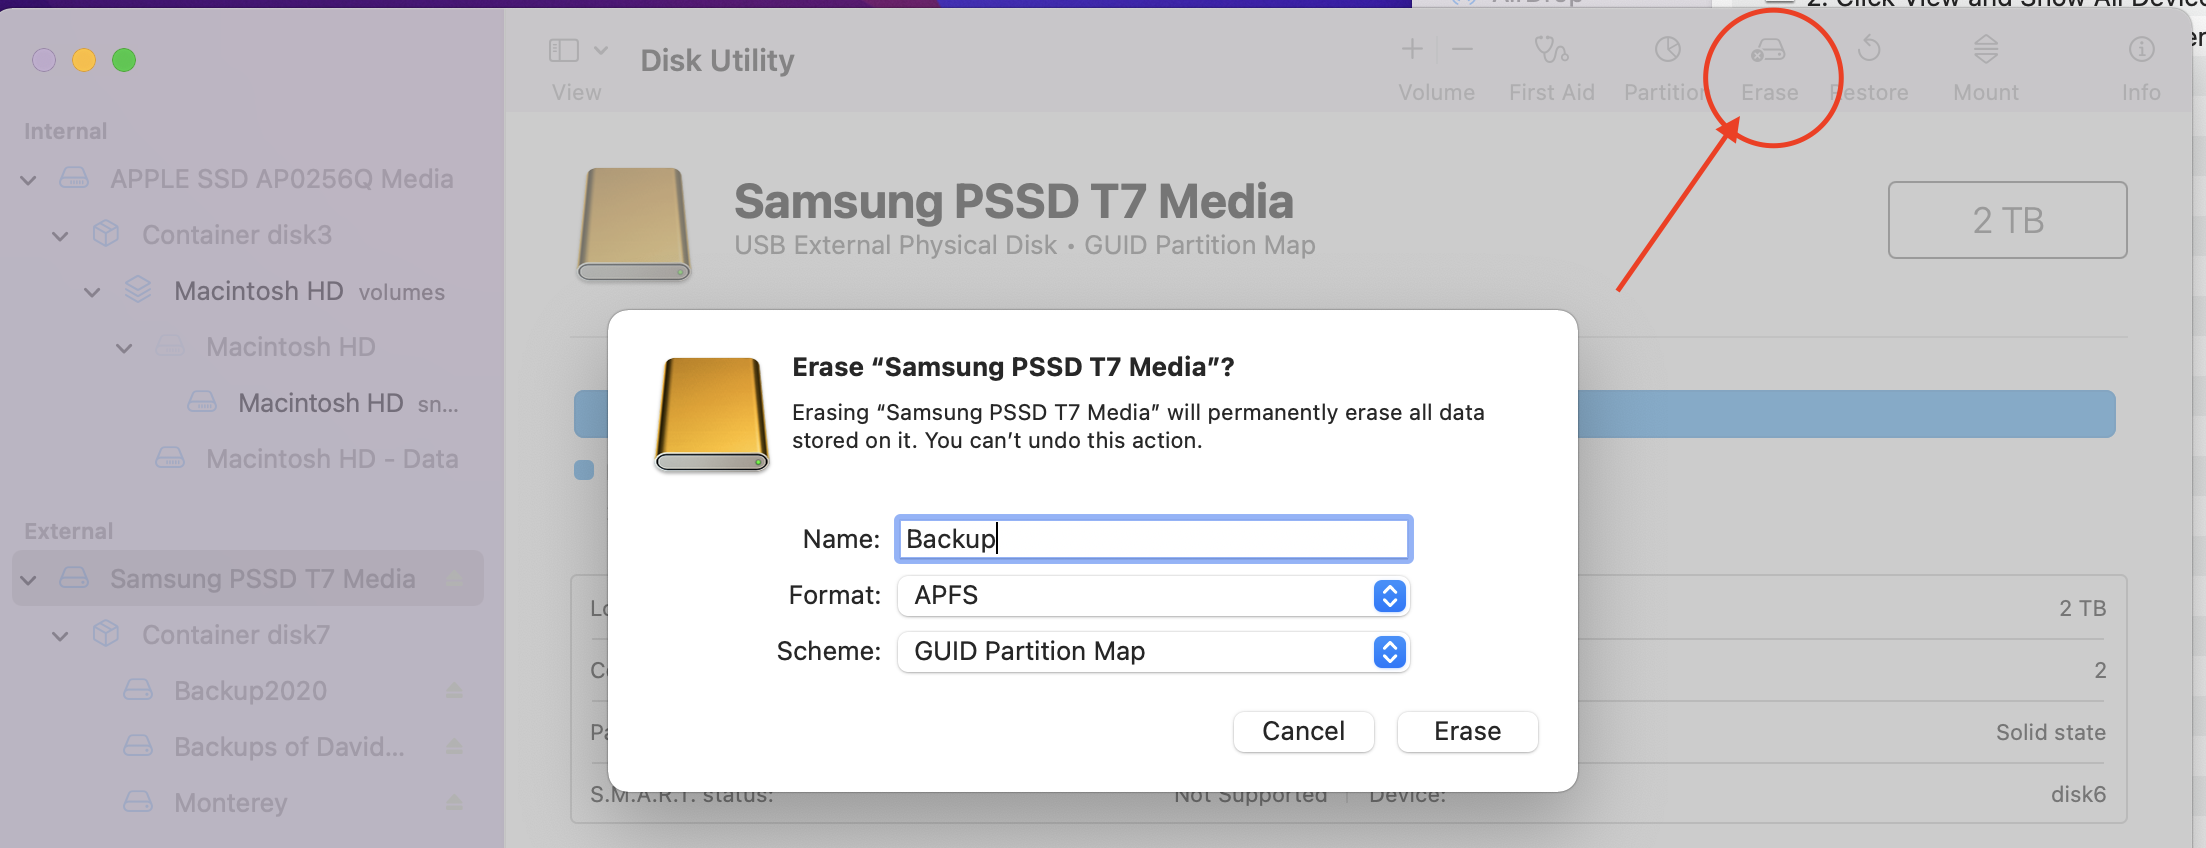
After booting to Recovery:
1. Open Disk Utility → View → Show All Devices
2. Select top-level drive (e.g., “Apple SSD,” not “Macintosh HD”)
3. Click Erase with these exact settings:
– Name: Macintosh HD (required for macOS installer recognition)
– Format: APFS (SSDs/macOS High Sierra+) or Mac OS Extended (HDDs/pre-2017)
– Scheme: GUID Partition Map (non-negotiable for Intel Macs)
Warning: Erasing “Macintosh HD” alone leaves hidden system files—always select the physical drive. Mistake here causes “macOS could not be installed” errors.
Pre-Reset Checklist: Avoid Data Loss Nightmares
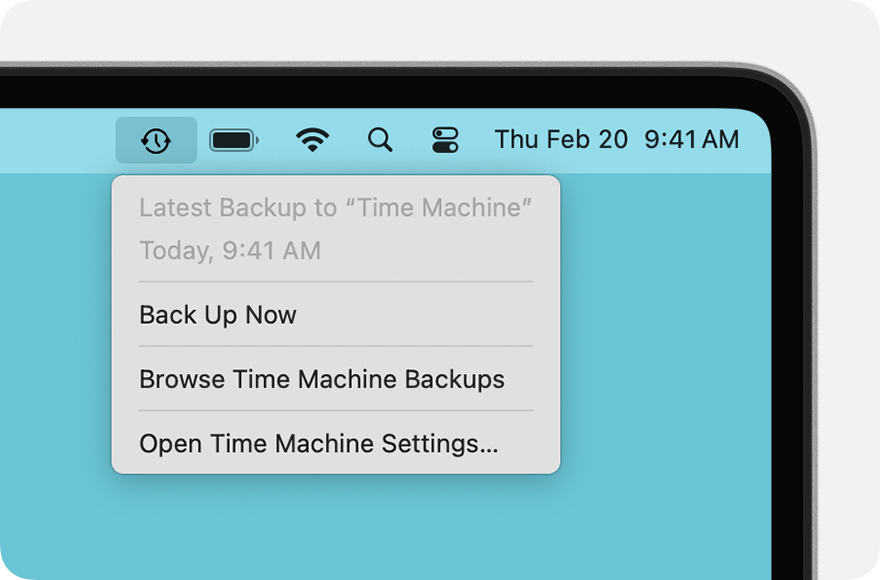
Back Up Like a Pro (Before You Regret It)
Time Machine method:
1. Connect external drive → System Settings → Time Machine
2. Click Add Backup Disk → Select drive → Back Up Now
iCloud alternative:
1. System Settings → [Your Name] → iCloud
2. Disable Optimize Mac Storage
3. Enable Desktop & Documents Folders sync
Verification step: Check backup completion in Time Machine preferences—never reset without seeing “Backup successful.”
Sign Out of Apple Services: The Silent Reset Killer
Skipping this causes Activation Lock post-reset:
1. iCloud: System Settings → [Your Name] → Sign Out (keep local data)
2. Messages: Open app → Messages → Preferences → iMessage → Sign Out
3. Apple Music: Music app → Account → Deauthorize This Computer
Red flag: If “Find My” shows “Offline” in iCloud settings, your Mac won’t reset cleanly—force sign-out via iCloud.com first.
Post-Reset: Handoff Checklist for Buyers
Leaving Your MacBook Pro Truly Factory-Fresh
After macOS reinstall completes:
– Power off at language-selection screen—never create a user account
– Remove all accessories (dongles, external drives)
– Include original power adapter (required for Apple warranty transfers)
– Provide proof of purchase if available (speeds up future support)
Critical step: For M1+ Macs, press and hold power button for 10 seconds after shutdown to clear residual firmware data.
Secure Erase: When You Actually Need It
- SSDs (2018+ Macs): Standard erase is sufficient—TRIM handles data destruction
- HDDs (pre-2015): In Disk Utility, click Security Options → slide to “Most Secure” (7-pass erase)
Myth busted: Apple’s “Erase All Content” meets DoD 5220.22-M standards for SSDs—no third-party tools needed.
Troubleshooting Failed Resets in 60 Seconds
“Disk Not Writable” Error Fix
This occurs when FileVault encryption blocks erasure:
1. In Disk Utility, select drive → Erase
2. When prompted, enter FileVault recovery key (or admin password)
3. Retry erase with correct credentials
Prevention: Disable FileVault (System Settings → Privacy & Security → FileVault) before reset attempts.
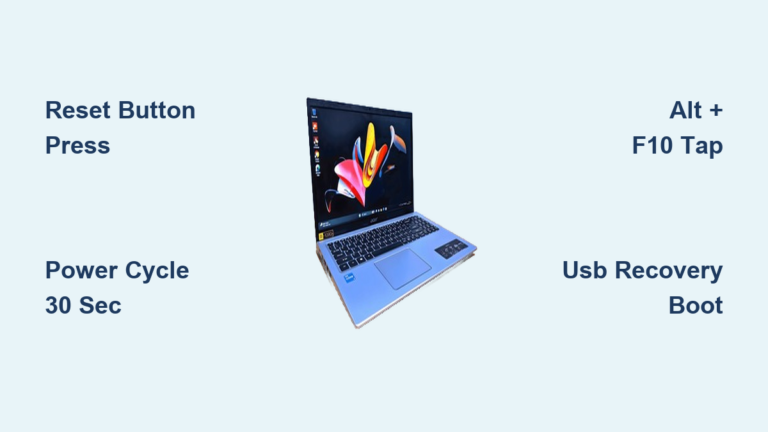
Stuck on Apple Logo? Force Restart Safely
If your MacBook Pro freezes during reset:
– Intel Macs: Hold power button 10 seconds → restart
– Apple Silicon: Press/hold power button 10 seconds → release → wait 5 seconds → restart
Never interrupt power during actual data erasure (spinning progress bar)—only during boot hangs.
Quick Reference: Which Reset Method Fits Your MacBook Pro?
| Your MacBook Pro Model | Best Reset Method | Time Required |
|---|---|---|
| M1/M2/M3 (2020+) | Erase All Content and Settings | 15-25 minutes |
| Intel with T2 chip (2018-2019) | Erase All Content and Settings | 20-30 minutes |
| Pre-2018 Intel | Recovery Mode (Command+R) | 45-75 minutes |
| Firmware-locked corporate Mac | Apple Store unlock | 24-72 hours |
The entire how to reset a MacBook Pro laptop process culminates in one critical action: powering off at the setup screen. This leaves the device in true factory state—ready for sale, gifting, or troubleshooting. Always verify data backups first, sign out of Apple services completely, and match your method to your Mac’s hardware. Whether you’re wiping a 2012 Intel model or the latest M3 Pro, these steps ensure a complete, secure reset without data remnants. For persistent issues, revisit the pre-reset checklist—90% of failed resets trace back to missed sign-outs or Boot Camp partitions. Now that your MacBook Pro is clean, consider encrypting future backups or enabling Activation Lock on your next device for smoother transitions.