How to Reset Acer Laptop: Quick Steps
Forgotten passwords, persistent system errors, or preparing your Acer laptop for resale? A factory reset returns your device to its original condition, eliminating personal data and restoring default settings. This guide provides verified approaches to reset your Acer laptop when you’re locked out or experiencing critical system issues. Whether you’re dealing with an unresponsive Aspire, a sluggish Swift, or need to wipe your device before passing it along, you’ll discover reliable methods that work across Acer’s laptop lineup.
With Acer laptops representing nearly 10% of the global PC market, understanding proper reset procedures prevents data loss and unnecessary service fees. The following methods have been confirmed through official Acer documentation and user verification—no guesswork, just proven solutions that get your device functioning like new.
When Standard Reset Options Fail
If Windows won’t boot or you’ve forgotten your login credentials, standard reset procedures through Settings become inaccessible. This common scenario affects users across all Acer laptop models when the operating system becomes corrupted or unresponsive.
Physical Reset Button Method
Some Acer models feature a physical reset button designed for emergency situations when the system won’t power on properly:
- Locate the small pinhole reset button—typically on the bottom panel near the battery compartment
- Power off your laptop completely and disconnect all peripherals
- Use a paperclip to press and hold the reset button for 15 seconds
- Release the button, then attempt to power on your device normally
Important: This method only works on specific Acer models like the TravelMate series. Check your user manual for exact location as many consumer models don’t include this feature.
Power Cycle Reset Procedure
When your Acer laptop freezes during startup or won’t power on at all, a complete power cycle often resolves the issue without requiring a full factory reset:
- Disconnect all cables including power adapter and external devices
- Remove the battery if your model allows user-accessible battery removal
- Press and hold the power button for 30 seconds to discharge residual power
- Reconnect only the power adapter (no battery) and attempt to boot
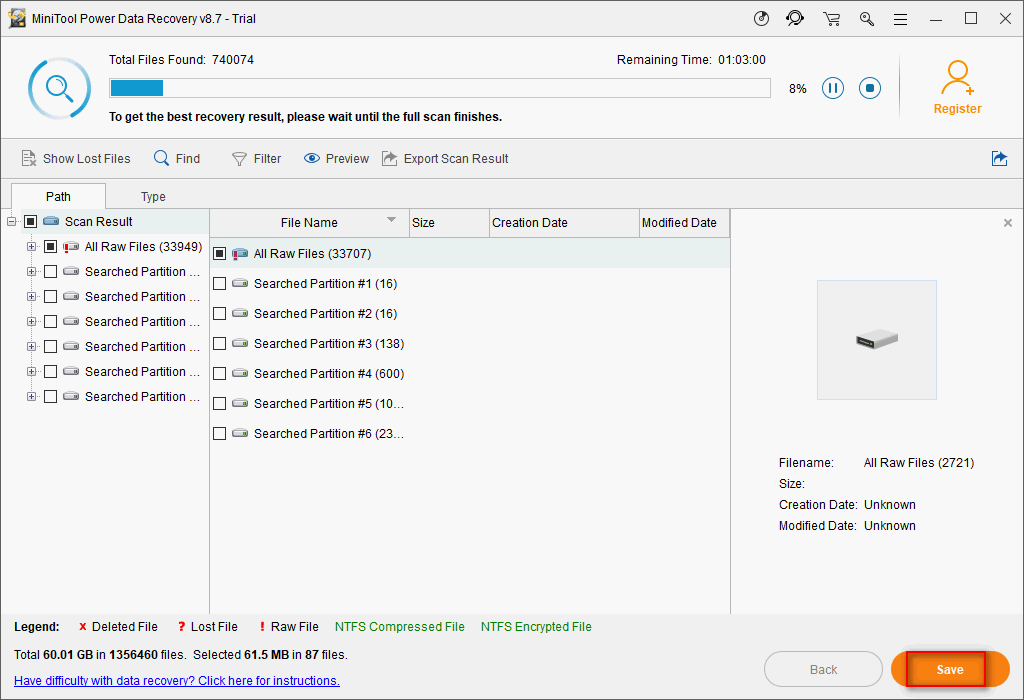
- If successful, immediately back up critical data before proceeding with a proper reset
Pro Tip: For newer Acer models with sealed batteries, skip the battery removal step but extend the power button hold to 45 seconds for complete capacitor discharge.
Recovery Partition Verification
Before attempting a reset, confirm your Acer laptop’s recovery partition remains intact. Many users discover too late that their recovery partition was accidentally deleted during previous maintenance.
Checking Partition Status
- Power on your laptop and repeatedly press F2 to enter BIOS
- Navigate to the Main tab using arrow keys
- Look for “D2D Recovery” or “Recovery Partition” status
- If enabled, your recovery partition is functional and accessible
Critical Warning: If BIOS shows “D2D Recovery: Disabled” or the option is missing entirely, the Alt+F10 recovery method won’t work. You’ll need to create recovery media before proceeding.
USB Recovery Creation Without Windows Access
When you can’t boot into Windows to create recovery media, alternative approaches using another computer become essential. This method works regardless of your Acer laptop’s current condition.
Creating Bootable Media from Another PC
- On a functioning Windows computer, download the official Acer Recovery Management tool from Acer’s support site
- Insert a 16GB+ USB drive and launch the Acer Recovery Management application
- Select “Create Factory Default Backup” and choose your USB drive
- Wait 20-40 minutes for the process to complete (depends on USB speed)
- Safely eject the USB and use it to boot your non-functional Acer laptop
Model-Specific Note: For Predator gaming laptops, ensure you select the correct model variant during media creation—graphics drivers differ significantly between RTX 30-series and 40-series models.
Forced Reset During Boot Failure
When your Acer laptop displays a black screen, endless reboot cycles, or freezes at the Acer logo, a forced reset sequence often resolves the issue without data loss.
Black Screen Reset Protocol
- Power off your laptop completely (hold power button 10 seconds if unresponsive)
- Connect only the AC adapter—no peripherals or external displays
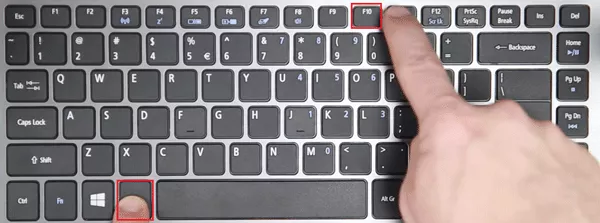
- Press power button, then immediately begin tapping Alt + F10 rhythmically
- Continue tapping until the Acer Recovery environment loads (may require multiple attempts)
- Select “Troubleshoot” > “Reset your PC” from the recovery menu
Timing Tip: On newer Swift X models, you must start tapping Alt + F10 within 0.5 seconds of powering on—practice the timing with the laptop off first to perfect your rhythm.
Post-Reset Activation Solutions
After successfully resetting your Acer laptop, Windows activation issues commonly occur, displaying the dreaded “Activate Windows” watermark on your desktop.
Automatic Activation Process
- Connect to the internet during initial setup—this triggers automatic digital license validation
- Sign in with the Microsoft account previously associated with the device
- Wait 5-10 minutes for Windows to contact activation servers
- Restart if the watermark persists after initial setup completes
Critical Note: If you upgraded from Windows 10 to 11 before resetting, sign in with the same Microsoft account used for the upgrade to restore your Windows 11 license.
Hardware-Specific Reset Considerations

Different Acer laptop series require unique approaches due to varying hardware configurations and pre-installed software.
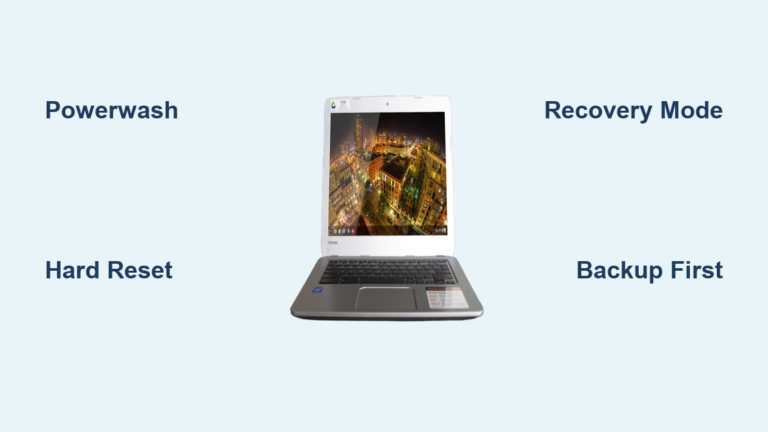
Chromebook Reset Differences
For Acer Chromebook models (distinct from Windows laptops):
- Press and hold Refresh + Power buttons simultaneously
- Release when recovery screen appears
- Press Ctrl + D to enter Developer Mode
- Confirm reset with spacebar when prompted
- Wait 15 minutes for complete reset and reconfiguration
Warning: Chromebook resets permanently erase all local data—cloud-synced files will restore upon sign-in.
Gaming Laptop Special Requirements
Predator series laptops require additional steps post-reset:
- Reinstall Acer PredatorSense software for thermal management
- Download latest NVIDIA/AMD drivers directly from GPU manufacturer
- Recalibrate RGB lighting through the PredatorSense interface
- Restore game profiles and custom fan curves
Pro Tip: Create a post-reset checklist specific to your gaming titles—many games require re-downloading large files even if you backed up save data.
Successfully resetting your Acer laptop resolves persistent performance issues and security concerns while restoring factory settings. The key to a smooth reset process lies in proper preparation—verifying your recovery partition status before you need it and maintaining current backups of critical data. When performed correctly, a factory reset should take no more than 60 minutes on modern Acer laptops with SSD storage.
For models where standard reset methods fail due to missing recovery partitions, creating bootable recovery media from another computer remains your most reliable solution. Remember that Windows activation typically resolves automatically when connected to the internet during setup, but requires the Microsoft account associated with your device’s digital license.
Regular maintenance—like monthly disk cleanups and quarterly driver updates—can extend the time between necessary resets. If you find yourself needing frequent resets, investigate underlying hardware issues like failing storage drives or overheating components that may require professional service. For the most current reset procedures specific to your exact Acer model, always consult the official support documentation available through Acer’s customer portal.