How to Replace Garage Door Keypad Opener
Your keypad died mid-weekend, and now you’re juggling grocery bags while fishing for the garage remote buried in your console. Sound familiar? A worn-out keypad doesn’t just kill convenience—it can leave you locked out in bad weather or late at night. If you’re searching for how to replace garage door keypad opener, the solution takes under an hour with basic tools and costs less than pizza delivery. You’ll restore one-handed entry to your garage without calling a technician. This guide delivers exact steps, troubleshooting shortcuts, and pro tips to avoid common pitfalls during your replacement.
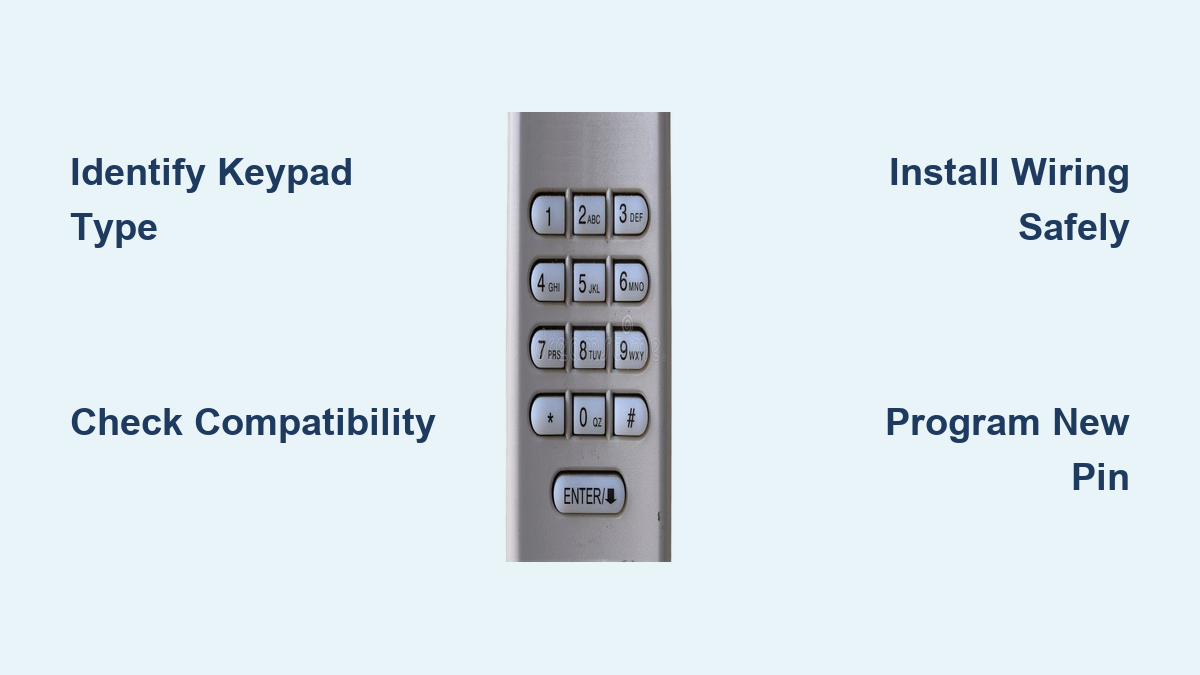
Identify Keypad Type in 30 Seconds
Knowing your keypad type prevents buying incompatible replacements. Check these visual clues before purchasing new hardware.
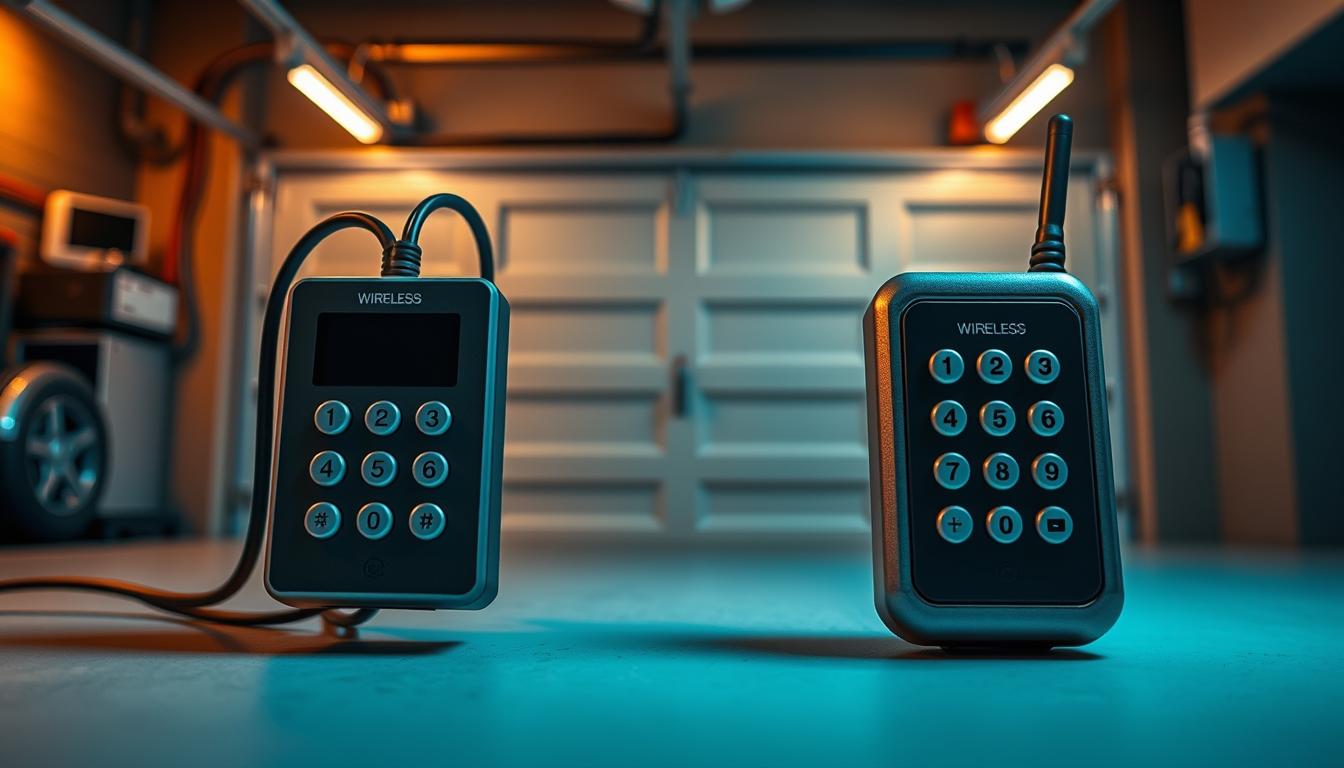
Wireless Keypads
Look for a removable battery cover on the back or bottom—no wires connect to the wall. These units typically mount with 2–4 Phillips screws directly into siding or brick. Battery models dominate modern installations since they eliminate complex wiring.
Hardwired Keypads
Spot a thin 2-conductor wire snaking into your wall behind the unit. You’ll find small wire nuts connecting copper strands to low-voltage terminals. These older systems draw power directly from the opener motor and require electrical safety checks before removal.
Smart Keypads
Identify these by Wi-Fi or Bluetooth symbols on the faceplate. They often combine battery backup with hardwired power and require smartphone app setup. Universal compatibility is common, but verify frequency matching with your opener model.
Is It Time-Sensitive?
If your opener uses rolling code technology (Security+ 2.0 or Intellicode Gen 2), ensure your new keypad supports it. Older units won’t sync with modern openers—check the motor housing sticker before shopping.
Confirm Compatibility Fast
Match Brand & Frequency
Find your opener model number on the motor housing—this is non-negotiable for compatibility. LiftMaster/Chamberlain/Craftsman units typically use 315 MHz (yellow antenna wire) or 390 MHz (purple antenna), with newer models requiring Security+ 2.0. Genie/Overhead Door systems almost always use 390 MHz with Intellicode. Universal keypads work with 90% of openers built after 1993 but verify frequency with a handheld remote test.
Range Check
Stand 50 feet from the opener motor inside your garage. Hold your car remote at arm’s length and press it—if the door responds, your new keypad will work at that distance. Critical tip: Metal garage doors create signal dead zones; position keypads away from large metal surfaces.
Essential Tools & Materials

Skip unnecessary gear with this targeted toolkit. Most items are already in your garage.
| Task | Tool | Why You Need It |
|---|---|---|
| Remove old screws | Phillips #2 screwdriver | 90% of keypads use these standard screws |
| Pry stuck housing | Flathead screwdriver | Gentle leverage without cracking plastic |
| Strip tiny wires | Wire strippers (22-gauge slot) | Clean copper exposure for hardwired terminals |
| Test for power | Non-contact voltage tester | Confirms hardwired lines are safe to handle |
| Drill new holes | 1/8″ bit + anchors | Masonry mounting requires proper anchoring |
| Seal gaps | Outdoor silicone caulk | Prevents rain infiltration behind unit |
Battery Cheat Sheet
– 9V: LiftMaster 877MAX, Chamberlain KLIK2U (most common)
– AA (2): Genie GK-R, Craftsman 139.53754
– AAA (4): Overhead Door OKP-BX
Remove Old Keypad Safely
Wireless Units
- Pop the battery door and remove power immediately—this prevents accidental door activation.
- Back out wall screws while supporting the keypad; dropping it cracks the housing.
- Scrape old caulk with a flathead screwdriver—preserve the mounting template if intact for perfect alignment.
Hardwired Units
Never skip these safety steps:
1. Disconnect opener power at the breaker or unplug the motor unit.
2. Verify zero voltage with your tester on every wire—low-voltage lines are generally safe, but mistakes happen.
3. Label wires with tape as “C” (common) and “T” (trigger) before disconnecting wire nuts.
4. Unmount the keypad and gently coil excess wire back into the wall cavity.
Install New Keypad in 15 Minutes
Positioning Rules
Mount at 5 feet from ground level to the keypad center—this avoids rain splash and child tampering. Maintain 6 inches minimum clearance from the garage door edge to prevent vibration damage. Tilt the unit 15° downward so rain runs off instead of pooling.
Wireless Mounting
- Tape the new keypad’s template to your wall and mark pilot holes.
- Drill 1/8″ holes—use 1/4″ masonry anchors for brick or stucco surfaces.
- Drive screws until heads protrude 1/8″, then slide the keypad over them for easy alignment.
- Apply silicone caulk around the top and sides, leaving the bottom open for drainage. Trapped moisture causes premature failure.
Hardwired Install
- Feed existing wires through the new keypad’s backplate.
- Strip exactly 1/4″ insulation—too much risks short circuits.
- Connect wires to terminals (polarity rarely matters, but match “C” and “T” labels).
- Tuck wires neatly behind the plate and staple loose wire every 12 inches along the wall.
Program New PIN Without Fails
One-Time Setup Flow
- Insert fresh batteries with correct polarity—weak power causes sync failures.
- Press and hold the PROG button for 3 seconds until the LED stays solid.
- Enter your 4-digit PIN followed by ENTER; two LED blinks confirm storage.
- Climb a ladder and press the LEARN button on the opener motor until its LED glows steadily.
- Within 30 seconds, enter the PIN on your keypad + ENTER—flashing opener lights mean success.
Add Temporary Access
- Guest Code: Press PROG → 6 → # → new PIN → ENTER → days (1-255) → ENTER
- Delete Later: PROG → 6 → # → old PIN → HOLD 3 sec until LED blinks three times
Fix Post-Install Problems
Keypad Dead on Arrival
| Symptom | Quick Fix |
|---|---|
| No LED at all | Reverse battery polarity; test 9V battery reads ≥8.4V |
| LED blinks fast | Reset opener memory by holding LEARN 6 seconds until LED turns off |
| Range under 10 ft | Reposition keypad 2 feet left/right—metal studs block signals |
Hardwired Woes
- Erratic operation: Tighten terminal screws—vibration loosens connections.
- Rain-triggered activation: Reapply silicone caulk around mounting edges immediately.
Secure Your New Code
PIN Best Practices
Never use 1234, 0000, or family birthdays—thieves try these first. Rotate codes every 6 months using seasonal dates you’ll remember (like 0704 for July 4th). Always give contractors temporary codes and delete them the same day via the guest code deletion steps.
Upgrade Security
Choose Security+ 2.0 or Intellicode Gen 2 keypads to prevent code-grabbing attacks. Wi-Fi models (MyQ, Aladdin Connect) send phone alerts when someone uses your keypad. Activate Vacation Mode by holding the LOCK button for 3 seconds to disable access while traveling.
Monthly & Annual Care
5-Minute Monthly Check
- Press every button—clean sticky keys with a damp microfiber cloth.
- Tighten loose mounting screws before vibration damages the housing.
- Replace batteries preemptively if LED response slows—don’t wait for complete failure.
Yearly Service
- Inspect caulk seals and reapply silicone if cracked.
- Test operational range from your driveway edge—reposition if signal weakens.
- Delete unused temporary codes and reprogram fresh ones.
Replace vs. Repair Decision
Replace Immediately If
– Housing shows cracks or button legends have worn smooth.
– Your opener uses Security+ 2.0 but the old keypad only supports 390 MHz.
– Water damage stains the battery compartment—corrosion will spread.
Repair Instead
– Only one terminal shows corrosion—clean with vinegar-dipped cotton swab.
– A single button sticks—pop the cover and blow compressed air under the key.
Slide your new keypad into place, enter your PIN, and watch the door glide open like new. Keep spare batteries in your kitchen drawer—next time the LED dims, you’ll swap them in 60 seconds instead of fumbling in the dark. Pro tip: Program a temporary code for your weekly cleaner using the guest code steps, then delete it immediately after they leave. This simple habit blocks unauthorized access while maintaining convenience. With monthly checks and proper weatherproofing, your replacement keypad will deliver reliable one-handed entry for 5-10 years.