How to Replace Acer Aspire Keyboard
Spilled coffee just turned your Acer Aspire into a sticky nightmare? Keys suddenly stopped responding mid-email? When your laptop keyboard fails, productivity grinds to a halt. The good news is learning how to replace Acer Aspire keyboard doesn’t require professional skills—just the right approach and patience. Most users can complete this repair in 30-60 minutes with basic tools, saving $100+ in service fees.
Unlike complicated internal repairs, keyboard replacement focuses on accessible components without disturbing your hard drive or RAM. This guide delivers precise instructions for safely removing your damaged keyboard and installing a new one, specifically addressing common pitfalls that could damage your laptop. Whether you’re dealing with liquid damage, dead keys, or mechanical failure, you’ll restore full typing functionality without voiding your warranty.
Essential Tools for Acer Aspire Keyboard Replacement
Grab these specific tools before starting your repair to avoid mid-process interruptions. Using improper instruments risks scratching your chassis or damaging delicate connectors. The right toolkit makes how to replace Acer Aspire keyboard a smooth, frustration-free experience.
Must-have equipment:
– Precision tweezers (0.5mm tip width) for manipulating retention tabs without slipping
– #00 Phillips screwdriver (magnetic tip recommended for tiny screws)
– Plastic spudger (guitar pick works in a pinch) to prevent metal scratches
– Anti-static wrist strap (connect to grounded metal object during work)
Critical replacement parts:
– Exact model-specific keyboard (Acer part numbers vary significantly between series)
– Ribbon cable (usually included, but verify compatibility)
Pro tip: Order your replacement using the service tag from your laptop’s bottom panel. A mismatched keyboard might have incorrect connector orientation or key layout. For example, Aspire 5750 models require different ribbon cable lengths than Aspire E15 series.
Proper Power Down and Battery Removal Process
Skipping this step risks electrical shorts that could fry your motherboard. Many users attempting how to replace Acer Aspire keyboard damage components by working with residual power still present in the system.
Complete shutdown sequence:
1. Save all work and select “Shut down” from the Windows Start menu
2. Unplug the AC adapter from both the wall and laptop
3. Turn the laptop upside down on a clean, static-free surface
Battery removal in 4 precise steps:
– Locate the two sliding release mechanisms near the battery edge
– Slide the primary lock switch until the red unlocked symbol appears
– While holding the first switch, move the secondary release switch to the unlock position
– The battery will lift slightly—grasp the raised edge and remove completely
Critical warning: Never skip battery removal. Even when powered off, residual charge can arc through tools during disassembly. If your model has an internal non-removable battery, locate the main system board jumper points specified in your service manual.
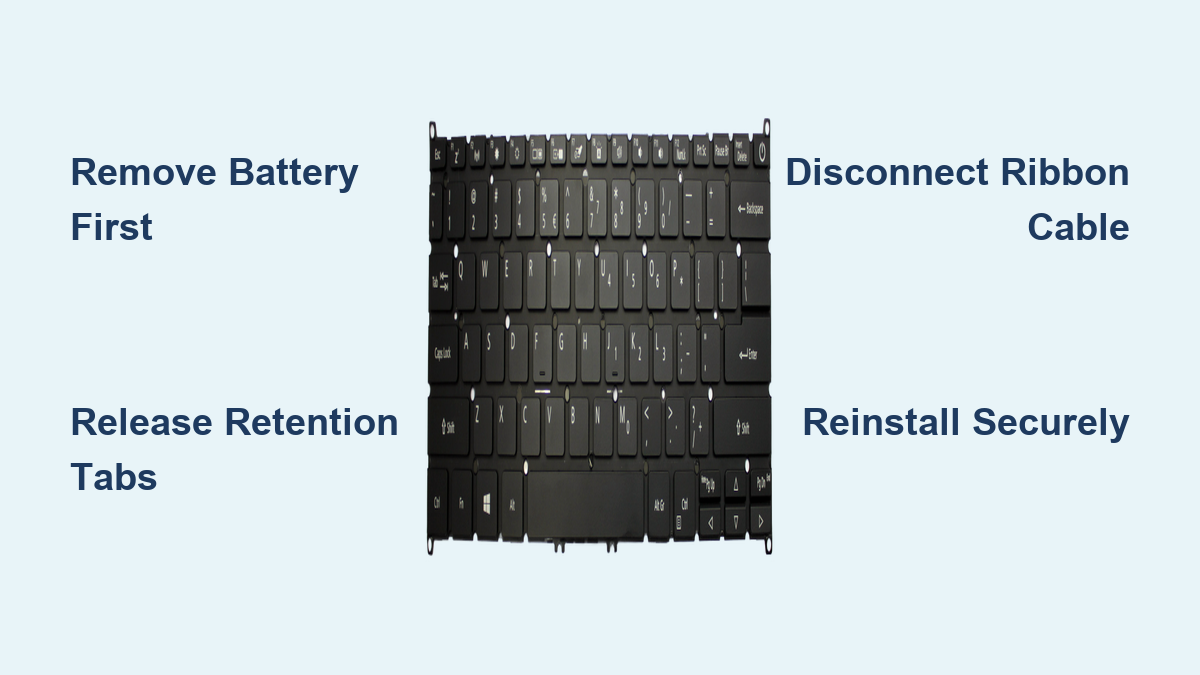
Release Keyboard Retention Tabs Without Damage

Most failed keyboard replacements happen during this first physical step. Forcing the keyboard risks breaking plastic tabs that can’t be repaired. Knowing exactly how to release Acer Aspire keyboard retention mechanisms prevents costly mistakes.
Tab identification and release procedure:
– With the display open 180 degrees, examine the top edge above the F1-F12 keys
– Identify 3-4 small plastic tabs spaced evenly along the keyboard’s upper border
– Start at the top-right corner with precision tweezers inserted at a 45-degree angle
Tab release technique:
1. Insert tweezers between keyboard and chassis near first tab
2. Apply gentle inward pressure toward keyboard center (not downward)
3. Simultaneously lift the keyboard edge upward about 2mm
4. Hold released section while progressing leftward to next tab
5. Repeat until all tabs disengage—the keyboard will bow upward naturally
What to watch for: You’ll hear faint clicking sounds as tabs release. If resistance exceeds light finger pressure, stop immediately—forcing tabs causes irreversible damage. Some models require releasing side tabs instead of top tabs; consult your service manual if standard method fails.
Disconnect Keyboard Ribbon Cable Safely
This fragile connection causes 70% of keyboard replacement failures when mishandled. The ribbon cable looks simple but demands precise technique—pull incorrectly and you’ll need motherboard repair instead of just a keyboard swap.
Proper cable disconnection steps:
– Tilt the released keyboard forward toward the touchpad (don’t lift vertically)
– Locate the connector housing (white or black plastic, usually near top-left)
– Identify the dual locking tabs on both sides of the connector
Critical cable removal sequence:
1. Use tweezers to simultaneously pull both locking tabs downward
2. Wait for audible “click” indicating full release
3. Gently slide the ribbon straight out—not upward—using even pressure
4. Inspect cable for fraying or bent contacts before discarding old keyboard
Common mistake alert: Never pull the ribbon by its colored strip—that’s the weakest point. Always grip near the connector end. If resistance exceeds 2 ounces of force, the locking mechanism isn’t fully disengaged.
Install Your New Acer Aspire Keyboard Correctly

Rushing this step causes misalignment that makes keys stick or prevents proper seating. Taking 60 extra seconds to verify positioning saves hours of troubleshooting later when learning how to replace Acer Aspire keyboard.
Ribbon cable connection protocol:
– Straighten the new ribbon completely (no bends or kinks)
– Verify gold contacts face downward toward motherboard
– Slide cable straight into slot until it stops (no wiggling)
– Push both locking tabs upward until they click firmly
Keyboard seating technique:
– Position keyboard at 30-degree angle matching removal position
– Align all retention points with chassis openings
– Start pressing at top-right corner, working leftward in 1-inch increments
– Apply even pressure—no finger snapping sounds should occur
Fit verification test: Press around the perimeter—there should be no gaps or raised edges. The spacebar and Shift keys must sit perfectly flush. If any corner lifts, recheck tab engagement before proceeding.
Post-Replacement Testing Protocol
Skipping comprehensive testing leads to discovering problems after reassembly—forcing you to repeat the entire process. Verify functionality before reinstalling the battery with this targeted diagnostic approach.
Immediate functionality checks:
– Power on without battery using AC adapter only
– Open Notepad and press every key systematically
– Test modifier keys (Shift, Ctrl, Alt) in combination with letters
– Check special functions (volume, brightness, Wi-Fi toggle)
Physical inspection points:
– Confirm no keycaps sit higher than others
– Verify smooth key travel without grinding noises
– Check for ribbon cable pinching along keyboard edges
Troubleshooting shortcut: If keys register double inputs, the ribbon isn’t fully seated. Power off and reseat the cable—don’t assume it’s defective immediately.
Fix Common Keyboard Installation Failures
Even careful technicians encounter these three issues during how to replace Acer Aspire keyboard projects. Knowing these targeted fixes prevents unnecessary part returns and wasted time.
Keyboard not detected solutions:
– Reseat ribbon cable while counting audible clicks from locking tabs
– Clean connector contacts with 90%+ isopropyl alcohol on cotton swab
– Test with original keyboard to isolate motherboard issues
Individual key failures:
– Remove problematic keycap (use plastic tool) and check for debris
– Inspect membrane under key for tears or misalignment
– Verify key retainer clips aren’t broken or mispositioned
Physical fit corrections:
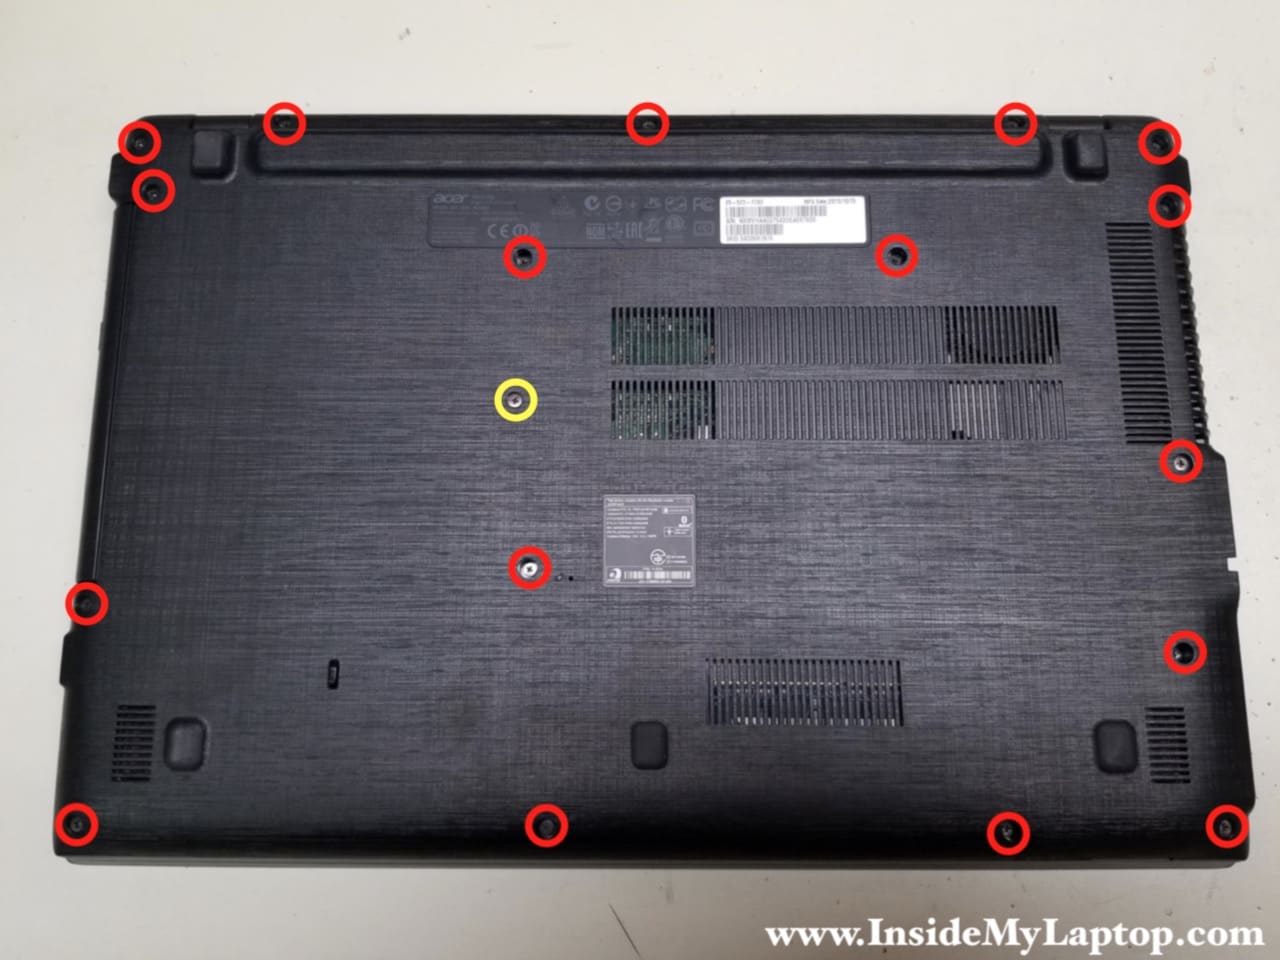
– Check for overlooked screws (some models have 2-4 hidden screws)
– Ensure no cable is trapped beneath keyboard corners
– Realign retention tabs by partially releasing adjacent sections
Handle Your Specific Acer Model Variations
The Aspire line spans over 20 keyboard configurations—using generic instructions risks damage. Identify your exact variant before starting to avoid mid-repair surprises when attempting how to replace Acer Aspire keyboard.
Key model differences to verify:
– Screw-secured models (Aspire 5750 series): Remove 2-4 screws marked with keyboard icons
– Side-tab systems (Aspire E15): Release tabs along left/right edges instead of top
– Flip-lock connectors (Aspire S series): Lift black bar 90 degrees before removing cable
Critical verification step: Download your exact model’s service manual from Acer’s support site using your serial number. Search for “KB” or “keyboard” in the PDF to find model-specific diagrams. Never assume tab locations—some late-model Aspire laptops integrate the keyboard with the palm rest assembly.
Final verification before closing up: Power on your laptop with the display at 90 degrees to watch for keyboard illumination (if applicable) and test all keys one last time. Once confirmed working, reinstall the battery and screw in any bottom panel fasteners. Your repaired Acer Aspire now has a fully functional keyboard ready for thousands of typing hours. For future maintenance, consider applying a waterproof membrane protector to prevent repeat liquid damage incidents. When done properly, knowing how to replace Acer Aspire keyboard becomes a valuable skill that extends your laptop’s lifespan significantly.