How to Remove Oil from Keyboard: Quick Cleaning Tips
That slick film under your fingertips isn’t just annoying—it’s silently ruining your keyboard. Whether you spilled cooking oil while meal-prepping near your workstation, got hand lotion on keys during a late-night project, or accidentally transferred automotive grease from your hands, oil penetrates switches and circuitry within minutes. Left untreated, it creates sticky keys, short circuits, and permanent damage. But don’t panic. This guide delivers battle-tested methods to rescue any keyboard—mechanical, laptop, or membrane—using supplies you likely already own. You’ll learn exactly how to neutralize cooking oils, dissolve cosmetic residues, and obliterate mechanical grease without frying your electronics.
Emergency Oil Response (First 2 Minutes)
Your reaction in the first 120 seconds determines whether your keyboard survives. Oil migrates downward at alarming speed, reaching sensitive switches and PCB traces. Immediately unplug wired keyboards or power off wireless models—this prevents electrical shorts that could kill your device. Flip it upside down at a 45-degree angle over a sink; gravity stops oil from plunging deeper into switch housings. Grab paper towels and blot aggressively but gently—pressing hard forces oil sideways, while rubbing smears it across adjacent keys.
Identify your oil type instantly: Cooking oils (like olive or canola) feel slick and smell faintly nutty, requiring enzymatic cleaners. Cosmetic oils (hand lotion, cuticle oil) leave a waxy film and demand alcohol-based solutions to break down silicones. Mechanical grease (WD-40, motor oil) appears thick and tar-like, needing industrial degreasers. Misidentifying this wastes critical time—use a cotton swab to test a hidden keycap first if unsure.
Surface Oil Removal Techniques
Quick Absorption Methods
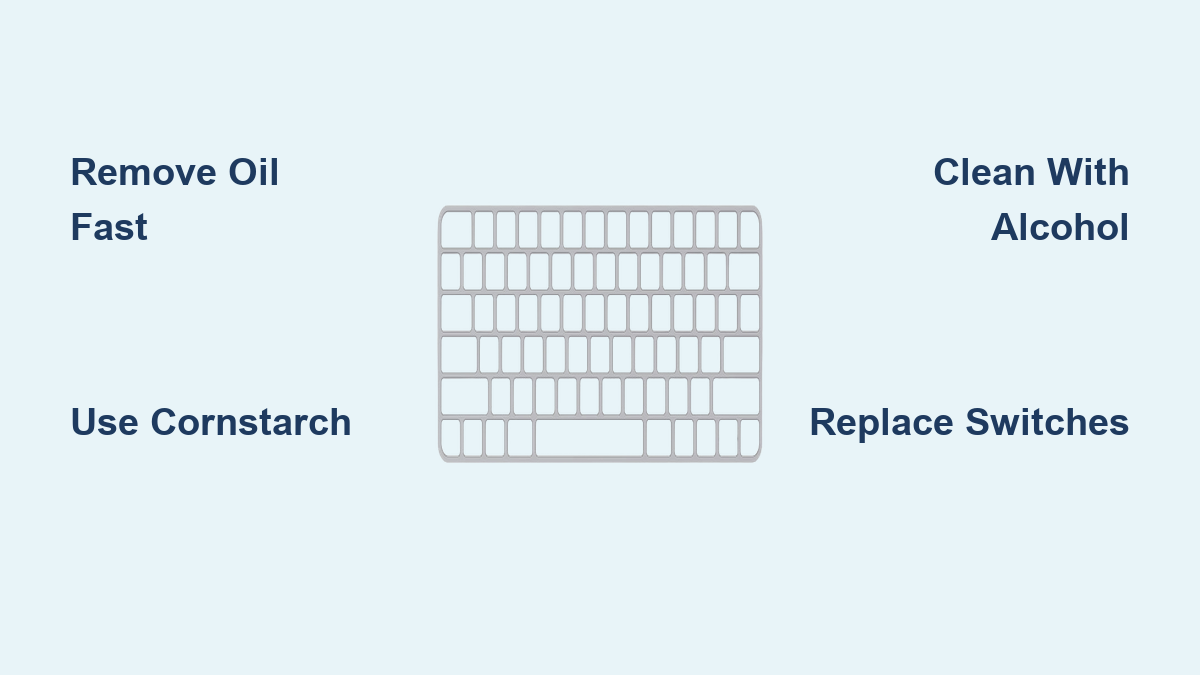
Cornstarch is your oil-spill superhero. Dump a thick layer over oily keys, ensuring every crevice is covered. Let it sit 2–4 hours—the starch molecules pull oil upward through capillary action. Never skip the waiting period; rushing reduces absorption by 70%. Brush away residue with a soft paintbrush (never a vacuum—static electricity risks frying circuits). For heavy saturation like engine oil, substitute baking soda paste: mix 3 parts baking soda with 1 part water, smear over keys, and dry overnight. The mild abrasion lifts stubborn residue without scratching key legends.
First-Line Cleaning Solutions
Skip harsh chemicals for initial cleanup. Mix one drop of Dawn dish soap with 8 ounces distilled water in a spray bottle—this cuts grease while preventing mineral deposits from tap water. Spray lightly on a microfiber cloth (never directly on keys!), then wipe in straight, unidirectional motions to avoid spreading oil. For surface oils, 70% isopropyl alcohol is ideal—it evaporates quickly without damaging plastics. But if oil reached circuit boards, switch to 99% isopropyl alcohol; its lower water content prevents corrosion on exposed electronics. Avoid household cleaners like Windex; ammonia eats away at keycap coatings.
Deep Cleaning for Mechanical Keyboards

Keycap Removal and Deep Clean
Photograph your keyboard layout before removing a single keycap—reassembly mistakes cause typing chaos. Start with corner keys using a wire puller (plastic pullers crack key stems). Soak keycaps in a grease-busting bath: 50% warm distilled water, 50% degreasing dish soap, plus 1 tbsp white vinegar per cup. Vinegar breaks oil’s molecular bonds while preventing hard-water spots. Submerge for 30–60 minutes—longer for automotive grease. Scrub undersides with a soft toothbrush; oil hides where stems connect to keycaps. Rinse under distilled water (tap water leaves cloudy residue), pat dry, then air-dry 24+ hours. Blow compressed air through stem holes to eliminate trapped moisture.
Switch and PCB Treatment
Oil-contaminated switches feel mushy and unresponsive. Dip cotton swabs in 99% isopropyl alcohol and clean switch tops in circular motions—alcohol dissolves oil without harming plastics. For deep penetration, use interdental brushes to reach between switches. If keys remain sticky, oil likely damaged internal mechanisms; replace affected switches ($1–3 each). For PCB cleaning, shine a bright flashlight across the board. Oil creates a translucent film disrupting electrical signals. Wipe affected areas with alcohol-dampened lint-free swabs using feather-light pressure—PCB traces are thinner than human hair.
Laptop and Membrane Keyboard Rescue
Non-Removable Key Solutions
Membrane keyboards trap oil between rubber domes and circuits, making cleaning tricky. Wrap a microfiber cloth around an old credit card to create a precision cleaning card. Moisten with 70% isopropyl alcohol (damp—never dripping!), then slide between keys vertically to clean sides. Rotate the cloth constantly to avoid re-depositing oil. For textured keys like Apple laptops, use a soft-bristled brush dipped in alcohol to reach grooves. Work in straight lines from top to bottom—zigzag motions push oil deeper. Finish with compressed air at a 45-degree angle to eject loosened particles.
Key Surface Treatment
Apply alcohol to your cloth—not keys—to prevent liquid seepage. Wipe keys in straight, consistent motions (left to right), changing cloth sections after every 3–4 keys. For stubborn cosmetic oil stains, let alcohol sit 30 seconds to break down silicones before wiping. Never spray liquids near touchpads; moisture migrates internally. After cleaning, run your fingers over keys—if they feel tacky, residual oil remains. Repeat the alcohol wipe process until keys feel frictionless.
Oil-Specific Removal Strategies

Cooking Oil Disasters
Enzyme cleaners (like Grease Relief) digest cooking oils biologically. Apply to affected keys, wait 15 minutes, then wipe with a damp microfiber cloth. For removable keycaps, use 120°F water with degreasing detergent—the heat keeps oils fluid while detergent breaks surface tension. Avoid boiling water; it warps plastic keycaps. Baking soda paste works for set-in stains: apply, dry completely, then brush off.
Cosmetic Oil Problems
Standard cleaners fail on silicone-laden lotions. Use oil-free micellar water on cotton pads—it lifts residues without damaging key legends. Individually packaged alcohol wipes provide controlled application; wipe in one direction until pads come away clean. For matte-finish keys, skip micellar water; use 70% alcohol only to prevent hazing.
Mechanical Grease Removal
CRC QD Electronic Cleaner cuts through automotive grease safely. Spray sparingly on a cloth, then wipe keys—never spray directly (propellants force grease deeper). For keycaps, ultrasonic cleaning in a jewelry cleaner with degreasing solution removes grease in 5 minutes. If grease penetrated switches, apply electrical contact cleaner via straw nozzle, waiting 10 minutes before wiping.
Testing Your Success
Functionality Checks
Type slowly across all keys—sticky spots often hide in symbol rows or number pads. Test pressure sensitivity: lightly press “E” or “O” (most used keys); oil causes inconsistent responses. For RGB keyboards, cycle through lighting modes—oil residue dims or yellows backlighting. If multimedia keys malfunction, oil likely contaminated membrane layers beneath.
Residue Detection
Perform the flashlight test: Hold your phone light parallel to keys. Oil sheen glows under side lighting. Press clean white paper against keys—any transfer means incomplete cleaning. Rub your thumb over keys; residual oil feels slippery, not matte.
Prevention Strategies That Work
Daily Protection Habits
Wash hands with Dawn soap before typing—it removes skin oils that compound spills. Keep a microfiber cloth under your wrist for instant blotting during cooking sessions. Install a silicone keyboard cover when not typing; it blocks 90% of spills. Never eat or apply lotions directly over keyboards—oil transfers via hands within 30 seconds.
Long-Term Maintenance
Remove mechanical keycaps quarterly for deep cleaning. Use the vinegar-dish soap bath even without spills; skin oils build up invisibly. Apply silicone protectant spray to keycaps (avoiding contact points)—it creates an oil-repellent barrier like Rain-X for glass. Clean membrane keyboards weekly with alcohol-dampened cloths if you cook near your desk.
When Cleaning Fails

Sticky Keys After Multiple Attempts
Persistent stickiness often means cleaning agent residue, not oil. Try stronger solvents in sequence: alcohol → citrus degreaser → contact cleaner. For mechanical keyboards, replace individual switches—oil permanently degrades internal mechanisms. Budget models may warrant full replacement if >5 keys malfunction.
PCB-Level Contamination
If oil reached circuit boards, professional cleaning costs $50–$100—viable for premium keyboards like Filco or Das Keyboard. For budget models, replacement is smarter. Check if only the number pad is affected; isolate zones by disconnecting ribbon cables during cleaning.
Safety Protocols That Matter
Chemical Safety Essentials
Never mix cleaners—ammonia and bleach create toxic chloramine gas. Work near open windows; solvents like CRC QD cause headaches in enclosed spaces. Test all cleaners on a hidden keycap first—some plastics discolor with alcohol. Wear nitrile gloves to protect skin from degreasers.
Electrical Safety Rules
Remove all batteries from wireless keyboards—USB disconnection alone isn’t enough. Use an anti-static wrist strap when touching PCBs; static discharge kills circuits instantly. Wait 48 hours after liquid cleaning before reconnecting; hidden moisture causes corrosion weeks later.
Oil on your keyboard doesn’t spell doom. Acting within the first two minutes with cornstarch or alcohol stops irreversible damage. Match cleaners to your oil type—enzyme solutions for cooking spills, micellar water for lotions, and CRC QD for grease—and always verify dryness before powering up. Keep dish soap, 99% isopropyl alcohol, and cornstarch in your desk drawer; with these, you’ll never face a permanent oil disaster again. Your keyboard’s crisp, responsive feel is just one careful cleanup away.