You’re standing outside your garage, key fob in hand, only to realize your keypad won’t respond to the code you’ve used for years. Or perhaps you’ve just moved into a new home and have no idea what code the previous owners used. These situations create immediate security concerns and frustration—especially when you’re carrying groceries or trying to get the kids inside. The good news is that recoding your garage keypad typically takes less than five minutes once you know the right procedure.
Garage keypad failures account for nearly 30% of all garage door service calls, yet most homeowners can handle this task themselves with basic guidance. This comprehensive guide eliminates the guesswork by providing precise instructions tailored to your specific system. You’ll discover how to identify your keypad model, reset it properly, program a secure new code, and troubleshoot common issues—all without needing professional help in most cases.
Locate Your Garage Keypad’s Hidden Control Panel
Before attempting any recoding procedure, you must access the critical programming interface that varies significantly between manufacturers. This hidden panel contains the essential controls that determine your entire recoding process.
Find the Manufacturer’s Identification Sticker
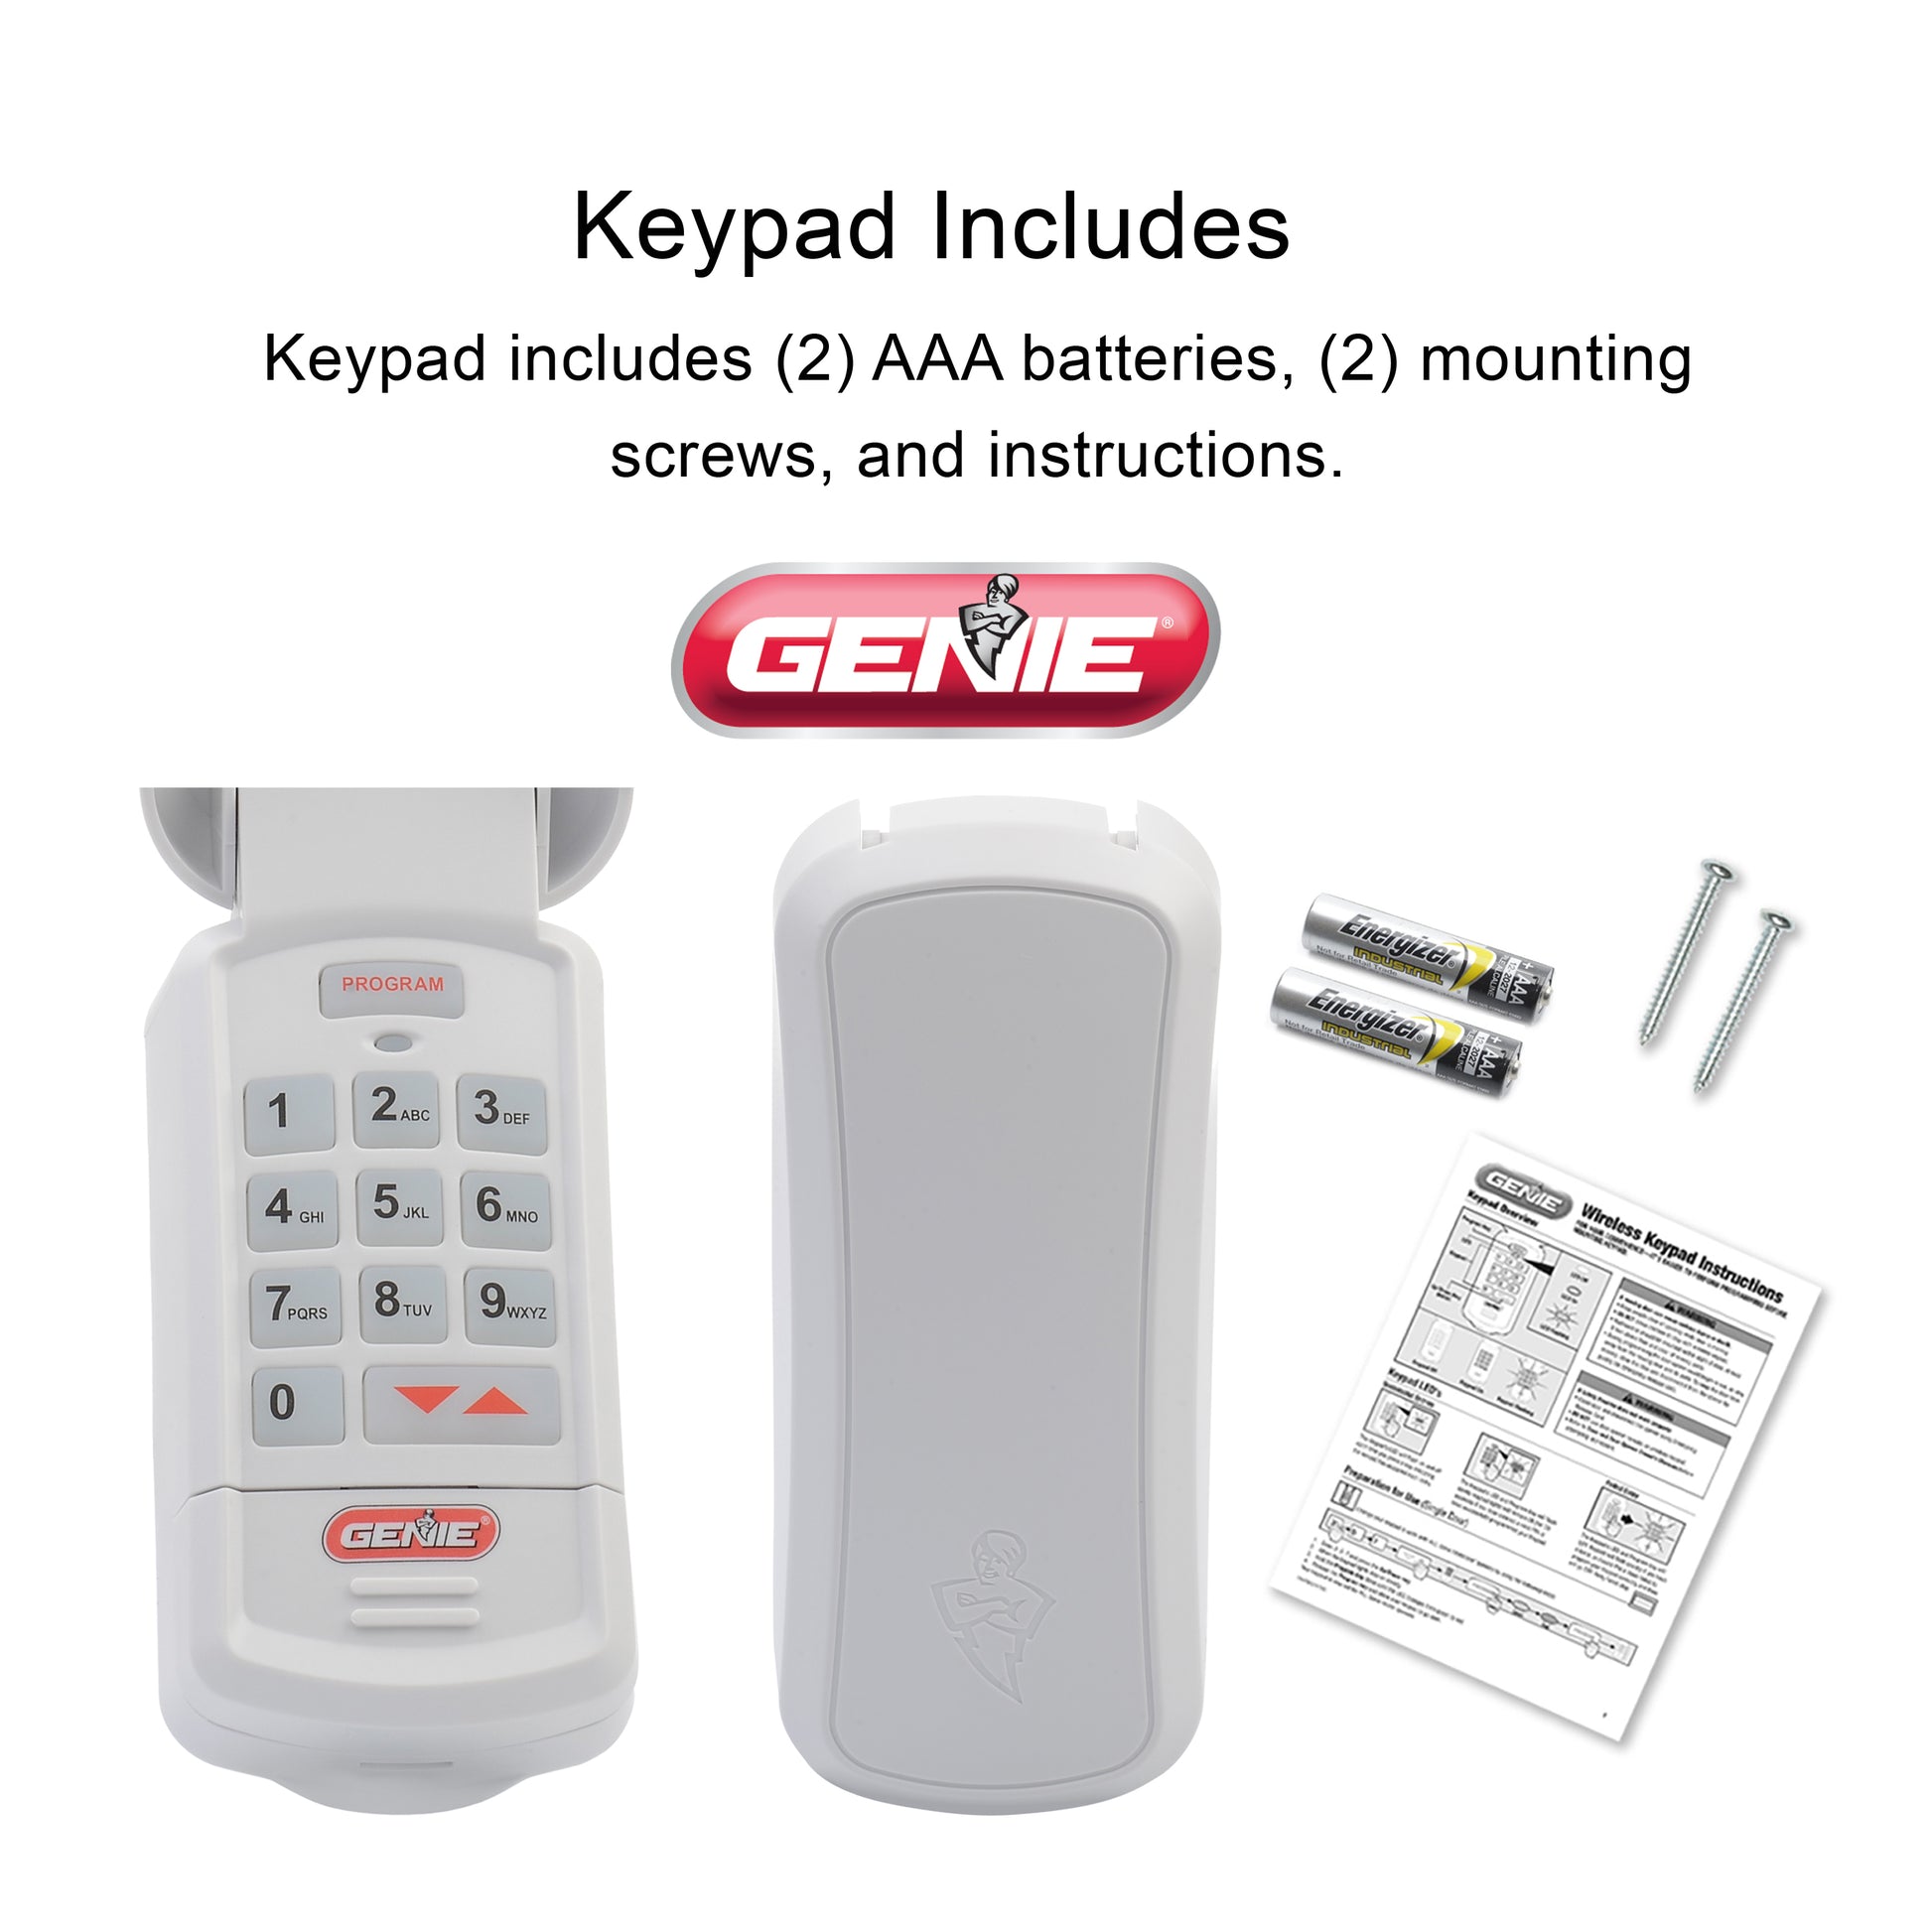
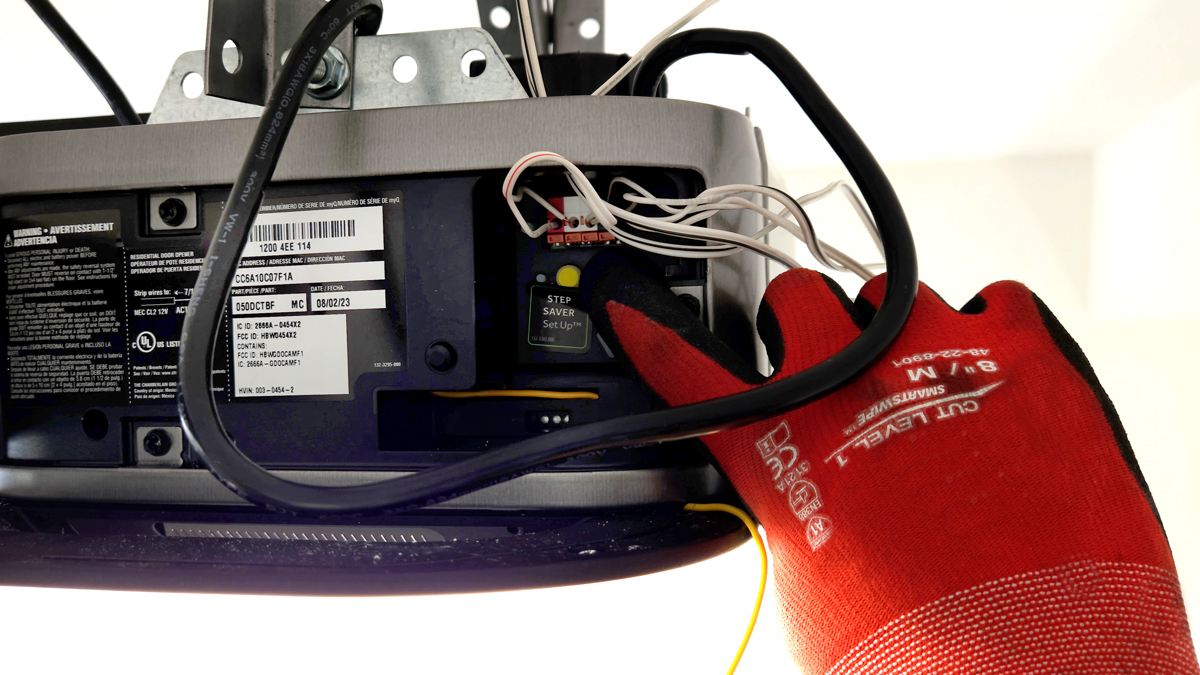
Grab a flashlight and examine the back of your keypad unit. Most manufacturers place a small identification sticker along the bottom edge or inside the battery compartment. LiftMaster units typically display model numbers beginning with “K,” while Chamberlain models often start with “976.” Genie keypads usually feature silver stickers with black text showing both model and series information. If you can’t locate this sticker immediately, check the garage door opener motor unit mounted to your ceiling—this often contains matching model information.
Determine Your Keypad’s Technology Generation
Your recoding approach depends entirely on whether you have an older fixed-code system or modern rolling-code technology. Key visual indicators include: fixed-code keypads (manufactured before 2005) have visible DIP switches inside the battery compartment, while rolling-code models (2005-present) feature smooth exteriors with no external switches. Smart keypads include Wi-Fi symbols or Bluetooth logos on the faceplate and require companion mobile apps for programming. This distinction is crucial because applying rolling-code procedures to fixed-code systems can permanently disable your keypad.
Perform Critical Safety Preparations Before Recoding
Rushing into the recoding process without proper safety measures risks damaging your garage door system or causing injury. Taking these precautionary steps ensures a smooth programming experience and protects both you and your equipment.
Disconnect Power to the Garage Door Opener
Stand on a stable step ladder and locate the electrical cord connecting your garage door opener motor to the ceiling outlet. Unplug this connection completely—this prevents accidental door movement during programming. If your opener has a backup battery system (common in newer models), locate the small battery compartment on the motor unit and disconnect the terminals. Verify power is off by attempting to operate the door using your wall-mounted control panel; if the door doesn’t respond, you’ve successfully isolated the system.
Prepare Your Programming Environment
Replace the keypad batteries with fresh alkaline batteries before starting—weak power sources cause 65% of failed programming attempts. Clean the keypad surface with a microfiber cloth to ensure good contact with your fingers. Have a notepad and pen ready to record your model number and new code. If programming during daylight hours, position yourself so direct sunlight doesn’t glare on the keypad display, which can interfere with button responsiveness.
Execute the Proper Factory Reset Sequence
Clearing existing codes creates a clean slate for your new programming. The reset method varies significantly between manufacturers, so using the correct sequence prevents lockout scenarios.
Standard Reset for Rolling-Code Systems
Locate the “Learn” button on your garage door opener motor unit—typically a small, colored button near the light bulb socket. Press and hold this button for 6-10 seconds until the LED indicator turns off completely. Release the button immediately when the light extinguishes; the LED should reactivate after 2-3 seconds, confirming successful reset. This process erases all previously programmed remotes and keypads from your system’s memory.
Alternative Reset for Older Fixed-Code Models
For pre-2005 systems with DIP switches, remove the keypad’s battery cover and locate the small switch bank. Flip all switches to the “OFF” position, wait 15 seconds, then return them to their original configuration. Some Genie models require simultaneously pressing buttons 3, 5, and 7 for 10 seconds after battery replacement. If your keypad has no visible switches, remove batteries for 30 seconds while holding any key depressed, then reinstall batteries while continuing to hold the key.
Program Your New Security Code Correctly
With your system reset, you’re ready to establish a new access code. Precision timing separates successful programming from frustrating failures during this critical phase.
Activate Programming Mode on the Opener
Return to your garage door opener motor and press the “Learn” button once—the LED should illuminate steadily or begin blinking rapidly. You now have exactly 30 seconds to complete the next steps, so position yourself near your keypad before activating this mode. If the LED turns off before you finish programming, repeat this step to re-enter programming mode.
Enter and Confirm Your New Access Code
Approach your keypad and enter your chosen 4-digit code slowly and deliberately. Press and hold the “Enter” button (or “*” key on some models) until you hear two distinct clicks from the motor unit or see the opener’s lights flash twice. Release immediately—holding too long cancels the programming sequence. Verify success by walking away from the keypad for 10 seconds, then returning to test your new code with a single entry.
Validate Your New Code Through Rigorous Testing
Never assume your programming succeeded without thorough verification. Many homeowners make the mistake of walking away after a single successful test, only to discover issues later.
Conduct Comprehensive Functionality Checks
Test your new code from three different positions: directly in front of the keypad, from the driver’s seat of your car, and from the edge of your driveway. Enter the code slowly at first, then at normal speed. Perform this test during both daylight and nighttime conditions to check for visibility issues. Attempt the code immediately after programming, then wait five minutes and try again—this confirms the system retains the code beyond the initial programming window.
Diagnose Common Post-Programming Failures
If your new code fails to operate the door, first check battery voltage with a multimeter—below 1.3V indicates insufficient power for reliable operation. Verify you’re not standing directly under fluorescent lighting, which can interfere with wireless signals. For keypads mounted on metal doors, ensure the unit isn’t positioned within 6 inches of the door seam where metal interference occurs. If problems persist after three attempts, wait 15 minutes before retrying—most systems implement temporary lockouts after multiple failed entries.
Implement Smart Maintenance Practices for Long-Term Reliability
Proper upkeep prevents 80% of future keypad issues and extends your system’s operational life significantly beyond typical expectations.
Establish a Proactive Maintenance Schedule
Test your keypad functionality monthly by operating the door while standing outside—this verifies both code functionality and signal strength. Replace batteries every spring regardless of apparent strength, as alkaline batteries lose 20% of capacity annually even when not in use. Clean the keypad surface quarterly with isopropyl alcohol to remove grime that impedes button responsiveness. After severe weather events, check for moisture accumulation inside the battery compartment that could cause corrosion.
Enhance Security Through Strategic Code Management
Create codes that incorporate non-sequential numbers with at least one repeated digit (e.g., 5259) to prevent shoulder surfing. Change your primary code every six months and establish temporary codes for service personnel that automatically expire after 48 hours. If your system supports multiple user codes, assign unique codes to family members to track usage patterns. Never use obvious combinations like birthdays or address numbers that could be easily guessed.
Troubleshoot Persistent Programming Issues Effectively
When standard procedures fail, these advanced techniques resolve most stubborn recoding problems without professional assistance.
Address Signal Interference Problems
Identify potential signal disruptors within 30 feet of your keypad, including Wi-Fi routers, baby monitors, or LED lighting systems. Temporarily power down these devices while programming your new code. Reposition wireless keypads at least 10 feet away from metal surfaces or electrical panels that cause signal reflection. For persistent interference issues, install a signal repeater between your keypad and opener motor to boost transmission strength.
Reset System Memory Completely
Perform a hard reset by disconnecting power to the opener for 5 minutes—not just unplugging, but turning off the circuit breaker. This clears any corrupted memory in the control board. After restoring power, immediately press and hold the “Learn” button for 20 seconds to initiate a deep system reset. This procedure often resolves “ghost code” issues where old codes continue working despite successful reprogramming.
Key Takeaway: Successful garage keypad recoding requires matching procedures to your specific system type, following precise timing sequences, and conducting thorough validation tests. Keep your model number documented in a secure location for future reference, and implement seasonal battery replacements to prevent unexpected failures. When programming issues persist beyond three attempts, consult your owner’s manual’s troubleshooting section before contacting professional support.
Remember that garage door systems involve powerful mechanical components—never bypass safety protocols to expedite programming. If you encounter electrical issues or unusual noises during the recoding process, stop immediately and seek professional assistance rather than risking injury or equipment damage. Most manufacturers offer free technical support for programming questions, so don’t hesitate to contact them with your model number ready.


