How to Make a Mechanical Keyboard Quiet: 5 Easy Tips
That clack-clack-clack of your mechanical keyboard keeping everyone awake? You’re not alone. Many keyboard enthusiasts face the daily struggle of loving their tactile switches while hating the noise complaints from family, roommates, or coworkers. The good news: you don’t need to abandon your beloved mechanical keyboard for a membrane one.
This guide walks you through proven techniques to dramatically reduce keyboard noise without sacrificing the satisfying feel you paid for. From quick $5 fixes to advanced modifications, you’ll discover exactly what works for your specific setup and budget. Whether you’re working late in a shared apartment or typing in an open office, these methods will transform your noisy mechanical keyboard into a whisper-quiet companion.
Quick Noise Fixes Under $10
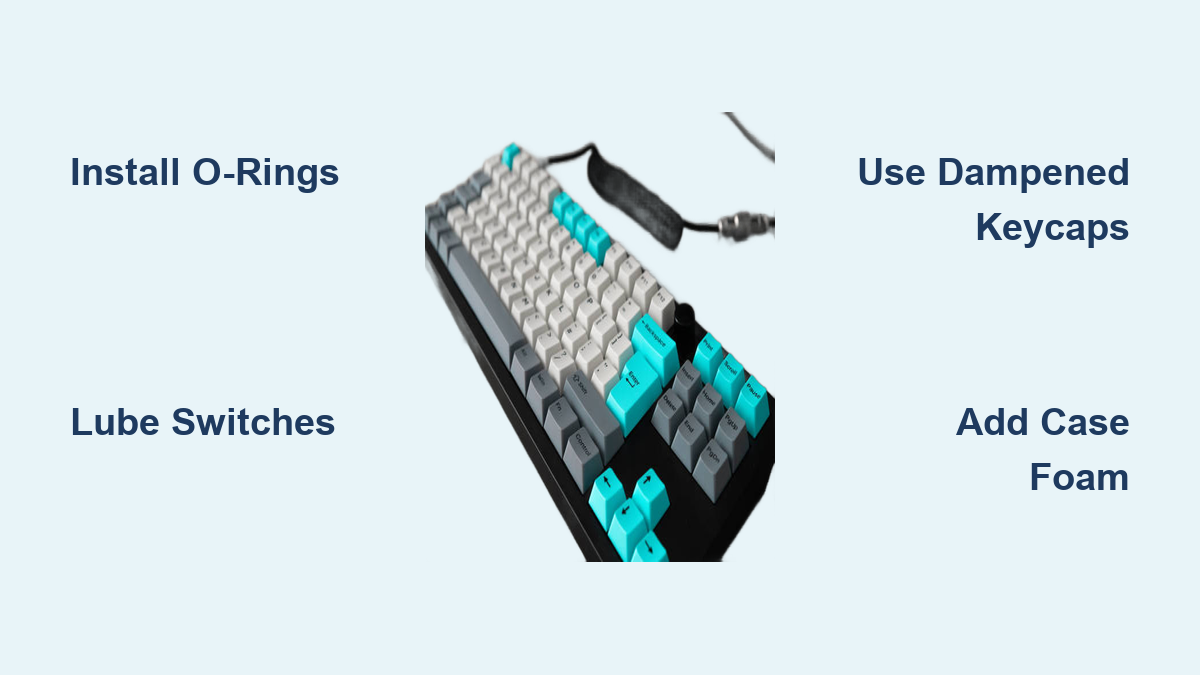
Install O-Rings on Keycaps
The fastest way to cut noise by 30-50% involves installing rubber O-rings beneath your keycaps. These small silicone rings cushion the impact when keys bottom out, eliminating the harsh “clack” sound while maintaining most of the key travel you love.
What You Need:
– 130x O-rings (sizes 5mm or 6mm inner diameter)
– Keycap puller or wire tool
– 15 minutes of your time
Installation Steps:
1. Pull off keycaps using your puller
2. Slide one O-ring onto each keycap stem
3. Press firmly until seated against the keycap base
4. Reinstall keycaps ensuring proper alignment
Pro Tip: Thicker 2.5mm O-rings reduce more noise but can make keys feel mushy. Start with 1.5mm rings for best noise-to-feel balance. You’ll notice immediate quieting when typing, especially on keys you hit hardest like Enter and Spacebar.
Switch to Dampened Keycaps
Your current ABS keycaps might be amplifying sound through vibration. PBT keycaps with thicker walls (1.5mm+) naturally absorb more vibration and produce deeper, quieter sounds. The denser plastic doesn’t resonate as easily as thinner ABS keycaps.
Budget Option: Tai-Hao PBT keycap sets ($30-50) provide decent noise reduction without breaking the bank. You’ll hear a noticeable difference in sound quality—less high-pitched “ping” and more muted keystrokes.
Premium Option: GMK or ePBT thick PBT sets ($80-150) offer superior dampening properties. When you combine these with O-rings, you’ve got a powerful one-two punch against keyboard noise that costs less than replacing your entire switch assembly.
Switch Modifications That Work

Apply Switch Films
Switch films reduce housing wobble and rattling sounds that create high-pitched noise. These thin plastic or foam sheets sit between the top and bottom switch housing, creating tighter tolerances that prevent internal components from vibrating against each other.
Materials Needed:
– Switch films (0.15mm TX films recommended)
– Switch opener tool
– Fine tweezers
Process:
1. Open each switch carefully
2. Place film between housing halves
3. Ensure film corners align properly
4. Snap housing back together firmly
Time Investment: 2-3 hours for full-size keyboard
Noise Reduction: 15-25% decrease in high-pitched rattles
Expert Note: This modification shines brightest on cheaper switches with looser tolerances. High-end switches already have tight tolerances, so the improvement might be less dramatic, but still worth the effort if noise is your primary concern.
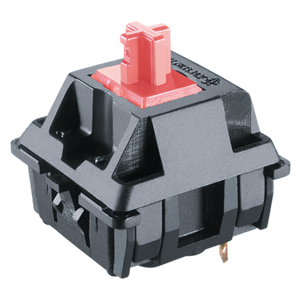
Lube Your Switches Properly
Proper lubrication transforms scratchy, loud switches into buttery-smooth, quieter ones. This requires disassembly but delivers the most dramatic improvements in both sound quality and typing feel.
Recommended Lubes:
– Linear switches: Krytox 205g0 (thick, creamy)
– Tactile switches: Tribosys 3203 (lighter, preserves bump)
– Clicky switches: Avoid heavy lubes that eliminate click
Step-by-Step Lubing:
1. Remove switches from keyboard
2. Open switch housing
3. Lube stem rails lightly (avoid legs on tactiles)
4. Apply thin coat to spring ends
5. Reassemble switches carefully
Warning: Over-lubing creates sluggish switches. Less is more—aim for thin, even coats. A properly lubed switch should feel smooth without any “sticking” sensation. You’ll notice quieter keystrokes immediately, especially when bottoming out.
Advanced Sound Dampening
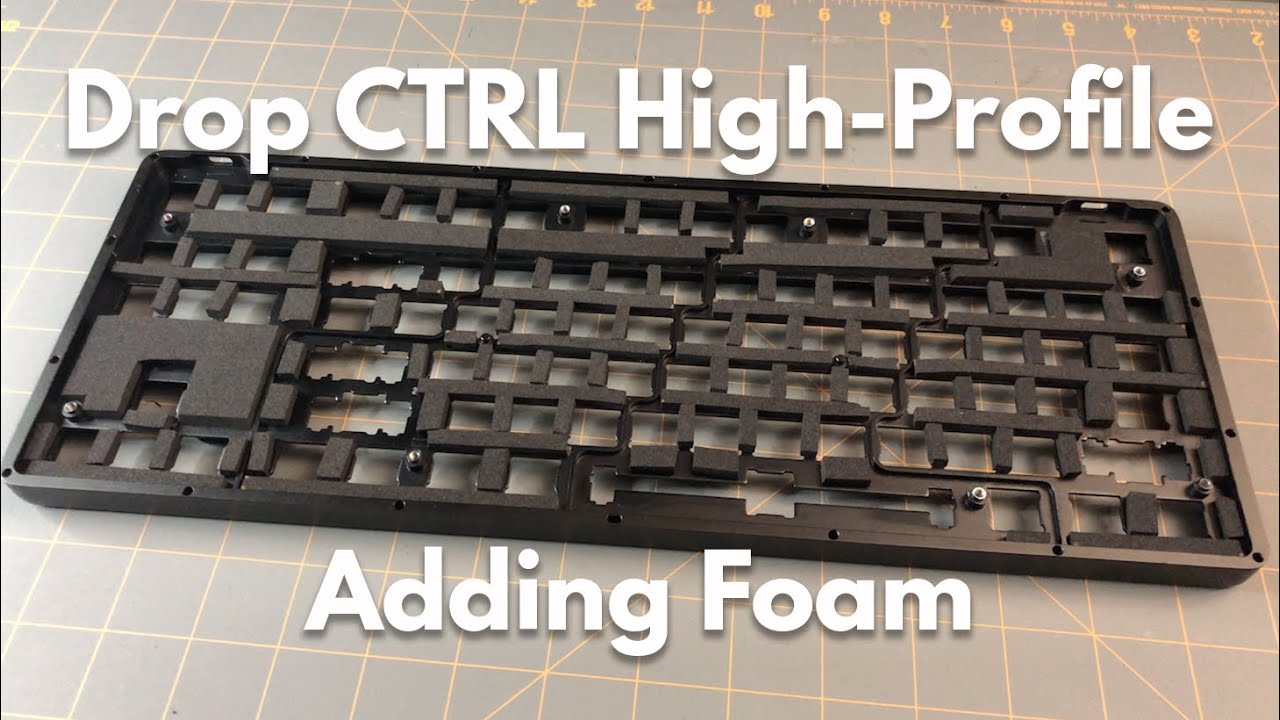
Case Foam Installation
Empty keyboard cases act like resonance chambers, amplifying every keystroke. Filling void spaces with foam absorbs internal echoes and vibrations that would otherwise escape as noise.
Foam Options:
– Shelf liner: $5-10, easy to cut but less effective
– Sorbothane: $20-40, premium damping with excellent results
– PE foam: $10-15, good balance of cost and performance
Installation Process:
1. Open keyboard case screws
2. Measure internal dimensions
3. Cut foam to fit around standoffs
4. Layer foam in case bottom
5. Reassemble carefully
Visual Cue: When properly installed, you should see no gaps between the foam and case walls. The keyboard should feel slightly heavier and sound noticeably deeper and more muted when typing.
Mod Your Stabilizers
Stabilizer rattle creates annoying metallic sounds on larger keys like Spacebar and Enter. Proper tuning eliminates these issues completely by reducing movement and vibration in the stabilizer system.
Fix Methods:
– Clip: Remove stabilizer feet for smoother travel
– Lube: Apply dielectric grease to wire ends
– Band-aid: Add fabric medical tape under stabilizer
– Holee: Insert foam into stabilizer housing
Tools Required:
– Flush cutters for clipping
– Dielectric grease
– Fabric band-aids
– Small scissors
Pro Tip: Start with lubing stabilizers before attempting more invasive mods. Sometimes a small amount of grease on the stabilizer wire ends eliminates 90% of the rattle with minimal effort.
Switch Types for Silent Operation
Best Silent Switches Available
When modifications aren’t enough, switching to quiet switches provides the ultimate solution. These switches are engineered from the ground up for minimal noise output.
Top Silent Linear Options:
– Cherry MX Silent Red/Black: Tried and true, widely available with rubber dampeners built in
– Gateron Silent Ink: Smoother than Cherry, deeper sound profile that’s less distracting
– ZealPC Sakurio/Roselio: Premium smoothness, quietest available with no compromise on feel
Tactile Silent Switches:
– Kailh Box Silent Brown: Crisp bump, minimal noise even under heavy typing
– Durock Silent T1: Strong tactile with built-in dampening that preserves feedback
– ZealPC Zilent: Rounded bump, library-quiet operation perfect for shared spaces
Budget Alternative: Outemu Silent switches ($0.30-0.50 each) offer decent performance at fraction of premium switch costs. While not as smooth as higher-end options, they’re significantly quieter than standard mechanical switches.
Budget vs Premium Solutions
$20 Silent Keyboard Plan
Transform any mechanical keyboard for under $20 with this strategic approach that delivers maximum quieting for minimal investment:
- O-rings: $5 for a full set
- Switch films: $8 for enough for a standard keyboard
- Case foam: $5 worth of shelf liner
- Lubricant: $2 for a small tube of basic switch lube
Total Time: 3-4 hours of weekend tinkering
Noise Reduction: 40-60% improvement in overall noise output
Implementation Strategy: Start with O-rings for immediate results, then tackle switch films while you’re already pulling keycaps. Save case foam for last since it requires opening the case. This sequence minimizes rework and lets you hear incremental improvements at each stage.
High-End Silent Build ($200+)
For ultimate silence without compromise, this premium approach creates a keyboard that’s quiet enough for recording studios or shared bedrooms:
- Case: Gasket mount with multiple foam layers ($100-150)
- Switches: ZealPC Zilents ($1.20 each x 100 = $120)
- Keycaps: Thick PBT with dampening rings ($80-100)
- Stabilizers: Custom lubed and modded ($30-40)
Expected Result: Whisper-quiet operation where keystrokes are barely audible even in complete silence. The typing feel remains exceptional—smooth, consistent, and satisfying without the distracting noise.
Common Mistakes to Avoid
Over-Dampening Problems
Applying too many noise reduction techniques can make keyboards feel mushy or unresponsive. Avoid these pitfalls that turn your crisp mechanical keyboard into a depressing typing experience:
Don’t:
– Stack multiple O-rings (makes keys feel unresponsive)
– Use thick lubes on tactiles (mutes the bump you paid for)
– Over-stuff case with foam (creates uneven bottoming)
– Lube clicky switches heavily (eliminates the satisfying click)
Expert Tip: Test one modification at a time. After each change, type for 5-10 minutes to assess both noise reduction and typing feel before moving to the next mod.
Cheap Mod Failures
Budget shortcuts often backfire and create more problems than they solve:
Avoid:
– Hairband O-ring substitutes (deteriorate quickly and leave residue)
– Generic silicone grease (wrong viscosity that attracts dust)
– Paper towel case dampening (absorbs moisture and deteriorates)
– Overlubing (kills switch feel and attracts debris)
Pro Tip: Invest in proper tools and materials. A $10 switch opener tool prevents broken switches that would cost more to replace than the tool itself.
Maintenance for Lasting Quiet
Regular Cleaning Schedule
Dust and debris increase noise over time as particles create additional vibration points. Clean your quiet keyboard monthly to maintain optimal performance:
Quick Clean Routine:
1. Remove keycaps with puller
2. Blow out debris with compressed air (hold can upright)
3. Wipe keycaps with slightly damp microfiber cloth
4. Check O-rings for wear or misalignment
5. Reinstall keycaps firmly but without excessive force
Warning: Never use liquid cleaners directly on your keyboard. The moisture can seep into switches and cause electrical issues.
Monitor Mod Deterioration
O-rings compress and lube dries out over time. Replace O-rings every 1-2 years and relube switches annually for consistent quiet operation.
Visual Indicators It’s Time for Maintenance:
– Keys start sounding “pingy” again
– O-rings appear flattened or discolored
– Lubed switches feel scratchy
– Stabilizers develop new rattles
Your mechanical keyboard doesn’t have to sound like a typewriter from the 1950s. Start with O-rings and see immediate results, then gradually work through switch mods and case dampening as time allows. Even budget keyboards can achieve near-silent operation with the right combination of these techniques.
Remember: the quietest keyboard is one that balances noise reduction with typing satisfaction. Test each modification individually to maintain the feel you love while achieving the silence you need. With these methods, you’ll enjoy the mechanical keyboard experience without disturbing those around you.