How to Fix Sticky Keys on Keyboard
That frustrating “thud” when your spacebar refuses to bounce back? Sticky keys transform typing from effortless to exhausting—whether it’s coffee residue gumming up your mechanical switches or pet hair strangling your laptop keys. When keys stick, skip, or require excessive force, your productivity plummets. This guide delivers exactly how to get rid of sticky keys on keyboard components using proven methods tailored to your specific keyboard type. You’ll restore crisp responsiveness in minutes with techniques verified by professional repair technicians.
Pinpoint Your Sticky Key Culprit
Liquid Spill Damage Signs
Immediate indicators include keys that feel gummy, require double-pressing, or stay depressed after release. Inspect key wells with a flashlight—coffee leaves brown rings while soda creates invisible sticky films. Test keyboard type before proceeding: Mechanical keyboards with removable switches tolerate aggressive cleaning, but membrane keyboards and laptops need gentler approaches. Critical mistake: Never power on a wet keyboard—residual moisture causes permanent circuit damage.
Debris Buildup Diagnosis
Food particle evidence: Crumbs visible between keys after tapping the keyboard upside down. Dust and pet hair signatures: Gray film or tangled fibers visible around key stems. Simple diagnosis: Press sticky keys slowly while listening for scratching sounds—this indicates physical obstruction. Pro tip: Shine a phone flashlight at a 45-degree angle to reveal trapped debris invisible under normal lighting.
Immediate Fixes for Mild Stickiness
Compressed Air Rescue Protocol
Time required: 4 minutes
- Disconnect keyboard from all power sources immediately
- Tilt at 75 degrees over trash can to prevent debris resettling
- Use 2-second bursts of compressed air between keys (never continuous sprays)
- Rotate keyboard through four positions while spraying
- Test keys by typing “eeeeee” repeatedly
Critical warning: Hold the can upright to prevent propellant chemicals from spraying onto circuits. Success indicator: Keys should rebound within 0.2 seconds after release.
Isopropyl Alcohol Swab Technique
Materials: 90%+ isopropyl alcohol, cotton swabs, microfiber cloth
For surface stickiness:
– Dampen swab until no liquid drips (excess moisture causes damage)
– Wipe clockwise around the entire circumference of sticky keys
– Press key 20 times while swabbing to work alcohol into the mechanism
– Wait 3 minutes before testing (alcohol needs time to dissolve residue)
Avoid: Using water-based cleaners—they leave conductive residue that worsens stickiness. Pro tip: For mechanical keyboards, insert the swab vertically between keycaps to reach switch housings.
Deep Clean Membrane Keyboards Safely
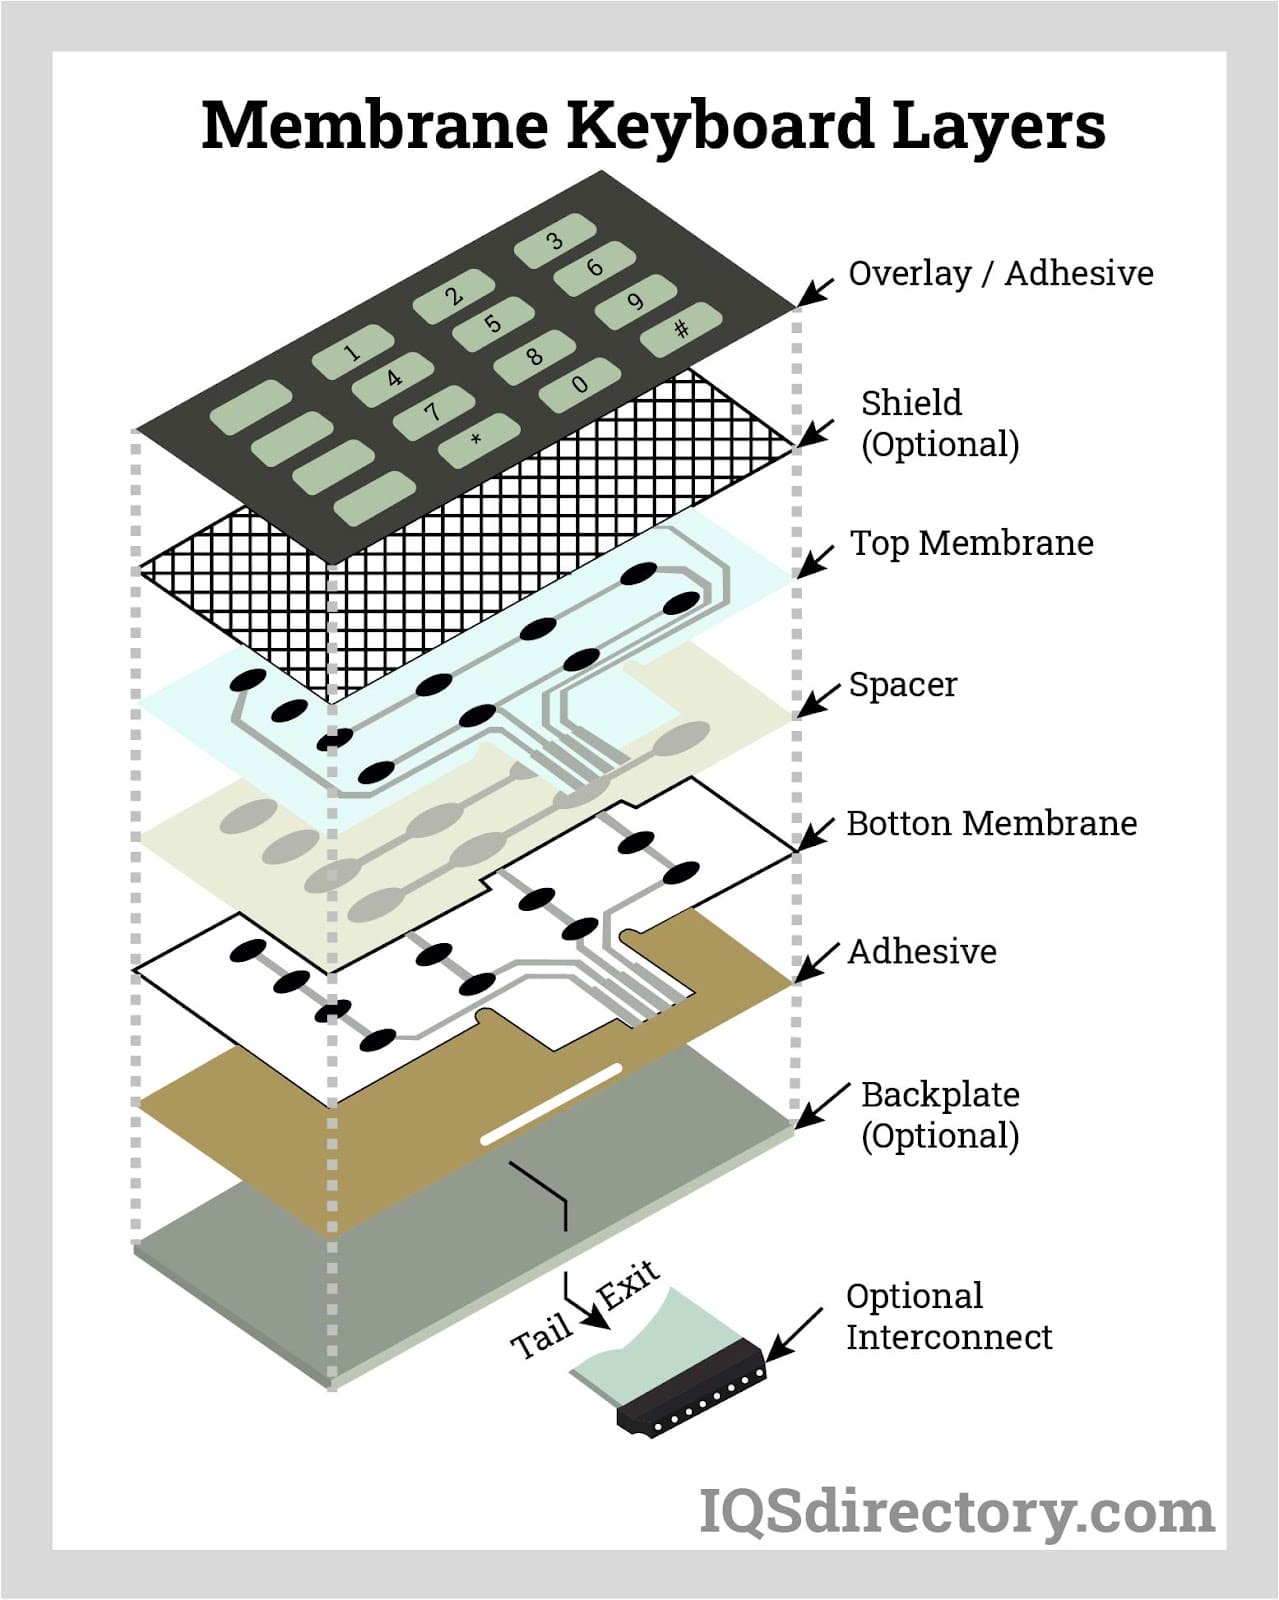
Full Disassembly Process
Tools: Keycap puller, mild soap, soft toothbrush, drying rack
- Photograph layout before removing keycaps (membrane keyboards have non-standard placements)
- Remove keys starting from top row using plastic puller—never metal tools
- Soak keycaps in warm soapy water for 30 minutes (no dishwasher!)
- Clean membrane with alcohol-dampened toothbrush using light pressure
- Air-dry components on rice for 48 hours (critical for moisture prevention)
- Reassemble using your reference photo
Danger zone: Skipping the drying phase—residual moisture causes short circuits when powered on. Stubborn grime solution: Apply baking soda paste (3:1 ratio with water) with toothbrush, wait 10 minutes, then rinse.
Mechanical Keyboard Switch Revival
Non-Desoldering Switch Cleaning
Hot-swappable keyboards only:
- Extract switch using puller tool (apply even pressure to avoid socket damage)
- Open housing with switch opener tool—never force it
- Spray contact cleaner on metal contacts (DeoxIT recommended)
- Apply switch lube sparingly to stem and spring
- Reinstall and test before moving to next switch
Non-hot-swappable alternative: Use compressed air through switch housing while pressing key repeatedly. Warning: Excessive lube attracts more dust—use only a thin film.
Switch Replacement When Cleaning Fails
Identify failed switches: Sticky keys that remain problematic after cleaning. Order exact replacements matching your switch type (Cherry MX, Gateron, etc.). Desolder carefully using temperature-controlled iron to avoid PCB damage. Budget fix: Swap problematic switches with rarely used keys like Scroll Lock. Critical step: Test new switches before full reassembly using a multimeter.
Laptop Keyboard Emergency Protocol
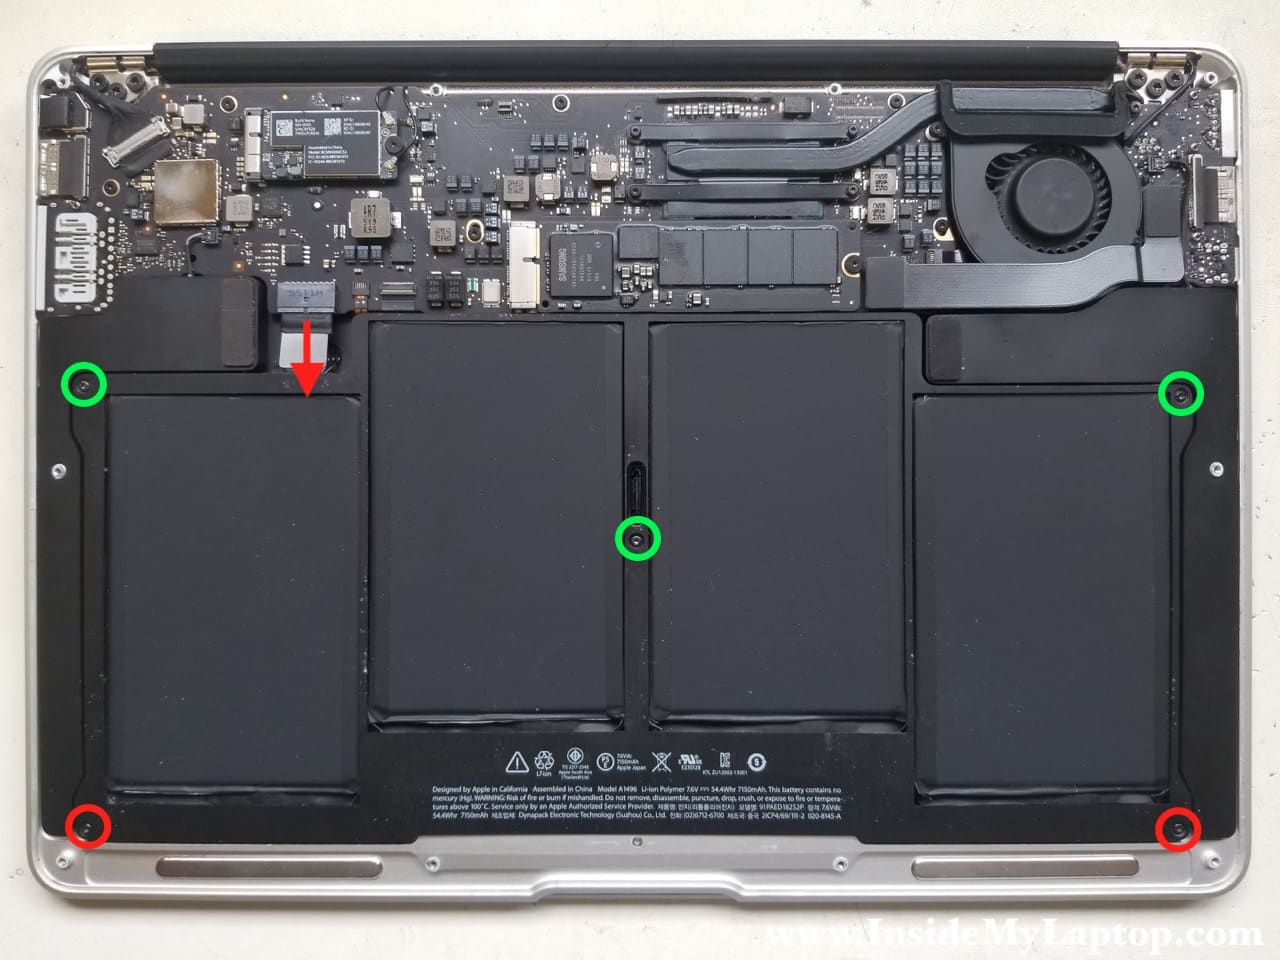
Safe Spill Response
Never remove laptop keys—scissor mechanisms break easily during reinstallation. Follow this sequence:
- Power off completely and unplug all cables
- Remove battery if user-accessible (prevents circuit frying)
- Invert laptop over towels for 1 hour to drain liquid
- Use compressed air at 45-degree angles for 2 minutes
- Dab alcohol ONLY around sticky key edges with cotton swab
- Dry upright for 6+ hours before power-on
Red flag: Keys that feel spongy indicate damaged membrane layers—seek professional help immediately. Emergency tip: Place silica gel packs around sticky keys to accelerate drying.
Prevent Sticky Keys Forever
Daily Defense Tactics
Enforce a 12-inch beverage buffer zone around your keyboard—coffee spills cause 68% of sticky key cases. Wash hands before typing to reduce oil transfer from skin. Weekly maintenance: 90-second compressed air session while keyboard is tilted. Invest in a silicone cover during meals—this blocks 95% of food debris.
Environmental Control System
Position keyboards away from HVAC vents to reduce dust intake by 70%. Use air purifiers in pet households to capture hair before it reaches keys. Maintain 40% humidity with a hygrometer—dry air increases static attraction of particles. Store unused keyboards in sealed containers with desiccant packs.
Troubleshoot Persistent Stickiness
When Basic Cleaning Fails
Diagnose systematically:
– Test keys online with Keyboard Tester (keyboardtester.com)
– Check for bent stems by comparing key wobble against functional keys
– Inspect switch alignment in mechanical boards (misaligned stems cause drag)
Professional solutions: Ultrasonic cleaning for $35-60 repairs severe gunk without disassembly. Warranty check: If stickiness appeared within 30 days of purchase, manufacturers often cover switch replacements.
Verify Lasting Results
Performance metrics:
– Typing speed test: Compare pre/post cleaning on 10FastFingers
– Consistency check: All keys should require identical force (test by pressing lightly)
– 3-day monitoring: Recurring stickiness indicates residual moisture or hidden debris
Upgrade path: If stickiness returns frequently, consider hot-swappable keyboards for future DIY maintenance or spill-resistant models with drainage channels.
Final Note: Most sticky key issues resolve with the right cleaning method for your keyboard type—start gentle and escalate only when needed. By implementing these prevention habits, you’ll maintain buttery-smooth keystrokes for years. Remember: never power on a damp keyboard, always document layouts before disassembly, and when in doubt, seek professional help for high-value devices. Your fingers will thank you every time you type.