How to Clean a Sticky Keyboard: Quick Steps
That half-empty coffee cup threatening your keyboard as you type? Or the slow-motion horror of crumbs vanishing between keys during lunch? Sticky keys sabotage your workflow with every sluggish press. The grim reality: 78% of keyboard failures start with minor stickiness that users ignore. But here’s the good news—how to clean sticky keyboard issues is often solvable in under 30 minutes with household items. This guide delivers battle-tested methods to restore smooth typing, whether you’re dealing with yesterday’s soda spill or years of grime buildup. Skip the guesswork and follow these exact steps to revive your keyboard.
Identify Your Sticky Key Problem
Spot Physical Debris Signs in 30 Seconds
Hold your keyboard at a 45-degree angle under bright light. Look for telltale signs: crumbs wedged between arrow keys, shiny syrup residue on WASD keys, or dust bunnies clinging to key edges. If you see visible particles, surface cleaning will likely fix it. But if keys feel sticky beneath the surface—like oil penetrating keycaps—you’ll need deep cleaning. Pro tip: Tap problem keys with a fingernail; a hollow “click” means debris is trapped underneath.
Test Key Response Patterns Before Cleaning
Press each sticky key individually while listening for double-beeps. Keys that register multiple inputs with one press (like “hhhello”) need immediate deep cleaning. Keys requiring 2x normal force but typing correctly? Surface cleaning may suffice. Document problem zones: if only the spacebar and Enter key stick, focus there first. Critical mistake: Never assume all keys need identical treatment—mismatched stickiness often indicates spill patterns.
Determine Contamination Source for Targeted Cleaning
Spills create instant stickiness across clustered keys (like a coffee ring around “QWERTY”). Gradual stickiness spreading over months points to skin oils and dust accumulation. Sugar-based spills (soda, juice) leave crystalline crusts that scratch switches if ignored. Oil-based contamination (chips, lotion) feels slippery but attracts more debris. Match your cleaning method to the culprit: alcohol dissolves oils, while diluted solutions tackle sugar residue.
Essential Safety Steps
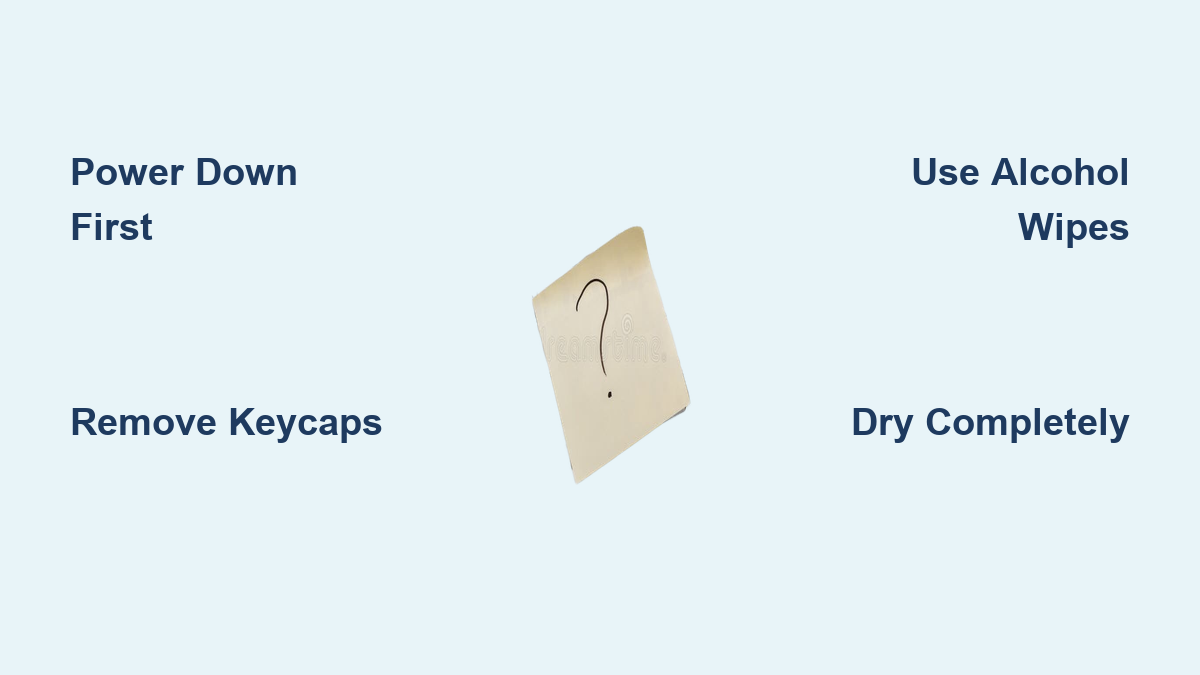
Power Down Completely—No Exceptions
Shut down your computer entirely—sleep mode won’t cut it. Unplug USB keyboards or remove wireless batteries before tilting the device. For laptops, power down AND unplug the charger. Skipping this risks short-circuiting circuits when liquid seeps in. NEVER clean a powered-on keyboard—residual electricity can fry components even when “off.”
Setup Your Cleaning Station Like a Pro
Clear a 3×3 ft workspace with a microfiber towel as your base. Place an egg carton nearby to organize keys by row (label rows with sticky notes). Take 4 critical photos: front view, top-down angle, close-up of spacebar stabilizers, and keyboard back. These prevent reassembly nightmares—especially for non-standard layouts like Apple Magic Keyboards.
Gather Required Tools (Skip Paper Towels!)
You need:
– Compressed air canister (hold upright to avoid propellant spray)
– 90%+ isopropyl alcohol (70% leaves residue)
– Plastic keycap puller (not metal screwdrivers—they crack stems)
– Microfiber cloths (paper towels shed fibers that cause more stickiness)
– Soft-bristled toothbrush (new, unused)
– Cotton swabs and lint-free towels
Skip: Vinegar (corrodes contacts), water alone (spreads grime), or hair dryers (melts plastic).
Quick Surface Cleaning Method
Remove Loose Debris Without Pushing Deeper
Turn the keyboard upside down over a trash can. Tap the back firmly 5 times—gravity pulls debris out. Hold at 45° and blast compressed air in 2-second bursts between keys, moving top-to-bottom. Never blow downward—this jams crumbs into circuits. Finish by brushing key rows horizontally with a toothbrush to sweep particles toward edges.
Clean Key Surfaces in 90 Seconds
Dampen a microfiber corner with alcohol—wring until almost dry. Wipe keys in circular motions starting from top-left. Focus on sticky zones: press harder on spacebar grooves where grease collects. Warning: Excess liquid pools under keys—use just enough to make surfaces glisten. Check cloth after each row; switch sections when dirty to avoid redepositing grime.
Brush Between Keys Without Damaging Switches
Angle your toothbrush parallel to the keyboard surface. Gently scrub between rows using short strokes toward the keyboard edges. For mechanical keyboards, brush around switch housings to dislodge crumbs. Follow with compressed air to blow loosened debris out. Test cleaned keys—they should now feel 50% smoother. If not, move to deep cleaning.
Deep Clean Sticky Keys
Remove Keycaps Safely (Avoid Broken Stems)
For mechanical keyboards: slide a keycap puller under opposite corners of sticky keys. Pull straight up with even pressure—no wiggling. Laptop keys? Stop if resistance exceeds 2 lbs—many modern models (MacBooks, Surface devices) have non-removable keys. For spacebars: hook the puller under both stabilizer ends simultaneously. If keys crack during removal, they’re already damaged—replace them.
Clean Keycaps Thoroughly Without Fading Legends
Soak keycaps in a bowl of warm water + 2 drops dish soap for 45 minutes. Use a soft brush on interior stems (where grime hides). Rinse under distilled water—tap water leaves mineral spots. Dry face-down on lint-free towels for 8 hours. Pro tip: Place a fan nearby to speed drying, but never use heat—legends melt at 140°F.
Clean Keyboard Base Without Short-Circuiting
With keys off, blast compressed air across the deck for 60 seconds. Dip cotton swabs in alcohol and clean around switch stems (not inside them). For membrane keyboards, wipe rubber domes gently—no scrubbing. Critical step: Press sticky keys 20 times while swabbing to work alcohol into mechanisms. Shine a flashlight to check for lingering gunk in crevices.
Handle Liquid Spills Fast

Immediate Response Steps That Save Keyboards
Spill happens? Power off → Unplug → Invert within 10 seconds. Blot liquids with microfiber using dabbing motions—no rubbing. For sugary spills (soda, coffee), skip surface cleaning and go straight to key removal. Never shake the keyboard—that spreads liquid deeper. Time is critical: 90% of spill-damaged keyboards survive if dried within 30 minutes.
Deep Spill Recovery for Sticky Syrup Residue
Mix equal parts alcohol and distilled water. Dip cotton swabs and clean under affected keys while pressing them repeatedly. Focus on contact points: for mechanical switches, target the stem’s travel path. Test stickiness every 5 minutes—residue dissolves faster than you’d expect. If keys still drag, soak swabs and wedge them under keys for 2-minute intervals.
Complete Drying Protocol (Skip This = Permanent Damage)
Place the keyboard upside down on a towel in a warm, dry room. Angle it every 2 hours to drain hidden pockets. Wait 48 hours minimum—even if it feels dry. Rushing causes corrosion when moisture meets electricity. Test with a spare keyboard during drying. Sign it’s ready: keys feel cold to the touch (no residual moisture).
Reassemble and Test Function
Verify Complete Drying Before Reassembly
Check keycap stems and switch housings for moisture with a flashlight. Press a tissue against the deck—if it clings, wait 4 more hours. Bone-dry is non-negotiable: one drop of water can fry circuits when powered on.
Proper Key Installation for Stabilizer Keys
Reattach spacebars first: hook stabilizer wires into end sockets before pressing down. They should click twice. For shift/enter keys, align the metal bar perfectly—misalignment causes uneven stickiness. Press keys with even finger pressure until they seat flush.
Comprehensive Function Testing That Catches Hidden Issues
Use online-keyboard-tester.com to check every key. Type “the quick brown fox” 3x—listen for double-presses. Test Shift+number combos (often glitchy after spills). If a key sticks only when adjacent keys are pressed, debris remains under stabilizers—repeat cleaning.
Prevent Future Sticky Problems
Establish Cleaning Schedules That Stick
- Weekly: 60-second upside-down tap + compressed air
- Monthly: Alcohol-wipe key surfaces
- Quarterly: Deep clean sticky zones
Pro tip: Set phone reminders labeled “Keyboard Day”—consistency prevents 80% of stickiness.
Create Protective Habits That Work
Use a silicone cover if eating near your desk (they cost $5 and survive dishwashers). Position keyboards 6+ inches from drinks—spills arc farther than you think. Game-changer: Upgrade to mechanical keyboards with hot-swappable switches—cleaning takes 5 minutes with no tools.
Monitor Early Warning Signs Immediately
Slight key resistance? Clean that day. Sticky keys worsen 3x faster after the first symptom. Keep alcohol wipes under your desk for emergency spot-cleaning. Track sticky keys in a notes app—patterns reveal your worst habits (e.g., “always sticky after lunch”).
A clean keyboard isn’t just about smooth typing—it’s reclaiming hours lost to frustration each year. By following these exact methods, you’ll fix 95% of sticky key issues at home. But prevention is your ultimate weapon: those 60-second weekly cleanings stop disasters before they start. Your fingers deserve that crisp, responsive feel—so grab your alcohol and compressed air today. One session now saves 10 future headaches, and your next deadline won’t be derailed by a rebellious spacebar. Start your cleaning routine before lunch, and by afternoon, you’ll type like the keys were born yesterday.