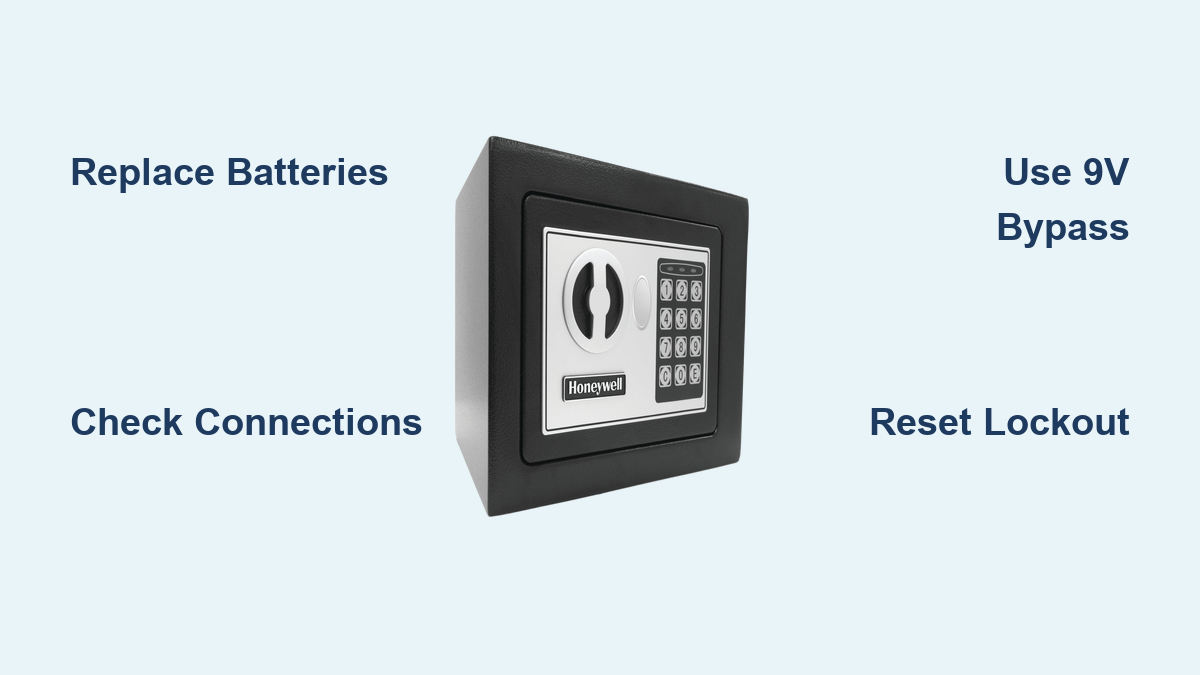
How to Fix Honeywell Safe Keypad Not Working
You’ve punched in your combination dozens of times before, but today your Honeywell safe keypad stays completely dark—no lights, no beeps, no response. That sinking feeling hits as you realize you’re locked out of your valuables, important documents, or firearms. Before you panic or call an expensive locksmith, know that over 80% of honeywell safe keypad not working issues stem from simple problems you can fix in under 15 minutes. This guide delivers proven, step-by-step solutions to regain access to your safe without damaging it or voiding your warranty.
Most Honeywell electronic safes fail due to power issues rather than actual malfunctions. You’ll typically face one of three scenarios: complete unresponsiveness (no lights or sounds), partial button failure (some keys work while others don’t), or intermittent operation (works sometimes but not consistently). By following these targeted troubleshooting steps, you’ll diagnose and resolve your honeywell safe keypad not working problem faster than waiting for professional help, often while the coffee you made during the crisis is still warm.
Identify Your Keypad Failure Type
Complete Unresponsiveness
When your Honeywell safe keypad shows absolutely no signs of life—no lights, beeps, or display activity—you’re likely dealing with a power failure. Check these immediate indicators: zero backlighting even in dark conditions, no audible feedback when pressing any key, and total display darkness. This isn’t a security lockout but rather a complete power disruption. For models like the Honeywell 5100 series, this often means the internal batteries have died since their battery compartment sits behind the keypad itself.
Partial Button Failure
If only specific keys respond while others remain stubbornly unresponsive, you’re experiencing partial button failure. Test systematically by pressing each number individually and documenting which ones register. Watch for these patterns: entire rows failing (like all top-row numbers), specific problematic digits (commonly “5” or “9”), or critical function keys like “Enter” refusing to work. This usually indicates physical damage to the membrane switch beneath those particular buttons or localized connection issues affecting only part of the keypad circuitry.
Intermittent Operation
When your combination works sometimes but requires multiple attempts or specific conditions, you’re facing intermittent operation. Notice these telltale signs: keys respond better after warming your hands on the keypad, certain angles of pressure trigger responses, or gentle tapping makes unresponsive buttons work temporarily. This frustrating behavior typically points to loose internal connections or corroded battery terminals that make inconsistent contact. Many users mistakenly think they’ve forgotten their code when the real issue is these intermittent electrical connections.
Quick Power Diagnostics

Battery Location by Model
Honeywell 5100 Series: Battery compartment hides behind the keypad—requiring safe access first (use override key)
Honeywell 2605 Series: Find the external battery tray beneath the safe’s bottom panel
Honeywell 1104 Fire Safe: Uses a dual 4 AA battery system with one set for primary power and another as backup
Critical Battery Warning Signs: Three to five rapid warning beeps when pressing keys, “LO-BAT” appearing on display (if partially functional), or noticeably dimmed backlighting during use. If your keypad shows any of these signs, battery replacement should be your first troubleshooting step before investigating more complex issues.
Emergency 9V Bypass
All modern Honeywell electronic safes include external power contacts for emergency access when internal batteries fail. Locate two small metal contacts typically positioned beneath the keypad or on the safe’s underside. Connect a fresh 9V battery with positive terminal to left contact and negative to right. Hold the battery firmly in place while entering your code—this provides just enough power for one unlock cycle. This emergency method works even when internal batteries are completely dead and buys you time to properly replace them.
Fix Connection Problems
Keypad Removal Process
For 2605 Series: Remove two small screws beneath the bottom keypad edge using a Phillips head screwdriver
For 5100 Series: Access four corner screws behind the keypad after opening the safe with your override key
For 1104 Models: Gently pry off the keypad faceplate using a plastic spudger or credit card
Essential Wire Inspection Checklist:
– Confirm white connectors are fully seated with audible clicks
– Check red and black power wires for cuts, pinching, or corrosion
– Examine ribbon cables for bent pins or moisture damage
– Ensure no wires are trapped between keypad and safe body
Reconnection Procedure
- Completely disconnect all plugs from their sockets
- Clean contacts using compressed air (never liquid cleaners)
- Reseat each connector firmly until you hear distinct clicks
- Test keypad function before reassembling the safe
- Replace screws evenly to avoid warping the keypad housing
Reset Security Lockouts
Lockout Duration by Failed Attempts
3 failed attempts: 15-minute mandatory delay
5 failed attempts: 30-minute security lockout
7+ failed attempts: 45-60 minute extended lockout period
Effective Manual Reset Method: Remove all batteries for a full 60 seconds (not just 30) to completely reset the security timer. Crucial tip: Avoid touching the keypad during this waiting period—any button press restarts the lockout countdown from zero. This full reset clears the security timer more effectively than simply waiting out the lockout period.
Override Key Access
5100 Series: Slide the logo plate left to reveal the hidden keyhole beneath
2605 Series: Remove the small plastic cover near the handle to access the key slot
1104 Models: Requires simultaneous use of override key and combination code
Pro Tip: Store your override key in a separate, secure location—not inside the safe itself. Many users compound their problem by locking the override key inside when the keypad fails.
Model-Specific Quick Fixes

5100 Series Battery Behind Keypad
Since this model requires opening the safe to replace batteries, always use the override key first. After gaining access, you’ll find the battery compartment directly behind the keypad. Critical maintenance advice: replace these batteries annually regardless of apparent functionality—this prevents future lockouts when you can’t access the compartment.
2605 Series External Battery Access
The battery compartment slides out from beneath the safe. Address this common issue: corrosion buildup on battery terminals causes most failures. Clean contacts with a pencil eraser or fine-grit sandpaper. Test properly: each AA should read 1.5V—replace immediately when any drops below 1.3V as inconsistent voltage disrupts keypad function.
1104 Fire Safe Dual System
This model uses four AA batteries in a dual configuration where one set powers the keypad and the other serves as backup. Recognize this failure pattern: one failing battery causes intermittent operation that seems random. Always replace all four batteries simultaneously—mixing old and new batteries accelerates drain on fresh cells.
Professional Service Indicators
When to Call Experts
Contact certified technicians immediately when you experience:
– Persistent “FAIL” error displays after multiple troubleshooting attempts
– Visible wire damage beyond simple reconnection
– Safe fails to open even with correct code and override key
– Repeated battery failures within weeks of replacement
– Signs of attempted break-in or physical tampering
Important note: Service costs typically range $150-300 for Honeywell safes. Prepare documentation including model number, purchase receipt, and photo ID proving ownership to streamline the service process.
Prevention Maintenance Schedule
Monthly Testing Protocol
- Test all programmed codes to ensure functionality
- Check battery voltage using a multimeter
- Clean keypad surface with dry microfiber cloth
- Verify override key accessibility and function
Annual Replacement Routine
Mark your calendar: replace batteries every year regardless of usage. Use only high-quality alkaline batteries—rechargeable or lithium types provide inconsistent voltage that damages electronic components over time. Document replacement date on a sticker inside the safe door as a visual reminder.
Most honeywell safe keypad not working issues resolve with simple battery replacement or connection fixes. Start with power diagnostics—over 80% of “dead” keypads simply need fresh batteries. Keep your override key accessible, test your system monthly, and replace batteries annually to prevent future lockouts. When problems persist beyond these basic troubleshooting steps, certified technicians can open your safe without damaging your valuables or compromising security features. Remember that consistent maintenance prevents 95% of keypad failures, saving you both time and money while ensuring reliable access to your protected items when you need them most.