Garage Door Keypad Blinking Won’t Open: Fix It Fast
You press your garage door keypad code only to see frantic blinking lights while the door remains stubbornly shut. This common frustration strikes at the worst moments—when you’re late for work with coffee in hand or trying to get the kids to school in the rain. That blinking light isn’t random; it’s your keypad’s urgent signal that something requires immediate attention. Understanding these visual cues separates those who get locked out from those who solve the problem in minutes.
This guide transforms confusing blink patterns into clear solutions you can implement immediately. You’ll learn to diagnose the exact issue in under five minutes, discover which fixes require professional help, and master preventative techniques to avoid future headaches. Stop guessing what that blinking light means—let’s get your garage door working again.
Decode Your Keypad’s Blinking Language
Rapid Red Blinking Pattern
When your keypad flashes red light rapidly—typically 5-7 times before pausing—it’s signaling a serious programming error. This happens when power fluctuations scramble your stored code or when the keypad loses synchronization with the opener. Most modern systems use this specific pattern to indicate corrupted memory rather than a simple battery issue. If you recently experienced a power outage or electrical surge, this is likely your culprit. Notice whether the blinking continues indefinitely or cycles on and off—continuous rapid blinking usually means complete memory corruption requiring full reprogramming.
Slow Blue or Green Pulse Indicating Power Issues
A steady, slow blink in blue or green light serves as your early warning system for battery problems. This pulsing pattern, occurring every 2-3 seconds, means your batteries have dropped below operational voltage but haven’t completely failed. Unlike rapid blinking, this slow pulse gives you time to replace batteries before total failure. If you live in extreme climates, this pattern appears more frequently—cold temperatures accelerate battery drain while heat creates internal resistance. Check for this pattern during seasonal transitions when temperature fluctuations stress your power source.
Red and Yellow Alternating Blink Failure
This distinctive alternating pattern points directly to communication breakdown between your keypad and garage door opener. The system attempts to establish connection but fails repeatedly, causing the lights to switch colors rhythmically. This often follows electrical interference from nearby devices like WiFi routers, baby monitors, or new LED lighting installations. Unlike simple battery issues, this pattern persists even after battery replacement. If you recently installed smart home devices or upgraded your lighting system, they’re likely disrupting your garage door’s wireless signal.
Immediate Diagnostic Steps You Must Try First

Battery Power Verification Process
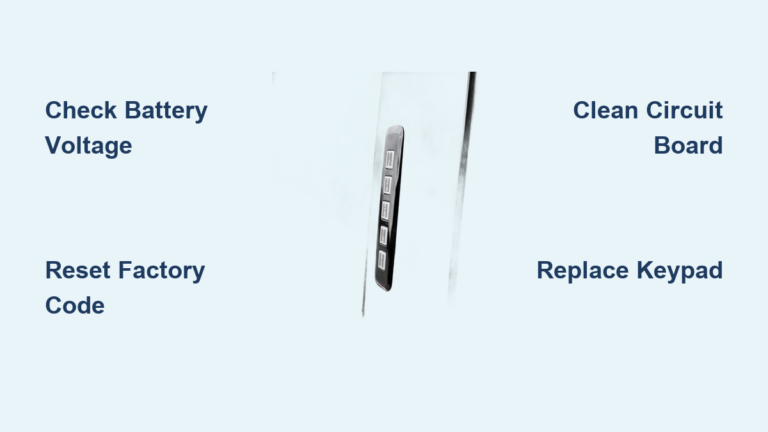
Start with the simplest solution that solves 70% of blinking keypad issues. Remove the keypad cover and inspect battery terminals for telltale white or green corrosion. Use a cotton swab dipped in vinegar to gently clean any buildup, then dry thoroughly with a soft cloth. Test each battery with a multimeter—voltages below 1.3 per cell indicate imminent failure. Critical tip: Install new batteries one at a time to maintain power to the memory circuit, preventing complete code loss. Premium lithium batteries outperform standard alkalines in extreme temperatures and last significantly longer.
Button Functionality Assessment
Press each keypad button individually while listening for consistent clicking sounds. Mushy or unresponsive buttons indicate debris infiltration or membrane damage. Remove surface grime using compressed air held at a 45-degree angle, then apply a single drop of isopropyl alcohol on stubborn residue. Wipe clean with a microfiber cloth—never use water or household cleaners that could damage circuitry. If buttons remain unresponsive after cleaning, the internal membrane likely needs replacement rather than further cleaning attempts.
Most Frequent Causes Behind Blinking Keypads
Battery Terminal Corrosion Damage
Corrosion buildup represents the single largest cause of keypad failure across all major brands. Leaking battery acid creates conductive barriers that disrupt electrical flow while simultaneously damaging sensitive circuitry. This problem worsens in humid climates where moisture accelerates the chemical reaction. Visible crystalline deposits around battery contacts require immediate attention—left untreated, this corrosion spreads to the circuit board causing permanent damage. Prevention involves using quality batteries and checking terminals every three months.
Environmental Damage from Weather Extremes
Extreme temperatures wreak havoc on electronic components in ways most homeowners don’t anticipate. Cold weather causes battery voltage to drop below operational levels while heat melts delicate solder joints inside the keypad. Moisture infiltration from rain or snow creates short circuits that manifest as erratic blinking patterns. Units installed on west-facing walls suffer greatest damage from afternoon sun exposure, while north-facing installations battle persistent moisture issues. Weather-related failures increase dramatically after sudden temperature swings of 30°F or more within 24 hours.
Essential DIY Repair Procedures
Battery Replacement Protocol
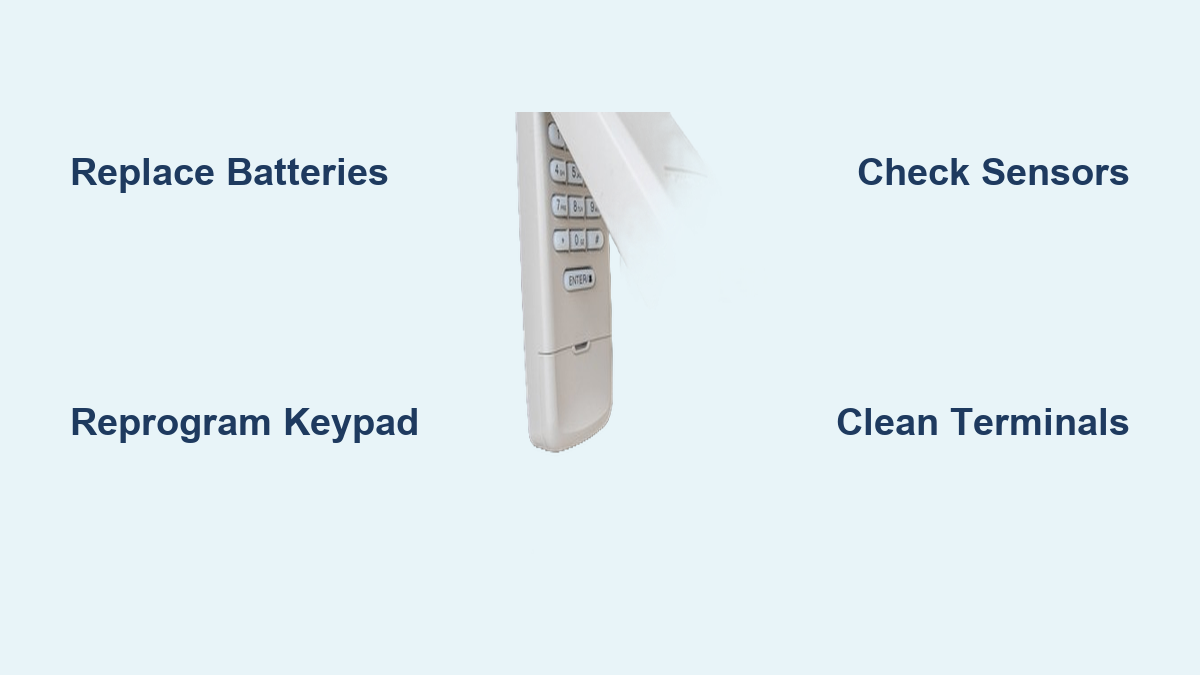
Locate your keypad’s battery compartment, typically hidden behind a sliding cover at the bottom edge. Look for small arrows indicating slide direction—never force the cover as this cracks the housing. Remove old batteries while wearing protective gloves if corrosion is present. Clean terminals using a pencil eraser’s abrasive surface, then wipe with isopropyl alcohol. Insert new batteries following the orientation diagram inside the compartment, pressing each firmly to ensure contact. Test immediately—if blinking continues, the issue extends beyond simple battery failure.
Complete Reprogramming Sequence
Find your garage door opener’s “Learn” button, usually a small colored button near the antenna wire on the motor unit. Press and release it—the opener’s light will stay illuminated for 30 seconds. Immediately return to your keypad and enter your desired 4-digit PIN, then press and hold the “Enter” button until the garage door light blinks confirmation. Test the new code three times from different distances to verify reliability. If programming fails, repeat within five minutes while the opener remains in learning mode—delaying longer requires restarting the entire process.
When to Call a Professional Technician
Receiver Board Failure Signs
If reprogramming fails after multiple attempts with verified working batteries, suspect your opener’s receiver board. This component interprets signals from your keypad and translates them into door movement commands. When damaged, it creates communication failures that mimic keypad problems. Key indicators include: multiple remotes failing simultaneously, intermittent operation that worsens over time, or unusual buzzing sounds from the motor unit. Receiver board replacement typically costs $150-300 and requires professional installation to ensure proper calibration with safety sensors.
Safety Sensor Malfunction Indicators
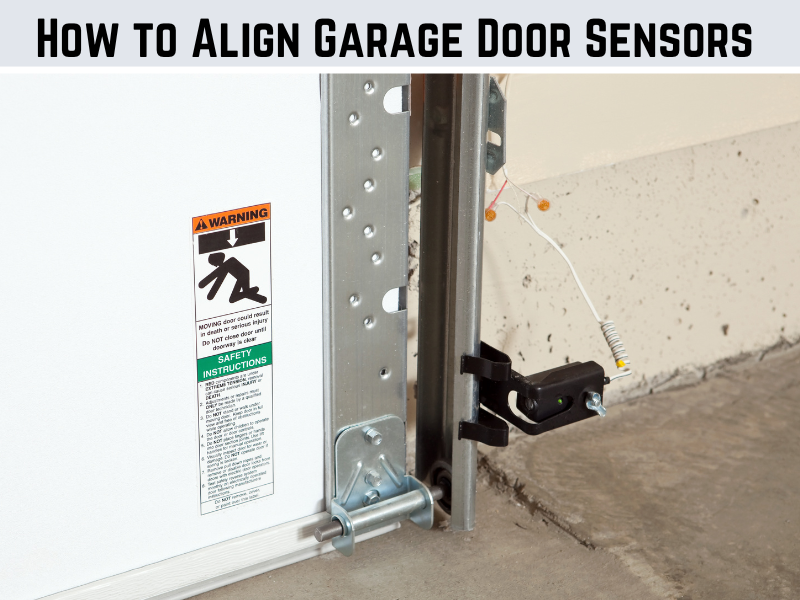
Blinking keypad lights accompanied by the garage door reversing immediately upon closing indicate safety sensor problems. These infrared sensors prevent the door from closing on objects or people and require precise alignment—just 2 degrees of misalignment causes failure. If your keypad works but the door won’t close completely, check whether both sensor lights illuminate steadily. Flickering or absent lights mean realignment is needed, a task best left to professionals due to the precision required and risk of disabling critical safety features.
Prevent Future Keypad Failures
Monthly Maintenance Routine
Establish a simple monthly maintenance habit that prevents 90% of keypad issues. Wipe the unit with a slightly damp microfiber cloth to remove dust and debris, avoiding harsh chemicals that degrade plastic. Check battery terminals for early corrosion signs using a flashlight—white powder buildup requires immediate cleaning. Test all buttons for responsiveness and ensure the cover seals tightly against weather elements. During this check, verify that no vegetation obstructs the keypad’s signal path to the opener.
Weatherproofing Enhancements
Install a small roof extension or awning above your keypad to shield it from direct precipitation. Apply clear silicone sealant around mounting screws to prevent water intrusion through housing gaps. In regions with extreme weather, consider upgrading to a weatherproof keypad cover with drainage channels. For coastal areas with high salt content in the air, apply a corrosion inhibitor spray designed for electronics every six months. These simple modifications dramatically extend keypad lifespan while maintaining reliable operation.
Key Takeaway: Most blinking keypad issues stem from simple battery problems or programming errors that homeowners can fix in under fifteen minutes. Start with battery replacement and reprogramming before assuming complex failures. When these basic solutions fail, recognize the warning signs that require professional intervention—particularly when safety sensors or receiver boards malfunction. By understanding your keypad’s blinking language and implementing regular maintenance, you’ll eliminate frustrating lockouts and extend your system’s operational life significantly. Remember: that blinking light isn’t just a nuisance—it’s your first line of communication with a system designed to protect your home.