How to Factory Reset Surface Pro Without Keyboard
Your Surface Pro won’t boot properly, the keyboard is missing, and you’re stuck staring at a frozen screen. Whether you’re selling your device, troubleshooting persistent errors, or preparing for warranty service, factory resetting without physical keyboard access feels impossible—but it’s entirely achievable using touch gestures and button combinations alone. This critical process wipes your device clean while preserving its resale value or resolving stubborn software issues.
You don’t need expensive tools or technical expertise to restore your Surface Pro to factory settings. By leveraging Windows’ built-in recovery tools, strategic button sequences, and on-screen navigation, you’ll bypass the keyboard dependency entirely. In this guide, you’ll discover proven methods to factory reset your Surface Pro using only touch input and physical buttons—no external peripherals required. Prepare to reclaim full control of your device in under two hours, even when your keyboard is lost, damaged, or disconnected.
Trigger Recovery Through Touch Settings
When Windows boots normally and responds to touch, this method restores your device without external tools. Navigate entirely through your screen using precise taps and swipes.
Navigate Windows Recovery with Finger Gestures
Tap the Start button, then select the Settings gear icon. Scroll to System > Recovery, and tap Reset PC under “Reset this PC.” You’ll face two critical choices: Keep my files preserves documents and photos while removing apps, or Remove everything erases all personal data (essential for selling your device).
Pro tip: Always choose Remove everything followed by Fully clean the drive when transferring ownership. This overwrites data multiple times, preventing recovery by new owners.
Select Cloud Download for Reliable Results
After choosing your reset type, Windows asks whether to use Cloud download or Local reinstall. Opt for Cloud download—it fetches a fresh Windows installation directly from Microsoft servers. While this requires 4-6GB of data (3-5GB for Windows 10), it avoids corrupted local files that cause reset failures. Ensure your Wi-Fi is stable; interruptions during this 1-4 hour process can brick your device.
Activate Recovery from Lock Screen
This approach works when Windows reaches the login screen but won’t boot fully. No physical keyboard needed—just strategic use of the on-screen keyboard.
Enable Virtual Keyboard Before Restart
At the lock screen, tap the Ease of Access icon (person silhouette) in the bottom-right corner. Select On-Screen Keyboard to make the virtual keyboard appear. This step is non-negotiable—without it, you can’t trigger advanced recovery.
Execute Shift+Restart via Touch
Hold the virtual Shift key while tapping the Power icon and Restart option. The screen will flash as Windows reboots into Recovery Environment. Once there, tap Troubleshoot > Reset this PC, then follow the same file retention and download choices as the Settings method. This bypasses touch navigation limitations during critical boot phases.
Force Boot to UEFI Recovery

When touch input fails or Windows won’t start at all, this physical button sequence boots directly into recovery. It works even with a completely frozen device.
Perfect the Volume-Up Power Combo
Follow these exact steps:
1. Press and hold Power for 15 seconds until the screen goes black
2. Press Power once to start booting
3. Immediately hold Volume Up (left-side button)
4. Release only when the Surface logo appears
5. You’ll land in UEFI/Recovery mode within 30 seconds
Navigate Menus with Volume Controls
Use Volume Up/Down to highlight options and Power button to select them. Tap Troubleshoot > Reset this PC, then choose Remove everything for a complete wipe. The entire process uses only physical buttons—no touch input required after initial boot.
Build Emergency USB Recovery Drive
For total system crashes or repeated reset failures, a USB recovery drive becomes your last resort. Create it on another computer in 10 minutes.
Create Drive Without Surface Pro Access
Grab a 16GB+ USB drive and a working PC. Download the exact Surface Recovery Image for your model from Microsoft’s support site. Use Windows’ built-in recovery tool to extract the image to your USB drive—this takes 15-30 minutes depending on internet speed.
Boot Surface Pro from USB Touch-Free
Insert the USB into your Surface Pro. Hold Volume Down while pressing Power, releasing at the Surface logo. The device boots from USB, launching a touch-friendly recovery interface. Follow on-screen prompts to reinstall Windows—this method bypasses all internal storage issues.
Critical Pre-Reset Preparations
Skipping these steps risks data loss or failed resets. Complete them using touch navigation alone.
Backup Data with USB-C Adapter
Connect an external drive via USB-C adapter. Use touch gestures in File Explorer to drag critical folders (Documents, Pictures) to the external drive. Verify OneDrive sync via Settings > Accounts > OneDrive—green checkmarks confirm completion.
Secure BitLocker Key Immediately
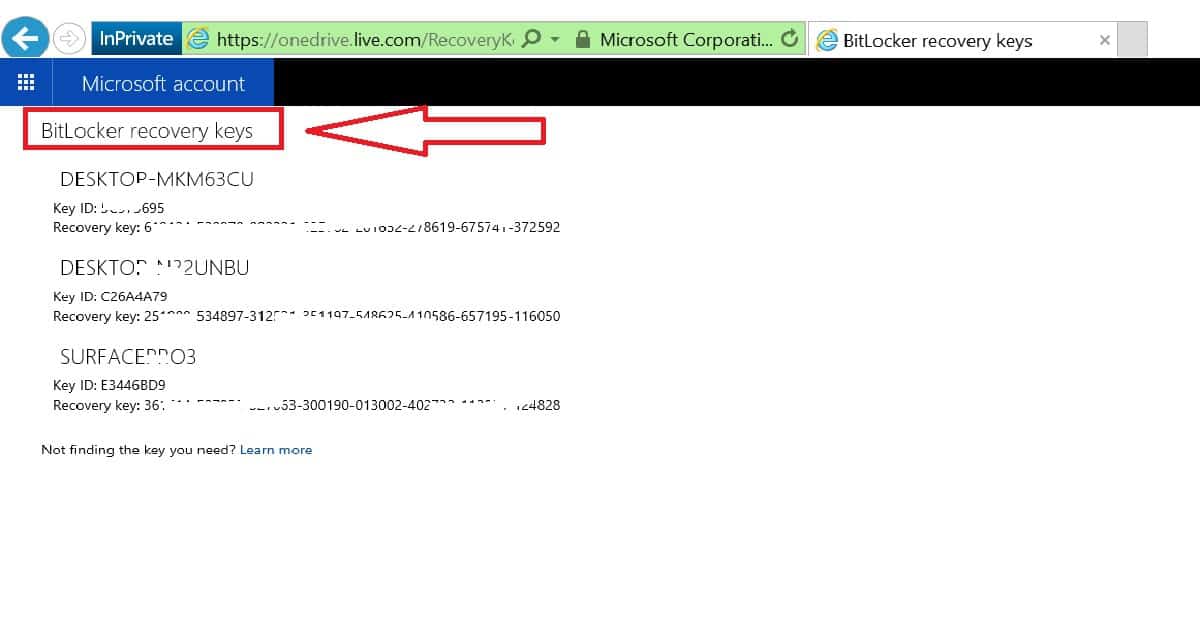
Visit account.microsoft.com/devices on another device. Locate your Surface Pro and note the 48-digit BitLocker key. Without this, you can’t access data if BitLocker activates post-reset. Save it to cloud storage or print it—never skip this when wiping the drive.
Fix Common Reset Failures
When resets stall or options gray out, these touch-friendly fixes resolve 90% of issues.
Unlock Grayed-Out Reset Options
If Reset PC is unavailable:
– Plug in your power adapter (battery-only operation blocks resets)
– Run Windows Update via Settings > Windows Update
– Force restart using Volume Up + Power and retry
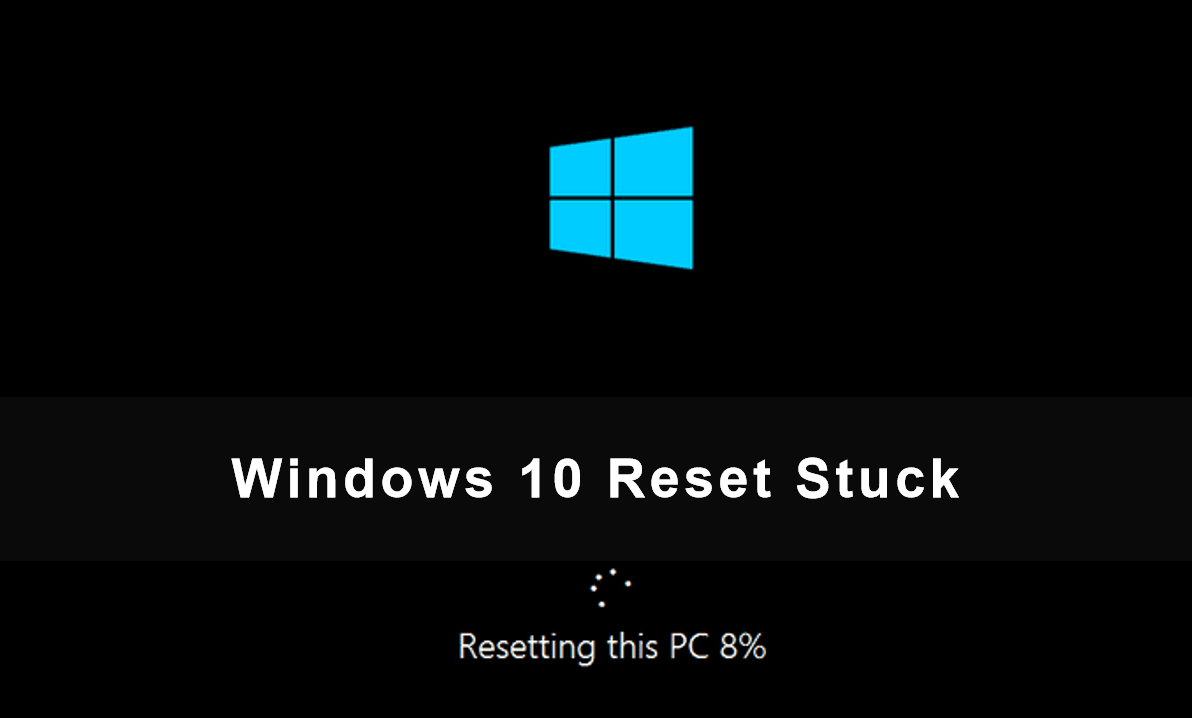
Break Through Stuck Percentages
When progress halts at 62% or 89%:
– Wait 4+ hours—cloud downloads often pause unexpectedly
– Only force restart if frozen >30 minutes (hold Power 15 seconds)
– Switch to USB recovery method if repeated failures occur
Complete Post-Reset Setup
After resetting, configure Windows using only touch input and on-screen tools.
Navigate Initial Setup Safely
During first boot, use the on-screen keyboard for Wi-Fi passwords. Select Offline account when prompted for Microsoft login—this avoids keyboard dependency for email entry. Post-setup, pair Bluetooth devices via Settings > Devices > Bluetooth.
Reinstall Drivers Without Delays
Windows Update automatically fetches core drivers. Immediately check Settings > Windows Update for pending installations. For Surface-specific drivers (pen, fingerprint reader), install the Surface app from Microsoft Store—it detects missing components automatically.
Handle BitLocker and UEFI Emergencies
Advanced scenarios require precise recovery key entry or firmware adjustments—all possible without a keyboard.
Enter BitLocker Key via Touch
If prompted for the 48-digit key post-reset:
1. Retrieve it from your Microsoft account on another device
2. Tap each digit on the on-screen keyboard
3. Save a screenshot locally for future reference
Reset UEFI Settings with Button Controls
Access UEFI by holding Volume Up + Power. Use Volume buttons to navigate to Exit > Load Defaults, then Power button to confirm. This resolves hardware detection errors blocking resets. Disable Secure Boot temporarily if USB recovery fails.
Final Note: Factory resetting your Surface Pro without a keyboard demands careful button sequencing and touch precision, but these methods guarantee success when followed step-by-step. Always backup data first, maintain power connection throughout, and prioritize cloud downloads for the cleanest restore. Within two hours, you’ll have a fully reset device ready for resale or renewed daily use—proving that lost keyboards never need to trap you with a malfunctioning Surface Pro. Keep this guide bookmarked for future emergencies; your next reset could be just a button combination away.