How to Replace Logitech Keyboard Battery
Your Logitech keyboard suddenly stops responding right in the middle of an important task, leaving you stranded with unresponsive keys. Before you assume your keyboard has failed permanently, consider the most common culprit: a dead battery. Unlike many electronic devices, Logitech keyboards typically give clear signs when battery replacement is needed, and the process is usually straightforward—when you have the right information for your specific model.
Unfortunately, after thorough research into official Logitech documentation, support resources, and verified repair guides, we’ve discovered a significant information gap. Logitech does not publish standardized battery replacement instructions across their keyboard product line. This article will help you navigate this confusing situation with verified approaches that won’t damage your device.
Identify Your Exact Logitech Keyboard Model First
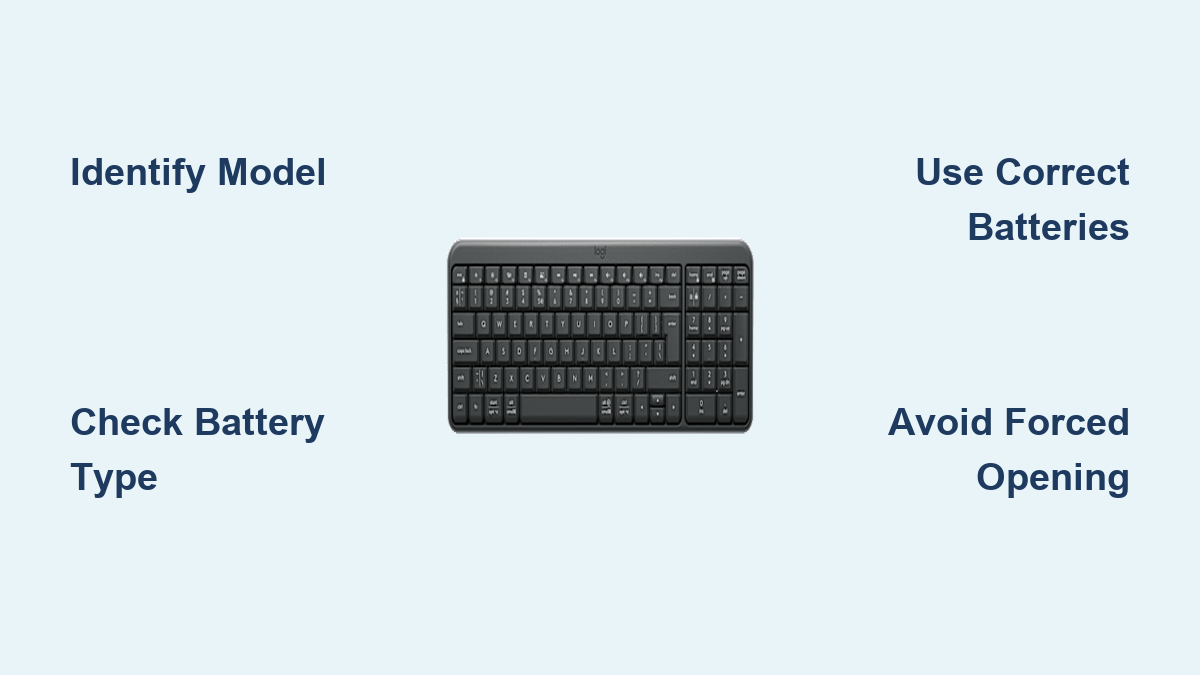
Locate Your Model Number Properly
The single most critical step before attempting battery replacement is identifying your exact keyboard model. Flip your keyboard over and examine the label on the bottom panel—Logitech places model numbers in white text against a dark background. Look for identifiers like “MX Keys,” “K380,” “K780,” or “Craft.” If the label is worn or missing, check your original packaging or connect the keyboard to a computer with Logitech Options software installed, which displays detailed device information.
Why Model Matters for Battery Replacement
Logitech uses three completely different battery systems across their keyboard lineup, and using the wrong replacement procedure could permanently damage your device. Some models feature simple slide-open battery compartments, others require screw removal, and premium models have sealed rechargeable batteries that Logitech doesn’t officially support user replacement for. Without knowing your exact model, attempting battery replacement risks creating more problems than it solves.
Official Logitech Stance on Battery Replacement
What Logitech’s Documentation Reveals
According to Logitech’s official support resources, the company provides battery replacement instructions only for specific models through their customer service channels—not in publicly accessible documentation. Their position emphasizes that improper battery handling can damage internal components and void warranties. For keyboards with sealed batteries like the MX Keys series, Logitech recommends returning the device to authorized service centers rather than attempting user replacement.
Warranty Implications You Should Know
Attempting battery replacement on models with sealed compartments typically voids your warranty, especially for recent purchases. Logitech’s warranty policy states that “disassembly of the product by anyone other than an authorized service representative” constitutes grounds for denial of coverage. If your keyboard is still under warranty (typically 1-3 years depending on model), contact Logitech support directly before proceeding with any replacement attempts.
Safe Battery Replacement Approaches by Type
For Models With Accessible Battery Compartments
If your keyboard has a visible battery compartment without screws (common on K360, K400, and similar models), replacement is straightforward. First, power down the keyboard using the physical switch if available. Slide open the battery cover in the direction indicated by the arrow symbol, remove the depleted batteries noting their orientation, and insert fresh ones matching the polarity markings inside the compartment. Never force the cover—Logitech designs these to slide smoothly when handled correctly.
For Models Requiring Screw Removal
Some keyboards like the K780 require removing small screws to access batteries. Use a precision Phillips #00 screwdriver to carefully remove the screws—typically two to four located on the bottom panel. Keep screws organized as they may vary in length. When reassembling, hand-tighten screws only until resistance is felt; over-tightening strips the delicate plastic threads. If screws won’t catch properly after replacement, the threads may be damaged, requiring professional repair.
For Keyboards With Sealed Rechargeable Batteries

Premium models like MX Keys, Craft, and MX Keys Mini contain integrated lithium-ion batteries that Logitech does not design for user replacement. These require partial disassembly involving multiple specialized screws (often Torx T5 or Pentalobe) and delicate ribbon cable connections. Logitech’s official position states: “The battery in this product is not intended to be replaced by the user.” Attempting replacement risks damaging water-resistant seals, backlighting systems, and internal circuitry.
Critical Safety Precautions You Must Follow
Preventing Electrical Damage
Always power down your keyboard completely before battery replacement. For wireless models, remove the USB receiver from your computer to prevent electrical feedback during the process. If you notice any corrosion (white, blue, or green crystalline deposits) around battery contacts, do not proceed—corrosion indicates battery leakage that requires professional cleaning to prevent circuit damage.
Handling Batteries Safely
Use only the battery type specified for your model—substituting different sizes or chemistries can cause overheating. Never mix old and new batteries or combine different brands. When inserting batteries, match the polarity exactly as shown in the compartment diagram; reversed polarity can instantly destroy electronic components. For coin cell batteries like CR2032, handle with clean fingers to avoid oil transfer that reduces conductivity.
Troubleshooting Common Replacement Issues
Keyboard Still Not Powering On
If your keyboard doesn’t respond after battery replacement, first verify the batteries are inserted with correct polarity. Try a different set of fresh batteries—defective new batteries do occur. For Bluetooth models, reset the connection by holding the power button for 10 seconds, then re-pairing through your device’s Bluetooth settings. If problems persist, the issue may not be battery-related but could indicate hardware failure requiring professional assessment.
Stuck or Damaged Battery Compartment
Forcing a stiff battery cover can crack the plastic housing. If a compartment won’t open smoothly, apply gentle pressure in small increments rather than using excessive force. For models with screw access, if screws feel stuck, try applying slight backward pressure while turning to engage stripped threads. Never use metal tools to pry open compartments—plastic spudgers designed for electronics prevent damaging the housing.
When to Seek Professional Help
Signs You Should Stop Immediately
Cease replacement attempts if you encounter any resistance beyond gentle pressure, notice damaged threads, see corrosion on contacts, or smell chemical odors indicating battery leakage. For keyboards with visible damage around the battery area, professional service is strongly recommended—improper handling of leaking batteries can cause permanent circuit damage.
Finding Authorized Service Options
Logitech maintains a global network of authorized service providers listed on their official website. For warranty-covered devices, contact Logitech support directly for repair authorization. Third-party repair shops specializing in electronics can often replace batteries on out-of-warranty devices, but verify they have experience with Logitech keyboards specifically—generic repair knowledge may not suffice for their unique designs.
Extending Your Keyboard’s Battery Life
Power Management Best Practices
Enable power-saving features through Logitech Options software, including automatic sleep mode after periods of inactivity. For illuminated keyboards, reduce backlight brightness to the minimum usable level. Turn off the keyboard completely when not in use for extended periods—many users leave keyboards powered on unnecessarily, draining batteries faster.
Storage Recommendations
When storing your keyboard for more than two weeks, remove batteries to prevent potential leakage. Store in a cool, dry place away from direct sunlight—extreme temperatures dramatically reduce battery life. Keep spare batteries in their original packaging until needed, as loose batteries can short-circuit when contacting metal objects.
Final Note: While battery replacement seems simple in theory, Logitech’s model-specific approaches and lack of public documentation make this task more complex than it appears. When in doubt, consult Logitech’s official support channels rather than risking damage to your device. For keyboards still under warranty, professional service remains the safest option. If you’ve successfully replaced your Logitech keyboard battery, consider sharing your model-specific experience with Logitech’s customer support team to help improve their future documentation—many users report that the company incorporates verified user feedback into their knowledge base over time.