How to Remove Keycaps from a Keyboard
That gritty feeling under your spacebar after a crumb spill? Sticky WASD keys from months of gaming? Knowing how to remove keycaps from a keyboard properly transforms frustrating messes into quick fixes. Skip this crucial maintenance step, and you’re stuck with shallow wipes that leave grime trapped under keycaps—accelerating wear and causing expensive switch failures. This guide reveals the exact techniques professionals use to safely remove keycaps across all mechanical keyboards, from budget models to premium custom builds. You’ll learn stabilizer handling tricks most guides omit, avoid the #1 mistake that snaps stem clips, and discover why your spacebar fights back during removal.
Essential Tools for Safe Keycap Removal

Forget generic “tools you’ll need” lists—your success hinges on selecting the right puller for your specific keycaps. Wire-style pullers are non-negotiable for PBT keycaps or tight-fitting sets, their thin metal loops gripping beneath the keycap base without scratching legends. Plastic ring pullers? Only acceptable for loose ABS keycaps on entry-level boards—they flex under pressure, risking uneven force that cracks stems. When stranded without tools, a bent paperclip in a wide “U” shape works for emergency single-key removal, but never use it on stabilizers. Always pair your puller with a soft paintbrush and 70% isopropyl alcohol; compressed air alone blows debris deeper into switches.
Critical Pre-Removal Safety Protocol
Power down and ground yourself before touching a single keycap. Unplug USB keyboards or remove wireless batteries—residual power can short circuits during removal. Discharge static by touching a metal desk leg; one zap can fry microswitches. Document your layout with five angled photos: top-down, left/right 45-degree, and close-ups of stabilizers. Note non-standard key sizes like 6.25u spacebars or 1.5u right shift keys—misplacing these during reassembly ruins typing feel. Work over a microfiber cloth; it catches falling stabilizer clips and prevents scratches from metal tools.
Standard Key Removal: Precision Over Power
Position your wire puller at diagonal corners of the keycap base—not the sides. Apply upward pressure while wiggling minimally in a smooth “elevator motion.” Jerking or twisting shears stem clips instantly. For tight keycaps, rotate the puller 180 degrees mid-removal to evenly distribute force. Store keys in egg carton compartments labeled by row (e.g., “top row: 1-Q-A-Z”)—this prevents the nightmare of reassembling a 65% layout blind.
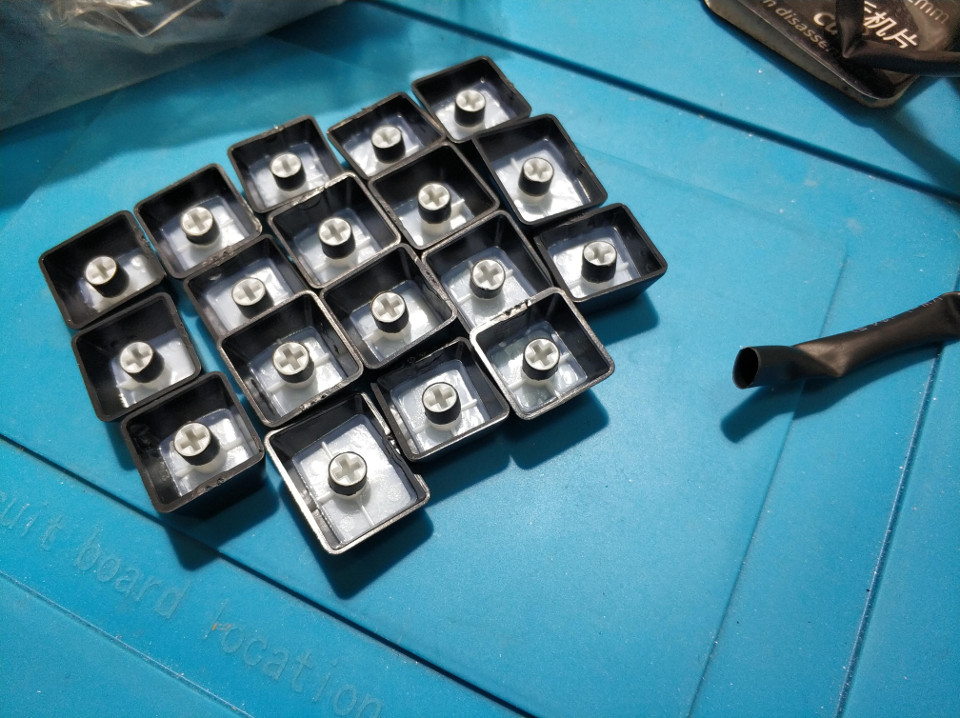
What to Inspect Before Reinstalling
- Check keycap stems for hairline cracks indicating worn clips
- Test switch stability by pressing the exposed stem (should feel solid)
- Verify stabilizer wires sit flush in their housing grooves
- Wipe switch housings with alcohol-dampened cotton swabs
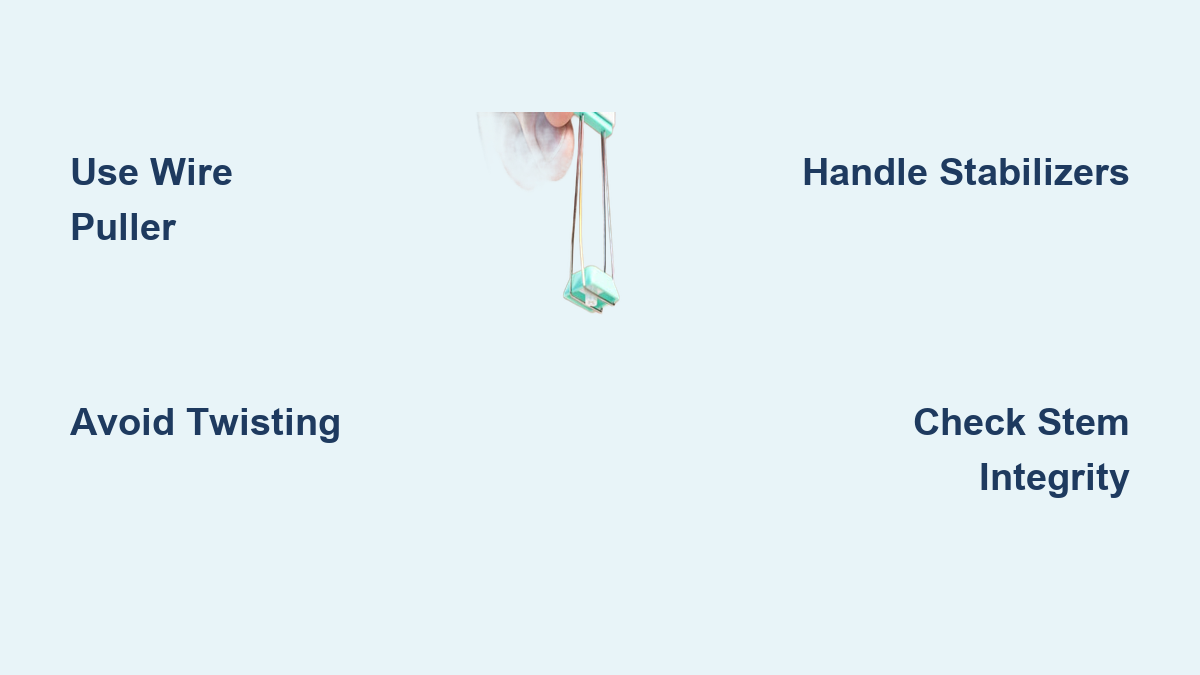
Spacebar and Stabilizer Removal Secrets
Never yank your spacebar straight up—this bends stabilizer wires. Identify your stabilizer type first: Costar stabilizers (common on older boards) have visible wire clips; slide these horizontally off the stem before lifting. Cherry stabilizers (modern standard) hide wires under the keycap—lift while supporting both ends with your fingers. For shift keys, place the puller on the main stem and gently depress stabilizer clips at the ends with tweezers. If resistance exceeds other keys, stop: forcing it snaps stabilizer clips. Pro tip: Press down on the spacebar while removing to disengage stabilizer hooks.
Post-Removal Cleaning That Won’t Damage Switches
Hold your keyboard upside down before blowing compressed air. Aim at 45-degree angles to eject debris outward, not deeper into switches. Use a soft paintbrush in circular motions around switch housings—never insert bristles into the stem hole. For keycaps, soak in lukewarm soapy water (hot water warps ABS plastic), then scrub legends with a toothbrush. Rinse thoroughly and air-dry for 3+ hours; trapped moisture causes double-actuation. Never submerge switches—dampen cotton swabs with isopropyl alcohol to clean stems only.
Top 3 Removal Mistakes That Break Keyboards
Twisting keycaps during removal destroys 90% of broken stems. Pull straight up with even pressure—no side-to-side motion. Second, using metal tools directly on keycaps: even a paperclip can scratch dye-sublimated legends. Third, ignoring stabilizer types: forcing a Costar stabilizer like a Cherry model bends the wire permanently. Laptop keyboards? Stop immediately—scissor switches aren’t designed for removal and snap easily. If you hear cracking, stop; forcing it means switch replacement.
Emergency Stop Indicators
- Cracking sound: Broken stem clip—reassembly impossible without new switch
- Keycap lifts but sticks: Stabilizer wire caught in housing groove
- Loose stem after removal: Switch housing damaged—requires soldering
- Bent stabilizer wire: Must straighten before reinstallation
Fixing Stuck Keycaps and Broken Components
For stubborn keycaps, apply heat strategically. Hold a hairdryer 6 inches away on cool setting for 10 seconds—this expands plastic slightly without melting. Never use direct heat sources. If the keycap wobbles but won’t release, check for broken stem fragments inside: use tweezers to extract debris. Bent stabilizer wires? Straighten Costar wires with needle-nose pliers by gently rolling them between pliers. For broken Cherry stabilizer clips, order replacements matching your plate type (plate-mounted vs PCB-mounted)—installing mismatched parts causes wobble.
Customization Projects Requiring Keycap Removal

Keycap profiling errors cause wrist fatigue within hours. Maintain R1-R4 row heights during reassembly—mismatched profiles (e.g., R2 caps on R3 rows) alter typing angles. Before ordering custom sets, verify stem compatibility: 95% of mechanical keyboards use MX cross stems, but Topre or Alps boards need specific kits. RGB backlighting demands translucent legends—opaque keycaps block light. For modding, keycap removal enables switch lubrication (apply lube to stem sides only) or O-ring installation (use 0.25mm rings to avoid travel reduction).
Must-Check Compatibility Factors
- Stem type: MX (cross), Topre (cylindrical), or Alps (square)
- Keycap material: PBT requires firmer pull but resists shine
- Layout standard: ANSI (small Enter) vs ISO (tall Enter)
- Stabilizer type: Cherry (plate-mounted) vs Costar (PCB-mounted)
Long-Term Maintenance Schedule
Clean high-use keys monthly—not just after spills. Remove WASD and spacebar every 4 weeks to prevent grime buildup. Perform full keycap removal quarterly for deep cleaning, especially in dusty environments. After any liquid spill, remove affected keys immediately—sugar residue migrates under keycaps within hours. Prevent future messes with a silicone keyboard cover during meals and position your desk away from HVAC vents. Store spare stabilizer clips and keycaps in a labeled pill organizer; having backups prevents typing with a missing spacebar.
Key Takeaway: Mastering how to remove keycaps from a keyboard properly extends your device’s lifespan by years while unlocking customization. The wire puller technique, stabilizer handling protocols, and immediate post-spill response outlined here prevent the irreversible damage caused by rushed removal. Never force keycaps—when resistance exceeds standard keys, stop and reevaluate. Implement this quarterly maintenance routine, and you’ll avoid sticky keys, stabilizer failures, and costly replacements. Your keyboard’s switches are designed for 50+ million presses; with proper care, they’ll outlast your next three computers.