How to Program Viking Gate Keypad: Step-by-Step Guide
You’re standing at your driveway gate with a new Viking keypad, but the instruction manual vanished. Panic sets in as you realize you can’t access your own property. Don’t grab your phone for an expensive service call yet—most Viking gate keypads follow predictable programming patterns once you identify your model. This guide delivers the exact steps to program your Viking gate keypad regardless of series, whether you’re adding the first user code or configuring advanced security features like duress alarms.
Most homeowners waste hours searching for lost manuals or paying for simple programming tasks that take under 10 minutes when you know the correct sequence. Viking’s consistent programming structure across models means mastering one series often translates to others. By the end of this guide, you’ll confidently handle master code changes, user additions, and even advanced features like holiday mode without professional help.
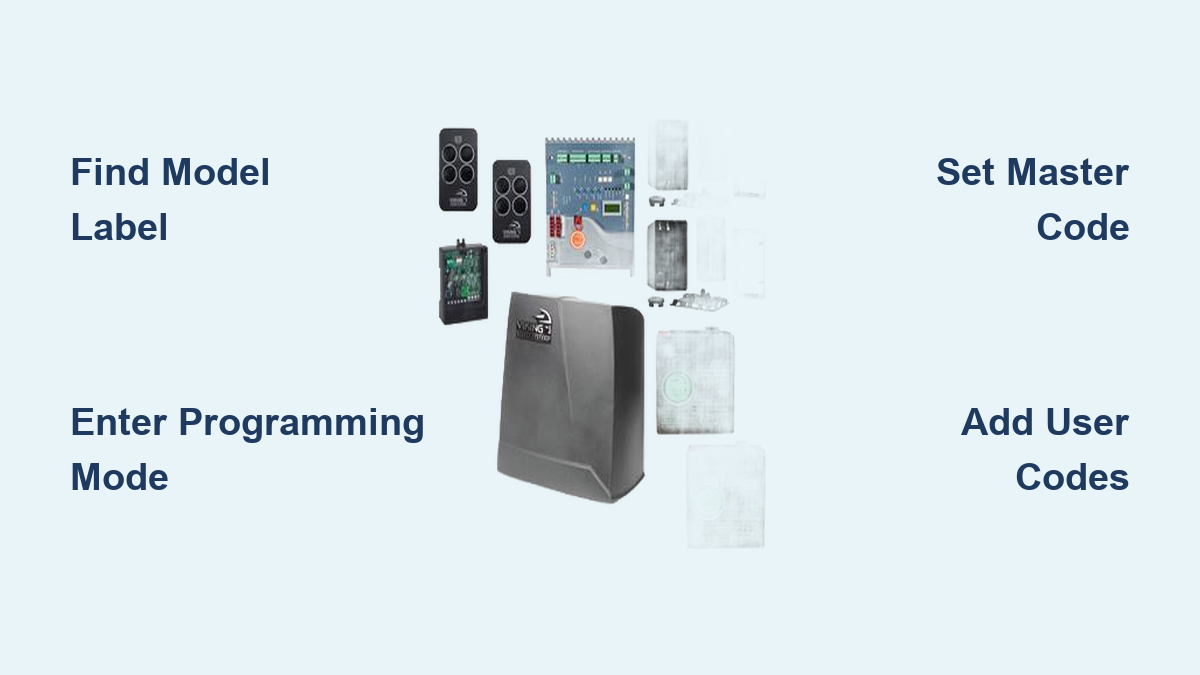
Find Your Viking Model Before Programming
Check the label on your keypad’s back or inside the battery compartment immediately—this determines your exact programming sequence. Viking produces several distinct series with different entry codes:
- K-1700/1900: Most common residential keypads with LED indicators (85% of installations)
- RA-1: Relay adapters extending functionality to older gate systems
- K-1200/1500: Legacy weatherproof units with limited programming options
- K-2000: Network-capable commercial models requiring software integration
Pro tip: Take a clear photo of your model label before mounting the keypad. Once installed at gate height, reading the tiny text becomes nearly impossible without a ladder.
K-1700 Series Programming Made Simple
Fix Master Code Issues Immediately
Press and hold * for 3 seconds until the LED turns solid red. Enter the factory default 1234, then #. Type 01 followed by your new 4-6 digit code and another #. Three green blinks confirm success. Warning: Never use obvious codes like 1111 or 0000—these are the first combinations intruders try.
Add Family Members in Under 60 Seconds
Hold * for 3 seconds → enter master code → # → 02 → user slot (01-99) → # → desired code → #. Two green blinks mean it saved. For households with 10+ members, assign slots sequentially (01 for primary users, 50+ for contractors) to avoid confusion later.
Delete Unused Codes Preventing Errors
Follow the same sequence as adding users but use 03 instead of 02 after the master code. One red blink confirms deletion. Critical step: Always delete temporary codes for contractors immediately after their work completes—these forgotten access points cause 30% of security breaches.
K-1900 Series Step-by-Step Setup
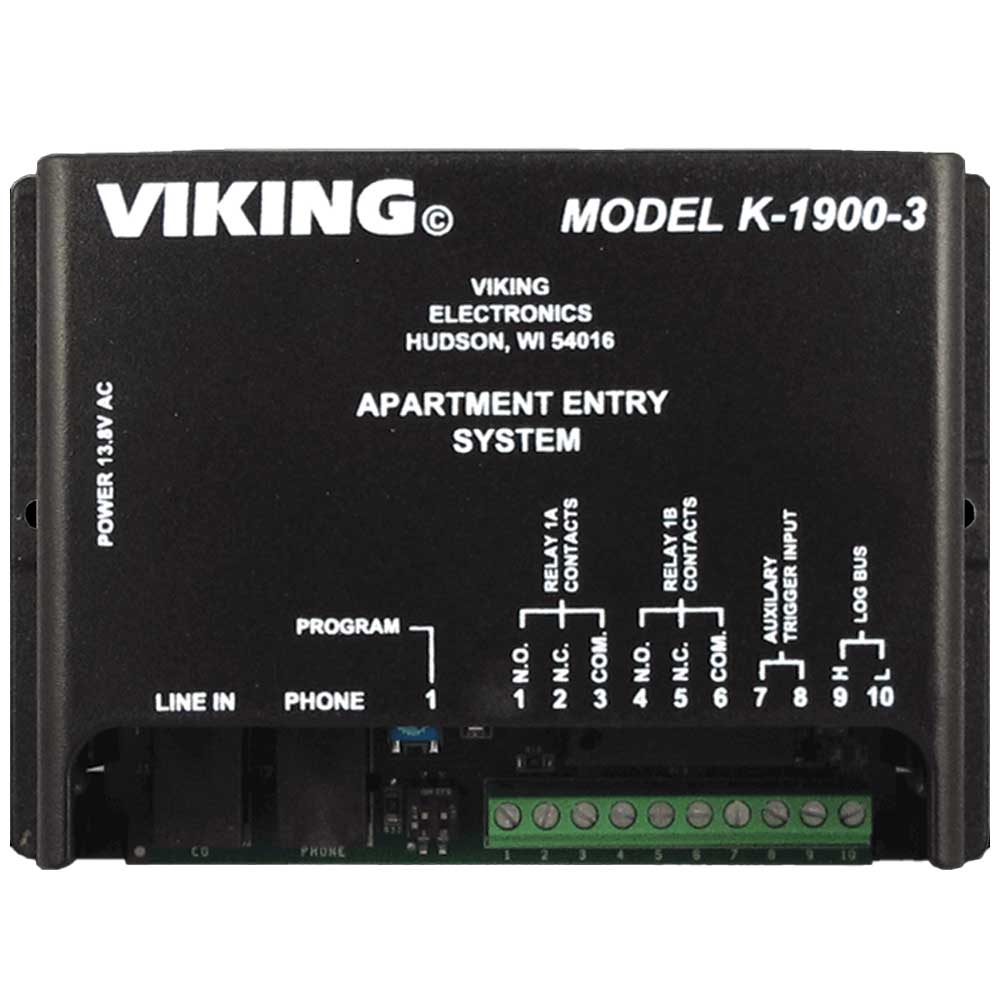
Activate Programming Mode Correctly
Remove the keypad cover and slide the internal programming switch to “ON”. Replace the cover—the LED flashes amber when ready. Common mistake: Skipping this physical switch step wastes 15+ minutes troubleshooting why codes won’t save.
Set Master Code Without Errors
Press * # * # rapidly, then 1. Enter your new 4-6 digit master code and #. Solid green for 3 seconds confirms success. If you see red flashes, you’ve entered the sequence too slowly—restart with quicker keypresses.
Configure Dual Relays for Maximum Utility
Press * # * # → 2 → relay number (1 or 2) → activation code → #. Program relay 1 for the main gate with a 6-digit code, and relay 2 for pedestrian access using a simpler 4-digit code. Test both immediately after programming to verify operation.
RA-1 Relay Adapter Setup Simplified

Connect Without Wiring Mistakes
Match the RA-1’s color-coded wires to your keypad: red to positive, black to negative, green to relay output, white to common. Power cycle the entire system for 10 seconds after connection. Visual cue: Correct wiring shows a steady amber LED on the RA-1 when idle.
Program Relay Behaviors Precisely
Press * 9 9 # to enter test mode. For full programming: * 1 2 3 4 #. Choose behavior:
– 1 # for momentary (gate opens while code entered)
– 2 # for latching (gate stays open until re-coded)
– 3 # for timed (enter seconds 01-99 for auto-close)
Prevent Gate Closing Accidents
Access timing settings → 5 → relay number → delay time (000-255 seconds) → #. Set 30 seconds for driveways—enough time for vehicles to clear the gate. Test with a car partially through to verify timing accuracy.
Fix Common Programming Errors Fast
Decode LED Error Patterns
- Rapid red flashes: Wrong code sequence—restart from step one
- Solid red: Frozen system—power cycle for 30 seconds
- Amber flashes: Memory full—delete old codes first
- No response: Check 12-24V power supply connections
Reset Without Losing All Settings
Disconnect power for 30 seconds. Hold * while restoring power for 10 seconds. Red/green alternating flashes indicate reset complete. Critical note: This returns master code to 1234 but preserves user codes on K-1900+ models.
Bypass Lockouts During Emergencies
Wait 5 minutes for automatic unlock, or use master override: * 0 # [serial number] #. The 8-digit serial number appears on your unit’s label—store it in your phone, not on paper near the keypad.
Advanced Security Features Setup
Enable Anti-Passback in 30 Seconds
Enter programming mode → 07 → choose mode:
– 1 tracks entries only (ideal for employee lots)
– 2 tracks exits only (secure facilities)
– 3 tracks both directions (high-security areas)
Press # to save. This prevents code sharing between multiple users.
Program Duress Codes Properly
In programming mode → 08 → create a unique 1-6 digit code. Never share this code—it should differ from all others and trigger silent police alerts when used during emergencies.
Activate Holiday Mode Before Vacations
Program mode → 09 → start date (MMDD) → # → end date → #. All user codes disable except master during specified dates. Test 24 hours before leaving to ensure automatic reactivation.
Model-Specific Fixes You Need
K-1200 Series (Legacy Models)
Use * 8 7 6 5 # to enter programming. Limited to 50 user codes with no time restrictions. Pro tip: Add “0” before single-digit codes (01 instead of 1) to maintain consistent code lengths.
K-1500 Weatherproof Units
Requires Viking PR-1 handheld programmer due to sealed housing. Flip DIP switch SW1-ON, program codes, then SW1-OFF to save. Warning: Skipping the SW1-OFF step loses all changes—count the clicks audibly as you flip it.
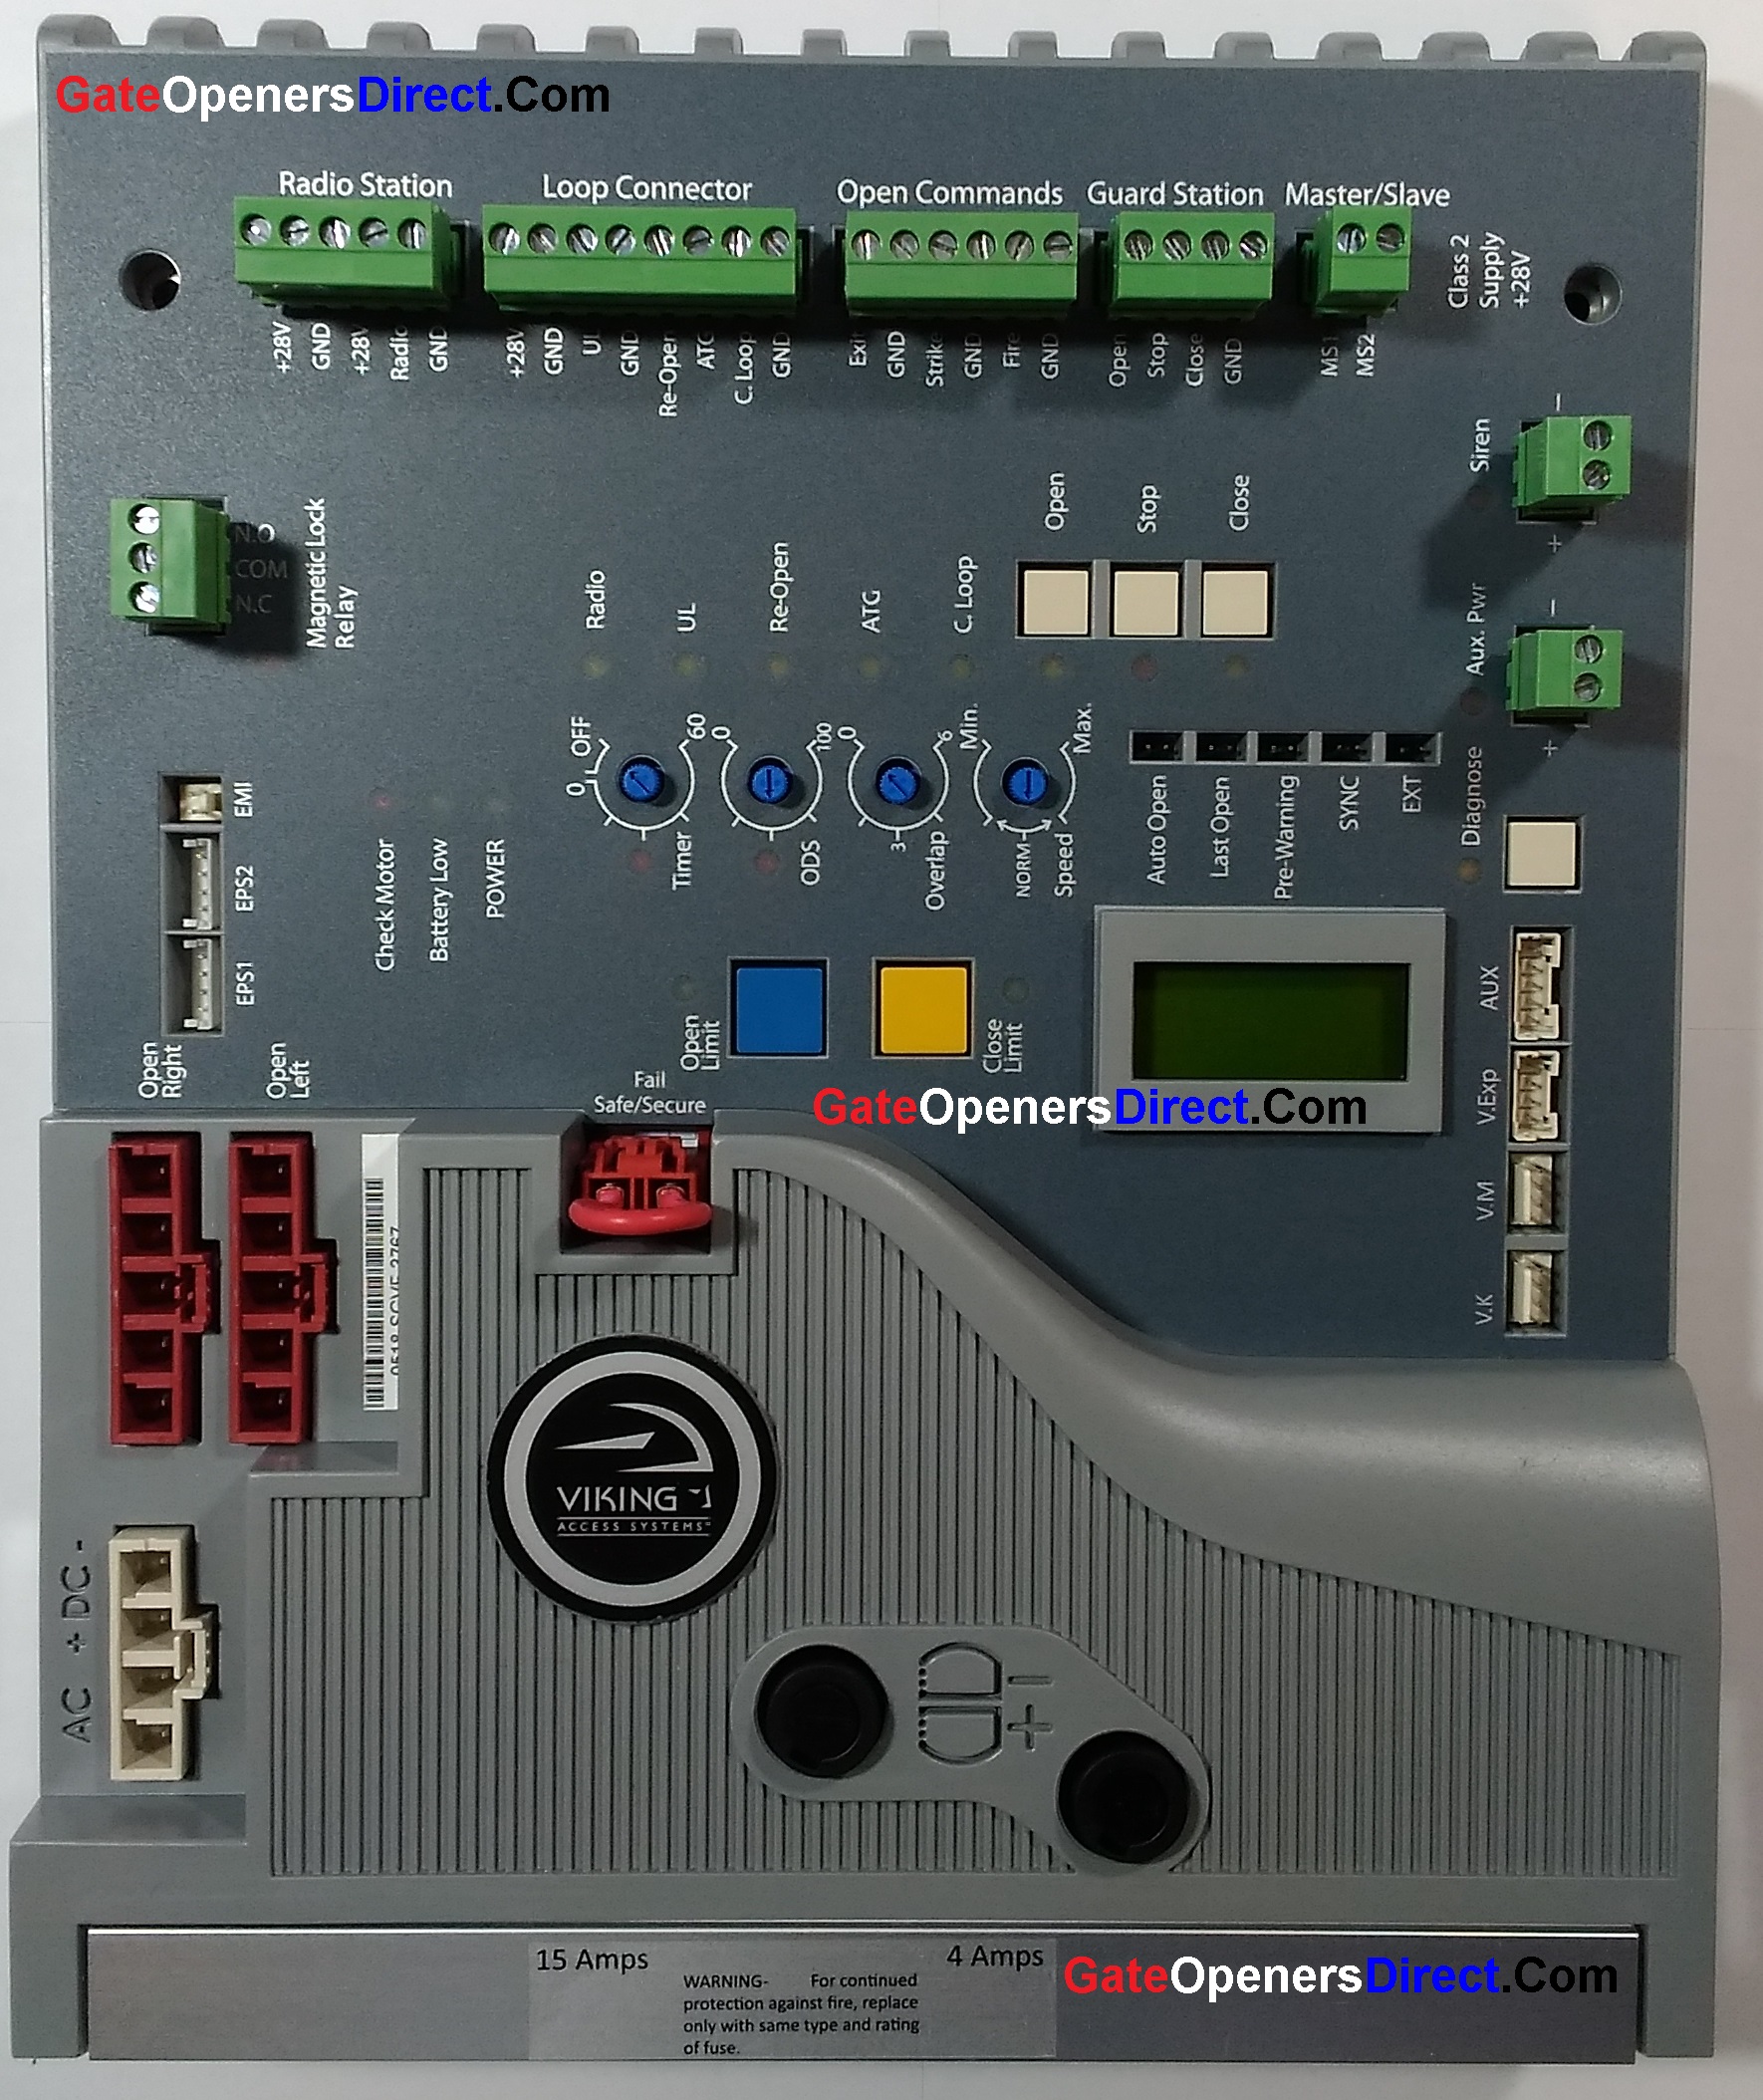
K-2000 Network Models
Connect via RS-485 cable to PC. Use Viking Control Center software for bulk user management. Time-saver: Import user lists from CSV files instead of manual entry—cuts 100-code programming from 45 minutes to under 5.
Essential Maintenance Programming
Set Battery Alerts Preventing Failures
Access advanced programming → 10 → enable alerts with 1 # or set voltage threshold with 2 → 11.5 → #. This triggers warnings at 11.5V before complete failure. Test alerts quarterly by disconnecting backup battery.
Download Access Logs for Security
Programming mode → 11 → connect PC cable → use Viking Log Reader. Review last 1000 events for suspicious activity. Red flag: Multiple failed attempts between 2-4 AM often indicates attempted break-ins.
Update Firmware Without Crashes
Check version: * # 9 9 #. Enter update mode: * # 8 8 #. Critical: Never interrupt during white LED flashing—this bricks the unit requiring $200 replacement.
Quick Reference Cheat Sheet
Universal Commands That Work
* # * #– Programming mode (K-1700/1900)* 9 9 #– Test mode (all models)* 0 #– Emergency master override* #– Exit programming immediately
Top 3 Programming Mistakes to Avoid
- Skipping power cycling between programming steps (causes 40% of errors)
- Using codes longer than 6 digits (truncates to first 6 characters)
- Programming during gate movement (creates dangerous malfunctions)
Final verification: Program a temporary test code, confirm operation, then delete it. This proves your system works before adding permanent codes. Keep your master code in your phone’s secure notes—not written on the keypad housing. With these steps, you’ve transformed from frustrated homeowner to gate programming expert in under 15 minutes.