How to Prevent Dust on Keyboard
That frustrating layer of dust on your keyboard isn’t just unsightly—it’s actively sabotaging your typing experience. Sticky keys, inconsistent responsiveness, and even permanent damage can all stem from ignored dust accumulation. For professionals who type thousands of words daily and gamers who demand millisecond precision, a dusty keyboard becomes more than an annoyance—it’s a productivity killer.
This guide delivers actionable strategies to keep your keyboard pristine, whether you’re working in a dusty apartment, a pet-friendly home, or a high-pollen environment. You’ll discover how to implement a multi-layered defense system that prevents dust from settling in the first place—saving you from constant cleaning and potentially extending your keyboard’s life by years.
Physical Barriers That Block Dust

Silicone Covers vs. Plastic Covers
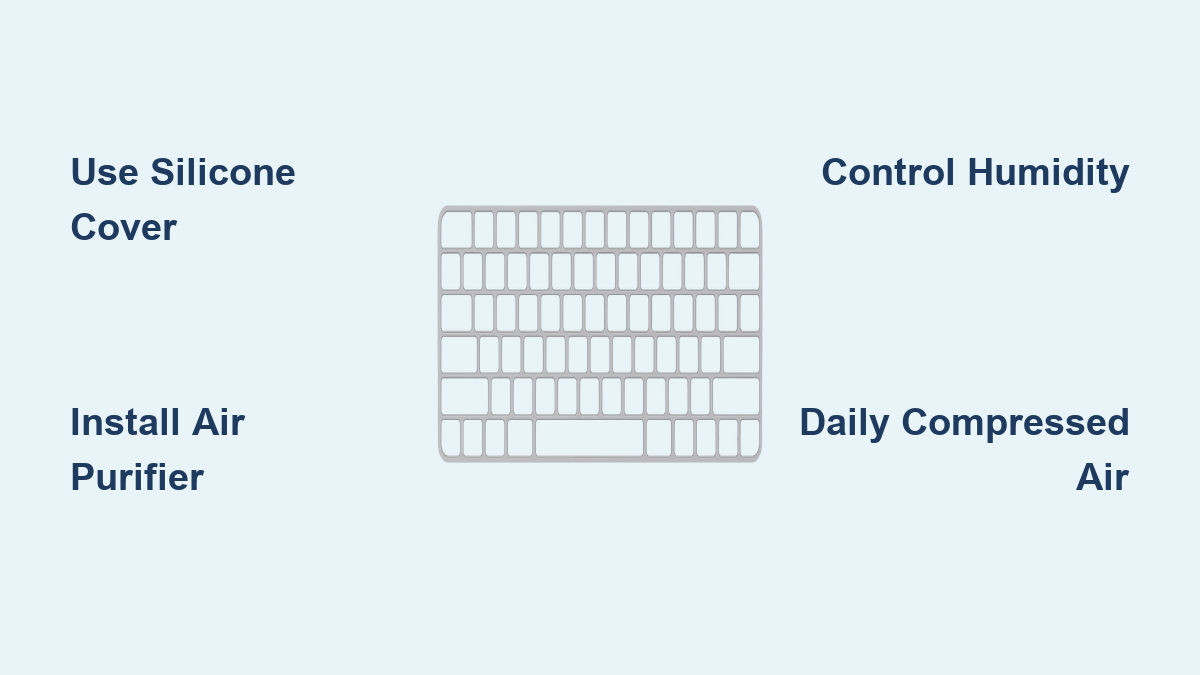
Silicone keyboard covers form an impermeable shield over your entire typing surface while maintaining responsive key travel. These ultra-thin barriers (typically 0.3-0.5mm thick) stop dust particles in their tracks without altering your typing experience. Choose crystal-clear versions if you rely on RGB lighting, or opt for matte finishes to reduce screen glare during long work sessions. Most quality covers accommodate everything from ultra-compact 60% boards to full-size ergonomic models.
Plastic dust covers provide complete protection when your keyboard sits idle. Budget-friendly polyethylene options work well for occasional use, while polycarbonate versions withstand daily removal and replacement. Look for models with anti-static properties—they actually repel dust rather than attracting it like standard plastic. The best designs fold compactly for drawer storage, making them ideal for shared workspaces.
Pro tip: Maximize protection by using silicone covers during active typing sessions and switching to plastic covers overnight. This dual approach creates 24/7 defense against dust infiltration.
Nano-Coatings That Repel Particles
Hydrophobic and oleophobic coatings create invisible shields that cause dust to slide right off your keys. Most DIY spray kits provide 3-6 months of protection, reducing dust adhesion by 60-80% across all keyboard materials. For longer-lasting results, professional electrostatic applications can protect your keyboard for 1-2 years—though they require specialist equipment.
Apply these coatings during your monthly deep cleaning routine to ensure consistent protection. Unlike bulky covers, nano-coatings maintain your keyboard’s original look and feel while making daily dusting significantly more effective. Best of all, they work equally well on ABS, PBT, and metal keycaps without interfering with backlighting.
Control Your Environment
Strategic Air Purifier Placement
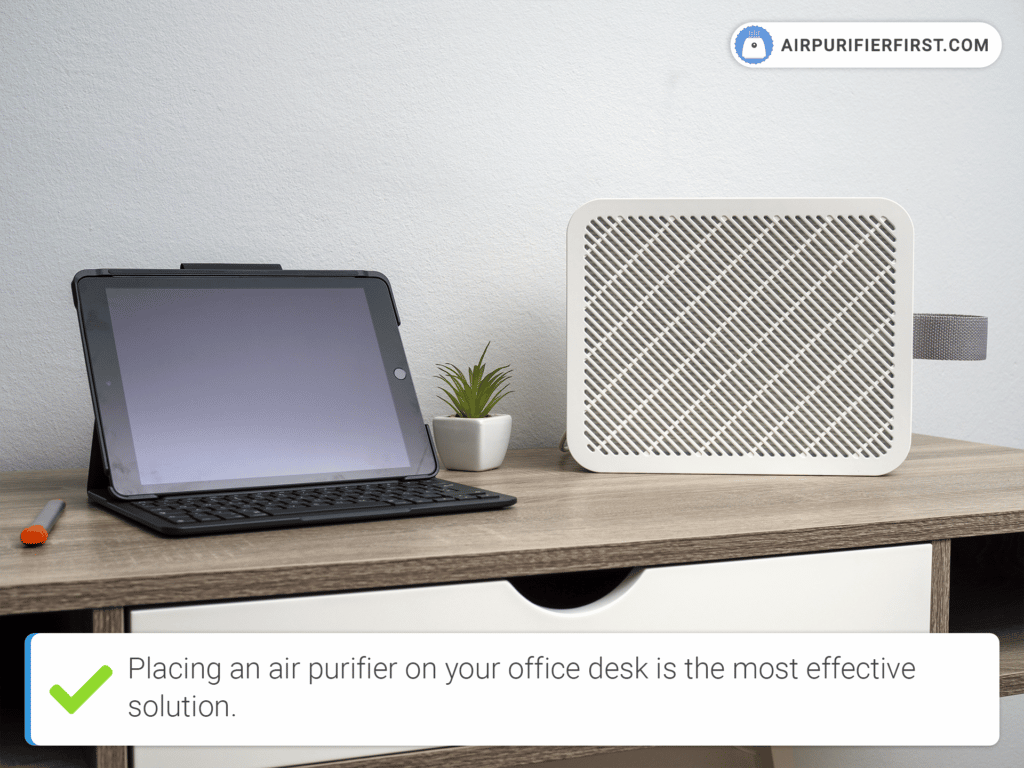
Position a True HEPA air purifier 2-3 feet from your workspace, angled slightly downward toward your keyboard. Models with CADR ratings of 100+ effectively clean the immediate 100-150 square feet around your desk. Replace filters every 3-6 months—set phone reminders to maintain optimal dust capture efficiency.
Quick setup: Point the purifier’s intake toward your keyboard while directing clean air across your workspace toward room exits. This creates an airflow pattern that pulls dust away from your keyboard rather than blowing it directly onto your keys.
Master Humidity Levels
Maintain 40-50% relative humidity in your workspace to minimize static electricity—the invisible force that turns your keyboard into a dust magnet. Small desktop humidifiers (500ml-1L capacity) precisely regulate personal spaces without over-humidifying your entire room. Place a hygrometer within 2 feet of your keyboard for accurate readings.
Warning: Humidity levels above 60% encourage mold growth between keys. Keep a compact dehumidifier nearby during humid seasons to maintain the ideal dust-prevention zone.
Optimize Desk Positioning
Move your keyboard at least 3 feet from frequently opened windows and 5+ feet from HVAC vents to avoid direct dust currents. Elevating your setup 6-12 inches above floor level reduces dust accumulation by 40% since most airborne particles settle close to ground level. Corner placements minimize exposure to foot traffic air disturbances.
Choose smooth desk surfaces like glass or sealed wood instead of fabric or carpeted areas. Dark-colored surfaces also help—they make dust less visible, encouraging more consistent cleaning habits. Seal any gaps between your desk and keyboard with removable adhesive strips to block dust infiltration points.
Daily Prevention Habits That Work
2-Minute Morning Routine
Start each workday with this efficient sequence:
1. Scan for overnight accumulation—pay special attention to spacebar and arrow keys
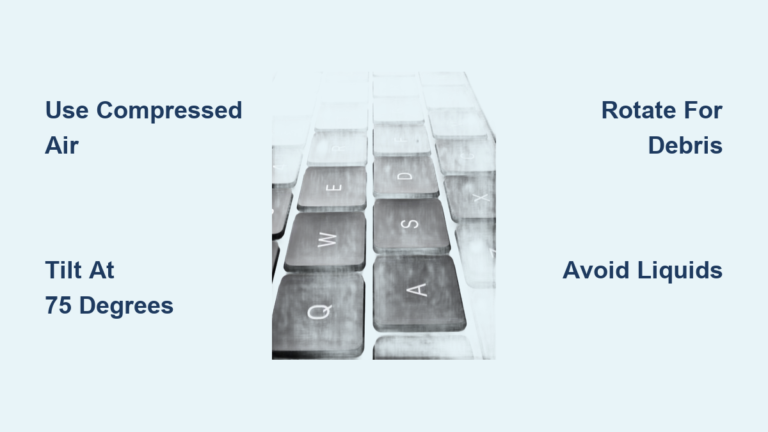
2. Blast with compressed air (2-3 seconds across the surface at 45-degree angles)
3. Wipe with a fresh microfiber section using gentle circular motions
4. Apply your protective cover if using one
Pro tip: Keep color-coded microfiber cloths—one color exclusively for keyboards, another for screens. This prevents cross-contaminating your keyboard with screen cleaning residue.
During-Use Best Practices
- Keep palms elevated using a quality wrist rest to prevent skin oils from attracting dust
- Maintain a strict 2-foot food/drink buffer zone around your keyboard
- Avoid ceiling fan exposure—typing directly under high-speed fans accelerates dust buildup
- Take micro-breaks every 30 minutes to discharge static electricity that attracts particles
Weekly Deep Prevention Protocol
15-Minute Maintenance Cycle
Follow this rotating schedule to prevent dust redistribution:
– Monday/Thursday: Compressed air treatment between all keys
– Tuesday/Friday: Vacuum session using soft brush attachments
– Wednesday/Saturday: Microfiber deep wipe with gentle key wobble
– Sunday: Complete cover application for extended protection
This systematic rotation ensures you’re not just moving dust around but actually removing it from your workspace. Always clean from top to bottom—start with the spacebar and work downward to prevent particles from falling into already-cleaned areas.
Monthly Deep Clean Essentials
For mechanical keyboards:
1. Remove keycaps using proper pullers (never fingernails)
2. Soak keys in 70% isopropyl alcohol solution for 10-15 minutes
3. Clean gaps with cotton swabs dipped in cleaning solution
4. Lubricate stabilizers to prevent future dust adhesion
5. Air dry 4-6 hours before reassembly
Membrane and laptop keyboards: Skip disassembly—focus on surface cleaning and compressed air at precise 45-degree angles to prevent liquid condensation inside the unit.
Essential Tools and Products

Core Prevention Kit ($20-40)
- Microfiber cloths: 3-pack ($5)—wash weekly at 60°C
- Compressed air: 2 cans ($8)—10oz desktop size for home use
- Universal cover: $7 for standard keyboard layouts
- Handheld vacuum: $20 HEPA-filtered unit with brush attachments
Upgrade Options ($100-200)
- Small HEPA purifier: $80-120 with 100+ CADR rating
- Custom cover: $25-40 precision-fit for specific models
- Anti-static mat: $30-50 full-desk coverage
- IoT dust sensor: $50-80 smartphone-connected monitoring
Implementation Timeline
Week 1: Foundation Setup
- Days 1-2: Purchase basic tools and install covers
- Days 3-4: Establish daily cleaning habits
- Days 5-7: Monitor effectiveness and adjust frequency
Week 2-4: Optimization
- Week 2: Add air purifier and optimize positioning
- Week 3: Refine weekly deep clean schedule
- Week 4: Evaluate results and make final adjustments
Month 2+: Advanced Integration
Add smart monitoring and automation based on your specific environment. Track dust levels with PM2.5 monitors to identify patterns and adjust your prevention strategy accordingly.
Maintenance Made Simple
Quick Reference Card
Daily (2 minutes): Visual check → air burst → wipe → cover
Weekly (15 minutes): Remove covers → compressed air → vacuum → wipe surfaces
Monthly (1 hour): Deep clean protocol based on keyboard type
Cost savings: Proper dust prevention extends keyboard life 2-3x, saving $200-800 over five years for quality mechanical keyboards. That initial $40 investment pays for itself within the first year through avoided replacements.
Your keyboard deserves more than reactive cleaning—it needs proactive protection. Start implementing these dust prevention strategies today, and within weeks you’ll experience smoother typing, fewer sticky keys, and the satisfaction of a workspace that stays pristine. Don’t wait until dust has already damaged your keyboard; the best time to prevent dust on keyboard is before it settles in.