How to Open Keypad Sentry Safe: Quick Steps
You’re standing in front of your Sentry safe, fingers hovering over the keypad, but nothing happens when you enter your code. That sinking feeling when you’re locked out of your valuables is all too familiar for many safe owners. Whether you’ve forgotten your combination code, your batteries died unexpectedly, or you’re setting up a new safe for the first time, knowing exactly how to open a keypad Sentry safe is crucial for accessing your important documents, jewelry, or emergency cash when you need them most.
Most Sentry keypad safes open in under 10 seconds when you follow the correct sequence, but one missed step can leave you frustrated for hours. The good news is that regardless of your specific model—whether it’s a basic electronic lock, touch screen version, or biometric-enhanced unit—there’s a reliable method to gain access. This guide covers every legitimate opening procedure approved by SentrySafe, including emergency techniques for when your batteries die or your code stops working.
Standard Electronic Lock Opening
Basic Keypad Sequence That Works Every Time
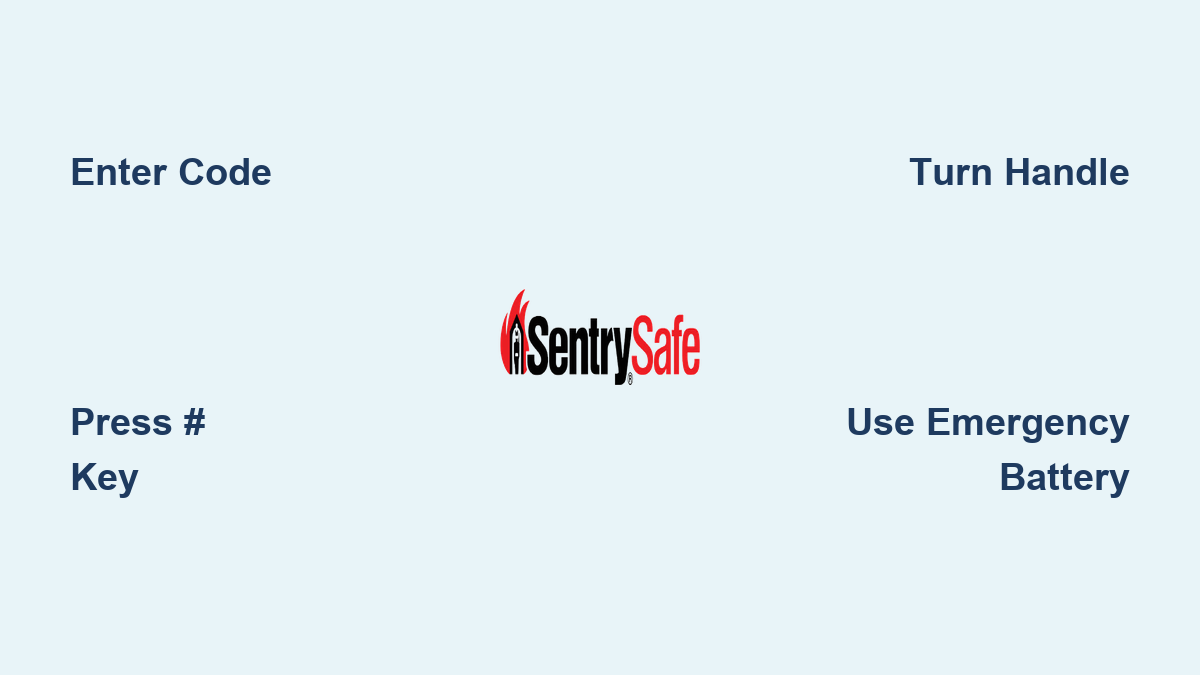
When your Sentry safe has a traditional numbered keypad, follow this precise sequence to open it reliably. First, locate the keypad on your safe door—typically centered near the handle. Enter your user code using the numbered buttons, making sure to press each button firmly enough to register. Immediately after entering your last digit, press the # key to confirm your code. Watch for the green LED light to illuminate and listen for the distinct unlocking click. Within 5 seconds of the green light appearing, turn the handle clockwise (to the right) while maintaining gentle pressure. Finally, pull the door open while keeping the handle in the rotated position.
A professional tip many users miss: if the green light appears but the handle won’t turn, try pushing the door slightly inward while rotating the handle clockwise. This counteracts any potential binding caused by the safe being slightly out of level. Never force the handle—if it won’t turn smoothly after verifying the green light appeared, something else is wrong that requires troubleshooting.
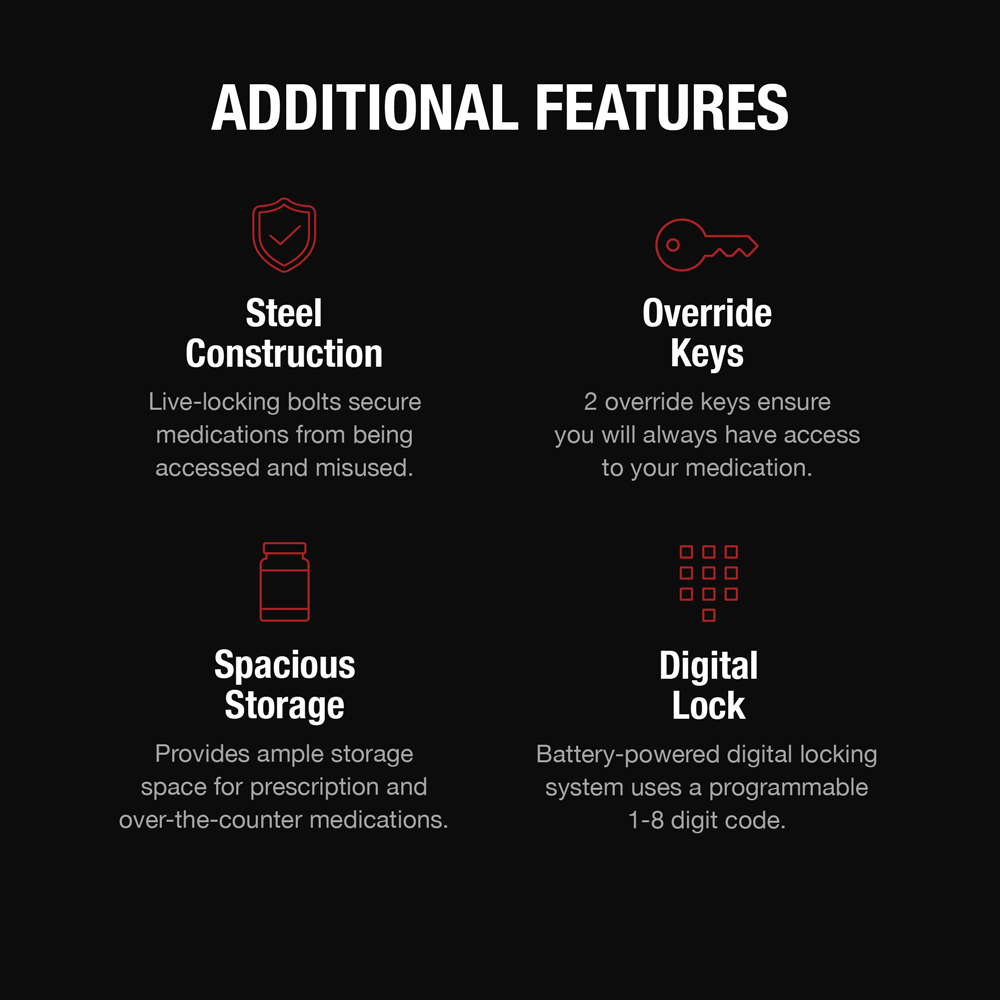
Dual Key Override Process for Emergency Access
Some Sentry models feature both electronic keypad and physical key access for maximum security. To open these safes, you’ll need to use both systems in sequence. First, insert the override key into the small keyhole located beneath or beside the keypad. Turn the key counterclockwise (to the left) until it reaches the unlocked position—this typically requires about a quarter-turn. Next, enter your electronic code on the keypad as usual, and press # to confirm. Only then should you rotate the handle clockwise to open the door. Remember to remove the override key immediately after gaining access and store it separately from your safe.
This two-step process provides an extra layer of security but requires careful sequencing. Many users make the mistake of turning the handle before entering the code, which will prevent the safe from opening properly.
Battery Issues and Emergency Access Solutions
Recognizing Low Battery Warning Signs
Your Sentry safe communicates battery issues through several clear indicators. Watch for a red flashing LED light when attempting to open the safe, repeated beeping sounds during operation, slower response from the keypad, or a dim display screen. These warnings typically appear when batteries are nearing depletion but still have enough power for several more openings—don’t wait until your safe won’t open at all before replacing batteries.
Emergency Jump Start When Batteries Die Completely
When your batteries die unexpectedly, Sentry’s emergency access feature can save the day. Locate the small emergency battery terminals, usually hidden under a tiny cover beneath the keypad. Using a standard 9-volt battery, hold the terminals to the contact points while someone else (or you, if possible) enters your user code. While maintaining battery contact, press # to confirm the code, then immediately turn the handle clockwise to open. Once inside, replace all internal batteries with fresh alkaline AA batteries—never use rechargeable batteries as they provide inconsistent voltage that can damage the electronic lock.
Troubleshooting Common Opening Failures

When Your Code Won’t Work
If your code fails to open the safe, follow this systematic approach. First, wait for the red LED to stop flashing between attempts—rushing consecutive tries triggers lockout mode. Listen carefully for audible beeps confirming each button press; if some buttons don’t beep, they may be stuck. Gently press each key individually to free any debris. Verify your code sequence matches exactly what you programmed, as even one digit out of order will prevent opening. Many users accidentally press keys too quickly or skip the critical # confirmation step.
Handle Won’t Turn: Solutions That Work
When the green light appears but the handle refuses to turn, don’t force it—this can damage the locking mechanism. First, confirm the green light actually appeared before you attempted to turn the handle. Then, try pushing the door slightly inward while rotating the handle clockwise, as safes sometimes bind when not perfectly level. Check if your safe is sitting evenly on the floor; even a slight tilt can prevent proper unlocking. If these steps don’t work, your safe may have entered lockout mode after multiple failed attempts—wait 5 minutes for the system to reset before trying again.
Model-Specific Opening Techniques
FP Series Digital Safes: Enhanced Accessibility
Sentry’s FP series features larger keypad buttons for easier operation, making them ideal for users with limited dexterity. These models provide audible confirmation beeps for each button press and bright LED status indicators that are visible in low light. The opening sequence follows standard procedures but with more responsive feedback. When opening FP series safes, pay attention to the louder confirmation beeps that indicate successful code entry—this model provides clearer audio feedback than other lines.
X-Line Advanced Safes: Professional-Grade Features
For owners of Sentry’s premium X-Line safes, additional security features require specific handling. These models support personalized user codes and include a master override code for emergencies. After entering your code and pressing #, you have only 10 seconds to turn the handle before the auto-relock feature engages. During opening attempts, watch for tamper alerts that flash after multiple failed attempts—these indicate the safe is in heightened security mode. X-Line models also maintain logs of the last 10 access attempts, visible through the electronic interface when the door is open.
Programming and Maintenance Essentials
Setting Up Your First Access Code
Never leave your Sentry safe with the factory default code—it’s a significant security risk. To program your first custom code, open the safe using the default combination (found in your manual), then locate the small red program button along the door’s edge. Press this button, enter your new 3-8 digit code (avoid simple sequences like 1234), and press # to confirm. Test the new code twice with the door open before closing it permanently. Choose a code that’s memorable but not obvious—never use birthdays or other easily guessed numbers.
Monthly Maintenance for Reliable Operation
Keep your keypad Sentry safe functioning perfectly with this simple monthly routine. Test the electronic lock with the door open to prevent accidental lockouts during testing. Check the battery indicator—many models show low battery status even when the safe is closed. Verify your override key works by inserting and turning it without entering a code. Clean the keypad with a soft, dry cloth to prevent dust buildup that can interfere with button operation. For long-term reliability, replace batteries annually regardless of use, and store your override key in a separate secure location from the safe itself.
When all else fails and you’re completely locked out, contact SentrySafe directly at 1-800-828-1438 with your safe’s serial number (typically found on the back or bottom) and proof of ownership. Their customer service can provide model-specific override procedures or connect you with authorized technicians. Remember that regular testing of your opening sequence—just 30 seconds each month—prevents 95% of lockout situations. Keep fresh batteries installed, store your override key separately, and document your code in a secure location away from the safe, and you’ll maintain reliable access to your protected valuables for years to come.