How to Fix Sunken Keyboard Keys
You’re typing an urgent report when suddenly your spacebar sinks lower than the rest. Or maybe your “E” key barely rises above the keyboard surface. Sunken keys aren’t just frustrating—they disrupt your workflow, cause missed keystrokes, and can completely derail your productivity. The good news? Most keyboard key issues are fixable with the right approach and tools, often without professional help.
Whether you’re working with a laptop, external membrane keyboard, or mechanical gaming board, this guide delivers proven solutions to restore your keys to proper height. You’ll learn to diagnose the root cause, gather essential tools, and execute repairs that actually last—saving you time, money, and frustration. Most sunken key fixes take less than 30 minutes with basic tools you likely already own.
Identify Key Depression Causes
Sunken keys stem from five primary mechanical failures. Cracked or dislodged keycap retainer clips—the small plastic mechanisms that spring keys back up—account for most cases. These delicate components fracture under excessive pressure or snap when debris jams the mechanism. Dust, food particles, and hair accumulate beneath keys, creating physical barriers that prevent proper upward movement.
Liquid spills cause corrosion of metal components, swelling of plastic parts, or sticky residues that bind moving parts. Physical impacts from dropping objects or excessive typing force can bend the metal stabilizer bars on larger keys like spacebars and shift keys. Finally, worn rubber domes or mechanical switches lose elasticity over time, typically after 3-5 years of regular use, failing to push keys back to their original position.
Quick Visual Diagnostic Steps
Power off your device and examine the affected key from multiple angles, looking for visible cracks in the keycap or bent retainer clips. Gently press the key several times to assess whether it feels different from surrounding keys—a gritty sensation indicates debris, while a mushy feel suggests liquid damage. Compare the height using a credit card laid across adjacent keys for precise measurement.
Remove surrounding keys with a plastic puller to inspect rubber domes on membrane keyboards or switch stems on mechanical boards. Test whether the key still registers when pressed—if it doesn’t, you’re dealing with electrical failure beyond simple sinking. Document any patterns like multiple adjacent keys being affected, which could indicate a larger spill or structural issue requiring more comprehensive repair.
Essential Repair Tools You Need
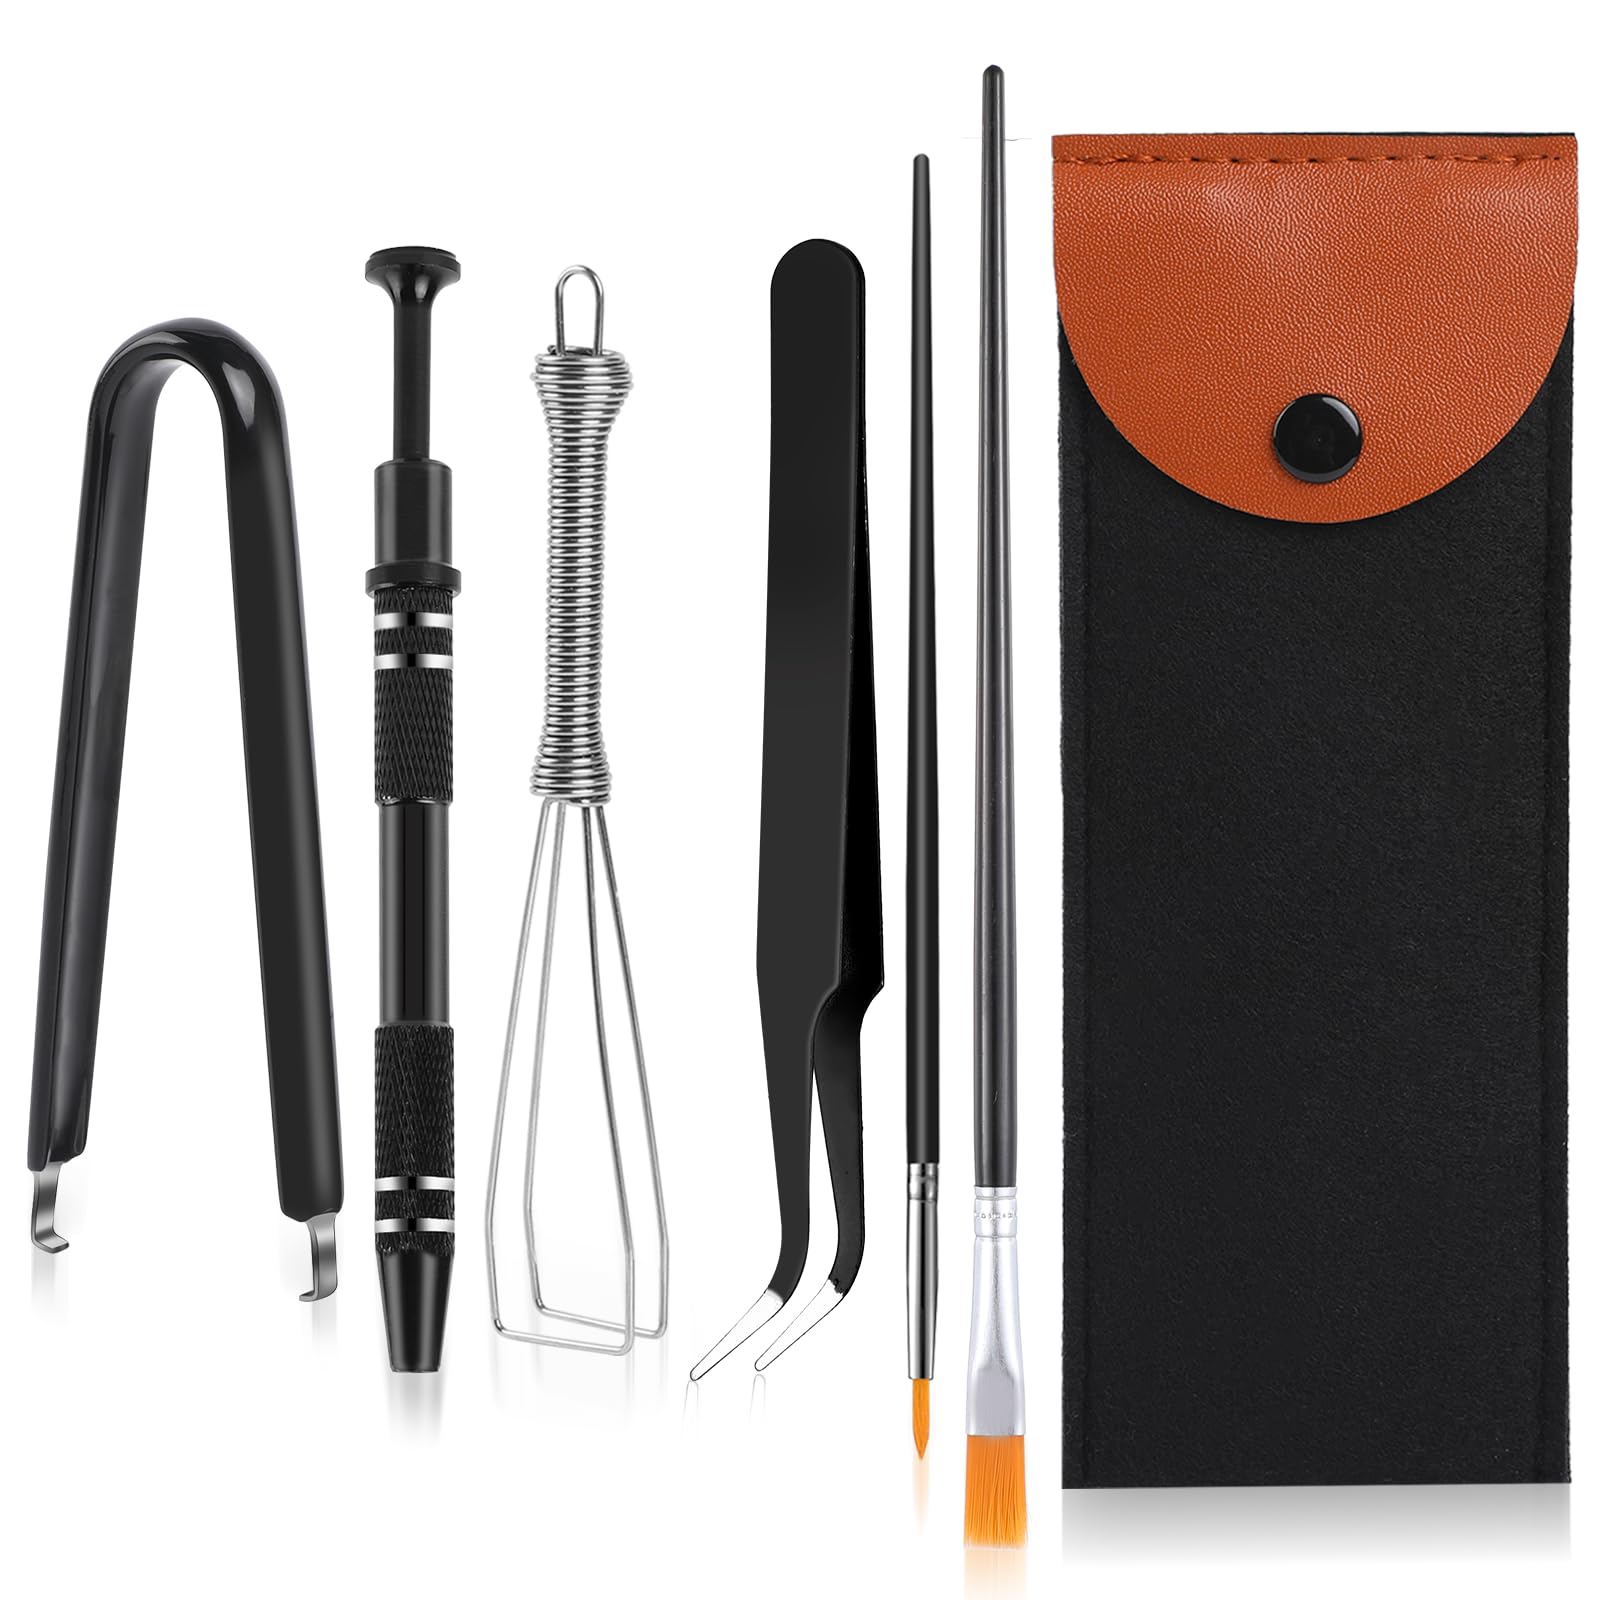
Gather these tools before starting: a keycap puller (wire-style for mechanical, plastic ring-style for membrane), precision screwdrivers in #0 and #1 Phillips sizes, plastic spudgers or guitar picks, and fine-point tweezers for debris removal. Compressed air with an extension tube effectively blows out loose particles without pushing them deeper.
Add cotton swabs, lint-free microfiber cloths, and a soft-bristled brush for cleaning. For advanced repairs, include 99% isopropyl alcohol to dissolve sticky residues, a multimeter for electrical testing, and a soldering iron for switch replacement. Keep brand-specific replacement parts on hand—retainer clips, rubber domes, or mechanical switches—as generic parts rarely fit properly across different keyboard models.
Fix Membrane Keyboard Keys
Power down and unplug your keyboard completely. Flip it upside down, shake gently to dislodge loose debris, then use compressed air at a 45-degree angle. Carefully remove the affected keycap by inserting a plastic puller under opposite corners and pulling straight up—never at an angle. Examine the keycap underside for broken retainer clips; if damaged, replace the entire keycap with an exact match.
Clean the exposed area with isopropyl alcohol on a cotton swab, removing all sticky residue. Check the rubber dome underneath for tears or deformation—collapsed domes require replacing the entire dome sheet. To replace a dome, desolder the old one and solder in a new unit matching the original specifications. Reassemble by aligning the keycap retainer clips precisely with the mounting points and press firmly until it snaps into place.
Handle Stuck Debris Issues
For stubborn particles causing sunken keys, remove 3-4 surrounding keys to access the debris field. Use tweezers to extract larger pieces first, then compressed air for fine dust that might be wedged deep in the mechanism. Clean the entire area thoroughly with alcohol before reassembly to prevent the same debris from jamming adjacent keys.
When dealing with sticky residues from liquid spills, apply isopropyl alcohol to a cotton swab and gently scrub affected areas. Allow the keyboard to dry completely for at least 24 hours before testing—rushing this step risks electrical damage. For severe cases involving sugary liquids, multiple cleaning sessions may be necessary to fully dissolve all residue.
Repair Mechanical Keyboard Switches
After removing the keycap, inspect the switch stem for visible damage or bending. Test the switch with a multimeter set to continuity mode—press the switch while probing the contacts. No continuity indicates a dead switch requiring replacement. To replace a mechanical switch, desolder it from the PCB using a temperature-controlled soldering iron at 350°C.
Apply fresh solder to all switch pins, then use a desoldering pump to remove old solder. Once removed, insert the new switch ensuring proper orientation—the LED slot should align with the keyboard’s LED position. For hot-swappable keyboards, simply pull the switch using a switch puller and insert a new one. Reinstall keycaps, ensuring stabilizer wires engage properly on larger keys to prevent future sinking.
Replace Cherry MX Switches Correctly
When soldering new Cherry MX switches, heat each pin for 3-4 seconds maximum to avoid damaging the PCB. Apply fresh solder to ensure strong connections without creating solder bridges between pins. Test each switch immediately after installation before reassembling the entire keyboard—it’s significantly easier to address issues with keycaps removed.
For plate-mounted stabilizers on larger keys, ensure wires are properly tensioned and seated in their slots. Lubricate stabilizer stems with dielectric grease to prevent future binding. Verify that the new switch’s actuation force matches surrounding switches to maintain consistent typing feel across your keyboard.
Fix Laptop Scissor-Switch Keys

Laptop keyboards use fragile scissor mechanisms that require special care. Consult your laptop’s service manual first, as procedures vary significantly by manufacturer. Use a thin plastic spudger to gently lift the keycap from the top edge, working slowly to avoid breaking the scissor mechanism—these components snap easily when stressed.
Clean the mechanism with compressed air and isopropyl alcohol on a cotton swab. If the scissor mechanism is broken, replacement requires sourcing the exact part from the laptop manufacturer—generic parts rarely fit properly. Document key orientation with multiple photos before removal, as reassembly demands precise alignment of multiple small components.
Handle Liquid Damage on Laptops
If liquid caused the sinking, you may need complete keyboard replacement—some laptops allow individual key replacement while others require the entire assembly. Remove all keys over affected areas and clean thoroughly with isopropyl alcohol, allowing at least 48 hours for complete drying. Check warranty terms before attempting repairs—laptop keyboard work typically voids the entire laptop warranty.
For severe liquid damage, disconnect the keyboard ribbon cable and test with an external keyboard. If internal components show corrosion, professional repair may be necessary as laptops contain densely packed electronics vulnerable to further damage during DIY attempts. Consider the repair cost versus replacement value—many modern laptops have non-replaceable keyboards making individual key repairs impossible.
Advanced Troubleshooting Tricks
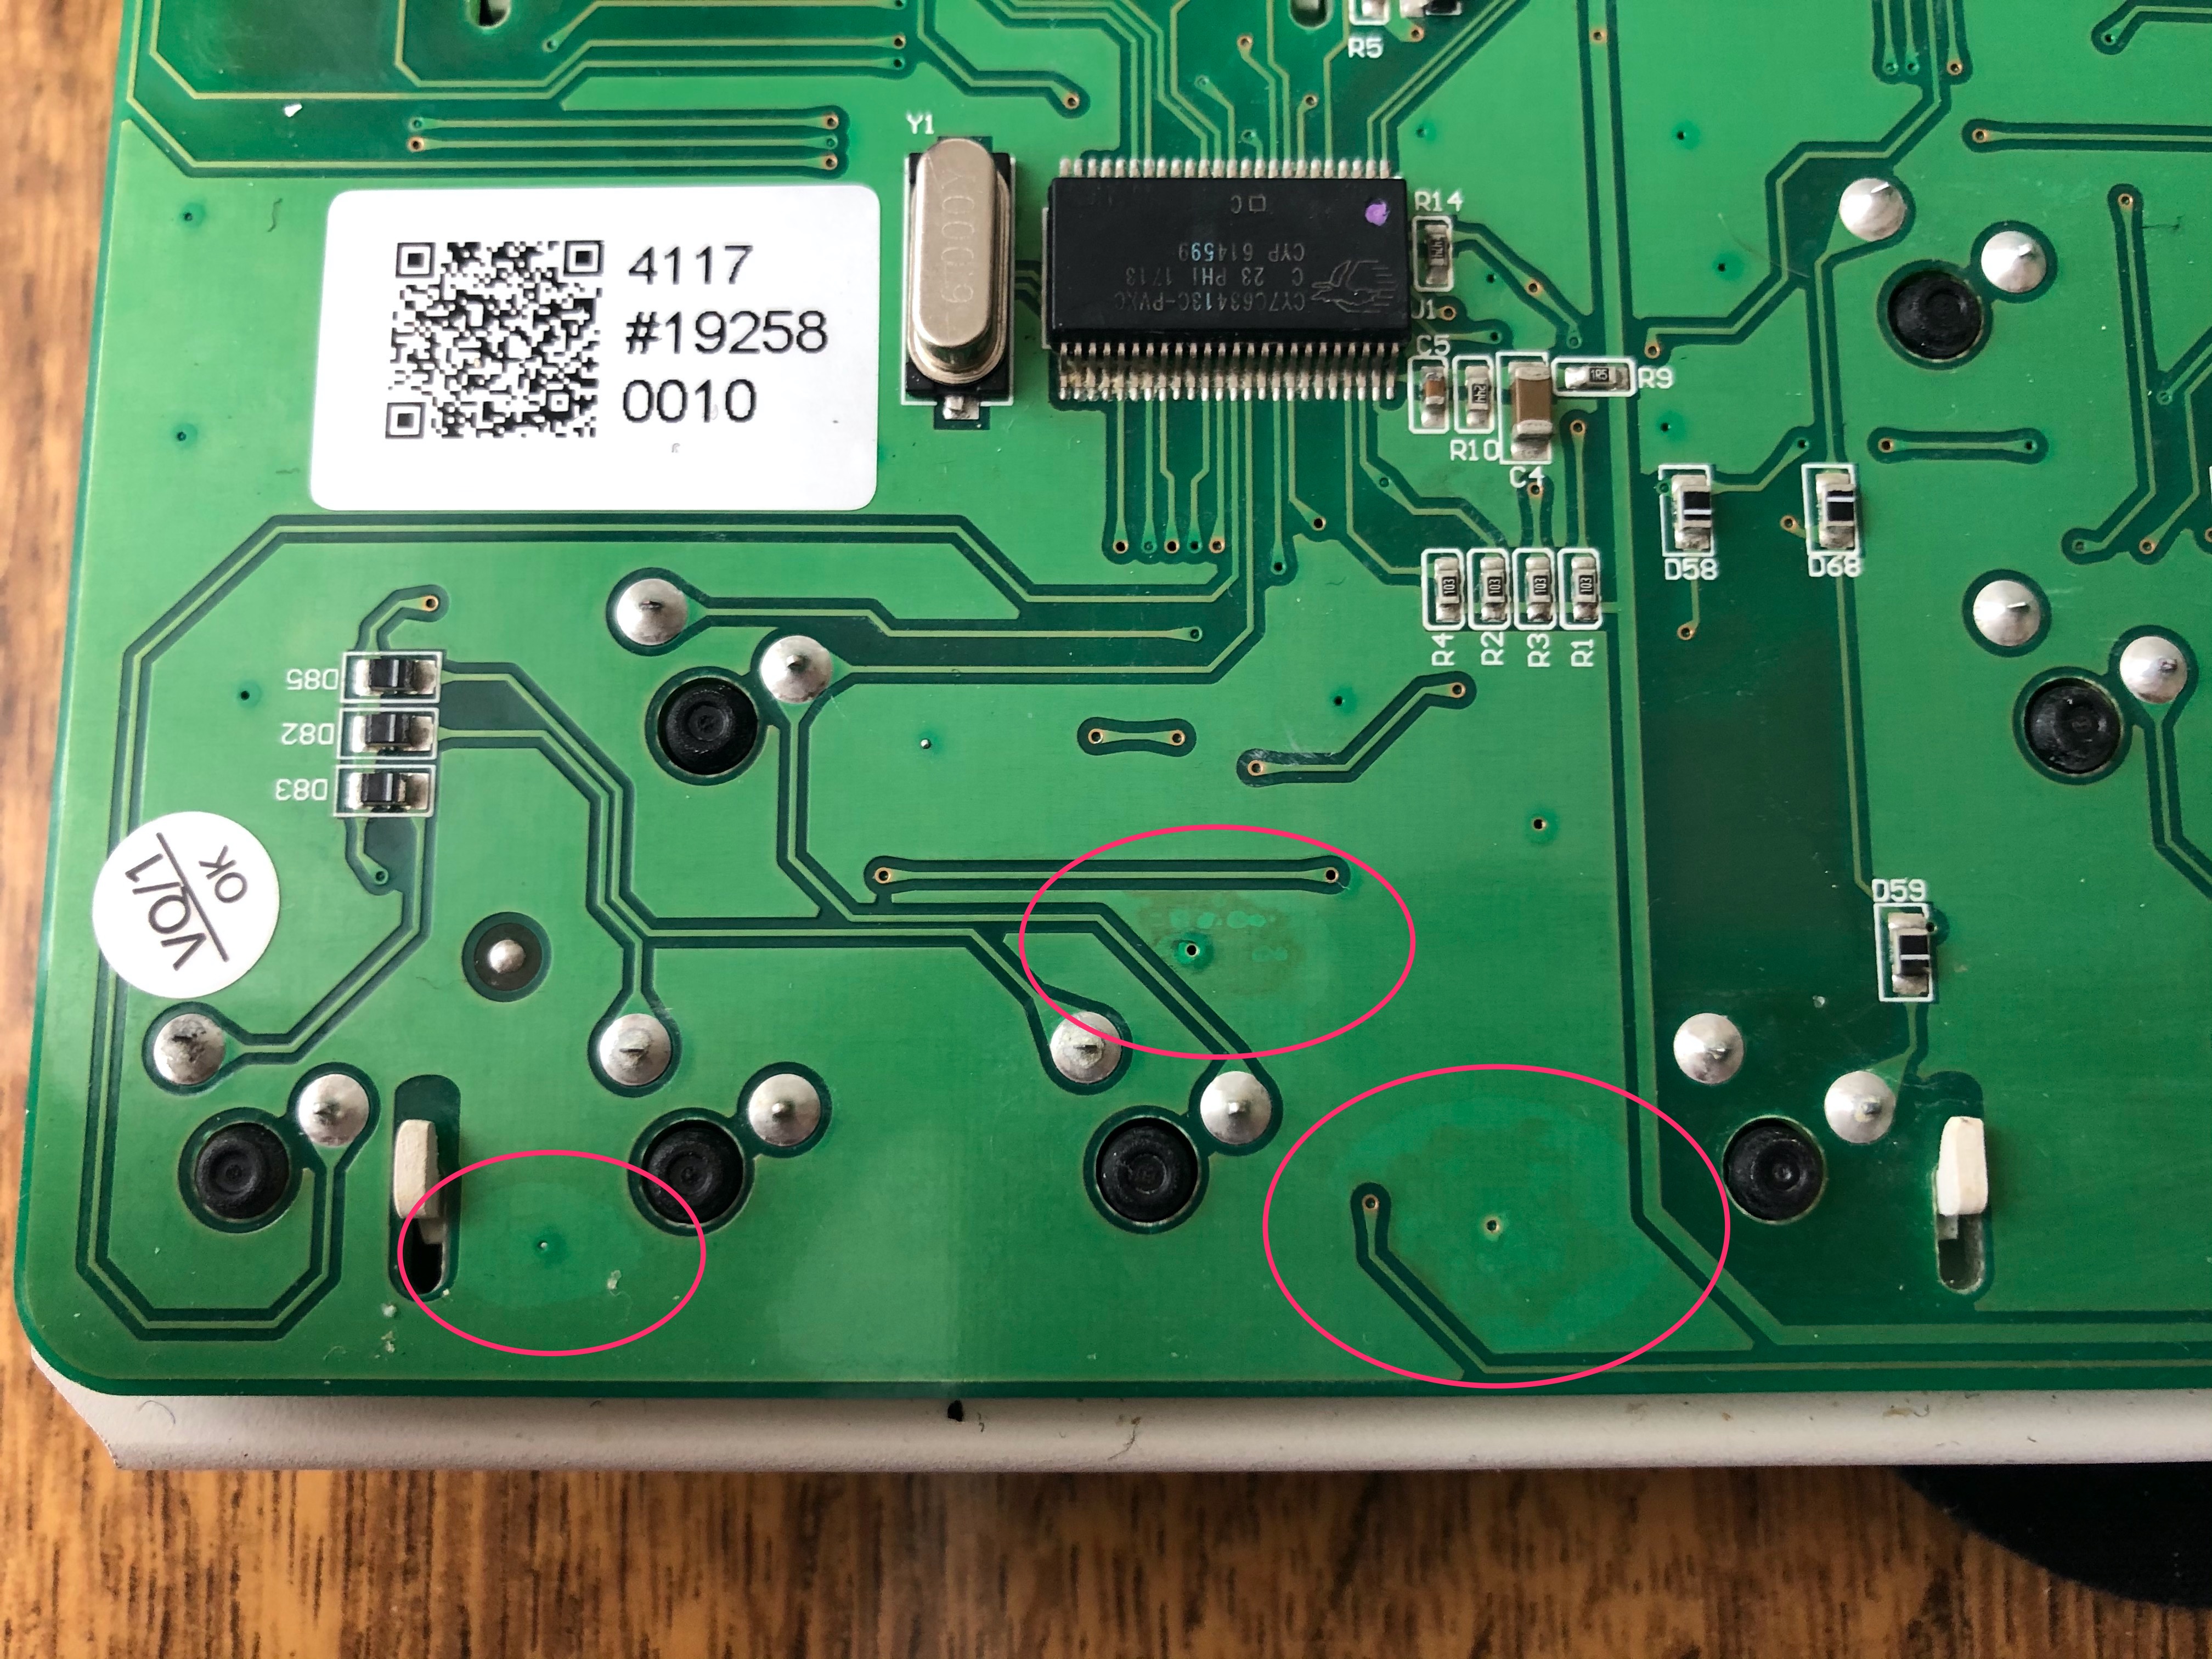
When standard fixes fail, remove multiple surrounding keys to inspect for frame damage. Warped metal backplates cause uneven key heights—straighten carefully with pliers on a flat surface, applying minimal pressure to avoid cracking. Check for corrosion on electrical traces using a magnifying glass, particularly after liquid spills.
Use a fiberglass pencil to gently clean corroded areas, then apply clear nail polish as insulation. For keyboards with backlighting, test each LED to ensure none are shorting against the key mechanism—some failing LEDs can swell and create physical interference. If multiple keys fail simultaneously, the keyboard controller may be failing—test by connecting to another computer.
Evaluate Repair vs Replacement
Calculate total costs including parts, tools, and time investment before proceeding. Premium mechanical keyboards often justify repair costs, especially under warranty. Budget membrane keyboards typically cost less to replace than repair—check current prices before investing significant effort. Keyboards older than 5 years likely have widespread wear making individual repairs temporary fixes.
Professional services charge $30-100 depending on keyboard type but provide warranties and OEM parts. DIY repairs cost $10-30 in parts but risk voiding warranties or causing additional damage. Consider sentimental value or specialized features that might make repair worthwhile despite higher costs.
Prevent Key Depression Issues
Establish weekly cleaning with compressed air to prevent debris accumulation—the leading cause of sunken keys. Position keyboards away from food and drinks, using covers during meals if necessary. Maintain clean hands while typing to reduce oil transfer and debris buildup that binds key mechanisms over time.
Store keyboards properly when not in use, avoiding pressure on keys that could deform mechanisms. For laptop users, close the lid gently and ensure nothing rests between keyboard and screen. Consider keyboard angle—excessive tilt can stress key mechanisms over time. Use wrist rests to reduce impact force on keys during typing sessions.
Create Maintenance Schedules
Monthly: Remove and clean 5-10 frequently used keycaps using a keycap puller, focusing on keys that show early signs of sinking. Quarterly: Deep clean entire keyboard—remove all keycaps, clean with isopropyl alcohol, and lubricate stabilizers with plastic-safe dielectric grease. Annually: Replace worn keycaps, inspect all switches for wear, and reapply lubrication to moving parts.
Heavy typists need more frequent maintenance—monitor typing habits and adjust schedules accordingly. Keep maintenance logs noting issues found and repairs performed to identify recurring problems before they cause significant damage. For mechanical keyboards, replace keycap sets every 2-3 years to prevent legend wear and mechanism stress.
Avoid Common Repair Mistakes
Never use metal tools to pry keycaps—they scratch surfaces and break plastic clips. Don’t apply excessive force during removal or installation, as keyboard mechanisms are surprisingly fragile. Avoid water or cleaning solutions directly on keyboards—use alcohol sparingly on cotton swabs instead.
Always check key orientation before reassembly—keys must face the correct direction for proper feel and function. Don’t mix keycap sets between models as sizes and mounting differ. Avoid petroleum-based lubricants on plastic components as they can cause degradation over time. Never attempt repairs on warranty-covered keyboards without checking terms first—most manufacturers consider keycap removal as user damage.
Test Repairs Thoroughly
After completing repairs, test each key for proper travel distance—press repeatedly to ensure consistent movement matching surrounding keys. Use online keyboard testers that display key presses visually to verify registration. Check stabilizers on larger keys by pressing multiple points to ensure even movement without binding.
Perform extended typing sessions to catch intermittent issues that might not appear during initial testing. Monitor for new problems appearing post-repair—disassembly stress can reveal other weak points needing attention. Document successful repairs and any remaining issues for future reference, noting what techniques worked best for your specific keyboard model.