How to Fix Squeaky Keyboard Keys
That high-pitched screech every time you hit your spacebar isn’t just annoying—it’s actively sabotaging your focus during critical work or intense gaming sessions. When your keyboard sounds like a rusty hinge, it’s usually the stabilizer bars beneath larger keys screaming for attention. The good news? You can permanently silence those squeaks in 15 minutes flat with tools you likely already own. Unlike quick fixes that fail within days, this method uses professional-grade lubrication that lasts 6-12 months, restoring your keyboard to near-silent operation.
Most users mistakenly blame the key switches, but squeaks originate 90% of the time from metal stabilizer bars rubbing against plastic housings. This friction worsens with dust buildup and dried-out factory lubricant. Ignoring it risks permanent damage to stabilizer clips or keycaps. By targeting the exact friction points with the right lubricant, you’ll achieve smooth keystrokes that feel like a brand-new keyboard. Here’s exactly how to fix squeaky keyboard keys without voiding warranties or damaging components.
Diagnose Your Stabilizer Bar Squeak
Pinpoint Problem Keys Before Repairing
Don’t waste time on keys that don’t need it—only large keys use stabilizer bars. Immediately test these troublemakers:
– Spacebar (longest bar = highest squeak risk)
– Left/Right Shift keys (especially on mechanical boards)
– Enter key (varies by layout; check both sides)
– Backspace key (shorter bar but equally prone)
Press each key slowly while listening for the exact squeak location. If smaller keys (like letters) squeak, your issue is likely dirty switches—not stabilizers—and requires different cleaning.
Spot Hidden Friction Points Visually
With your keyboard unplugged, tilt it toward a light source. Look beneath the squeaky keycap (no removal needed yet) for the metal wire running parallel to the key’s length. This stabilizer connects to two outer plastic housings and your center switch. Squeaks occur where:
– The wire rubs against plastic mounting clips
– End pivots scrape the housing interior
– Center stabilizer clips bind during movement
If you see visible dust or dried grease residue, that’s your culprit.
Grab These Exact Repair Tools (No Guesswork)
Must-Have Supplies for Permanent Fix
You’ll need precisely these items—nothing more:
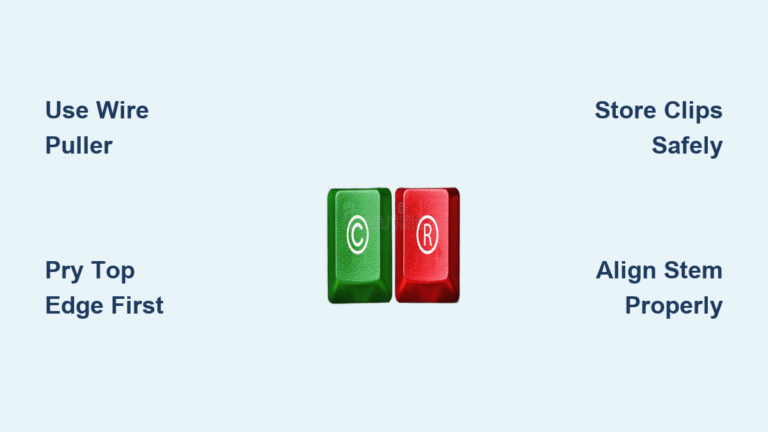
– Wire keycap puller (plastic ring-style risks slipping on large keys)
– White lithium grease (synthetic, plastic-safe formula like DuPont)
– Precision applicator (folded paper corner or micro-swab)
Pro Tip: Skip auto parts stores—computer hardware retailers sell keyboard-specific lubricants. Automotive lithium grease often contains petroleum additives that degrade plastic keycaps over time.
Lubricants That Destroy Keyboards
Avoid these common household “solutions” at all costs:
– WD-40 (attracts dust like a magnet within days)
– Vegetable oil (turns sticky and attracts debris)
– Petroleum jelly (melts keycap plastic with heat)
Even “safe” lubricants like silicone spray cause overspray disasters on adjacent switches. Stick to thick, non-migrating grease.
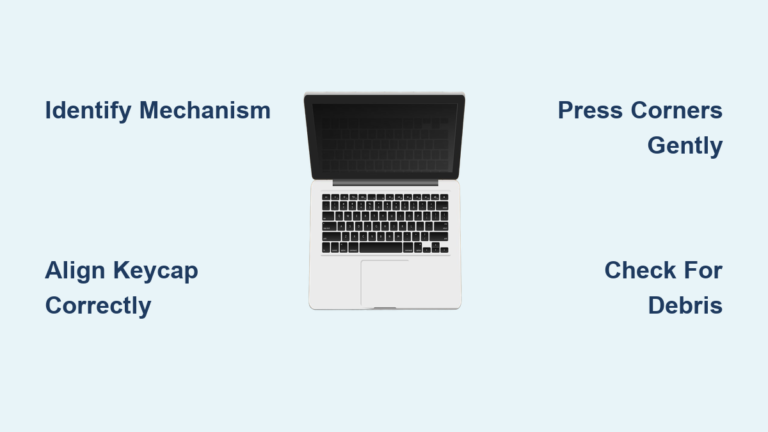
Remove Keycaps Without Breaking Stabilizers

Spacebar Removal: The Two-Step Rock Method
Large keys have triple connection points—yanking them causes stabilizers to pop out. Do this instead:
1. Position wire puller centered over the squeaky key
2. Apply gentle upward pressure while wiggling side-to-side
3. Stop immediately when the key releases from the center switch (it’ll lift 2-3mm)
4. Rock the key sideways to expose the stabilizer bar
5. Remove adjacent keys only if wire access is blocked
Critical Stabilizer Warning
Never pull straight up! This bends the thin metal stabilizer wire or dislodges plastic mounting clips. If you hear a “pop” during removal, stop—you’ve likely damaged the stabilizer mechanism. Reassembly becomes exponentially harder.
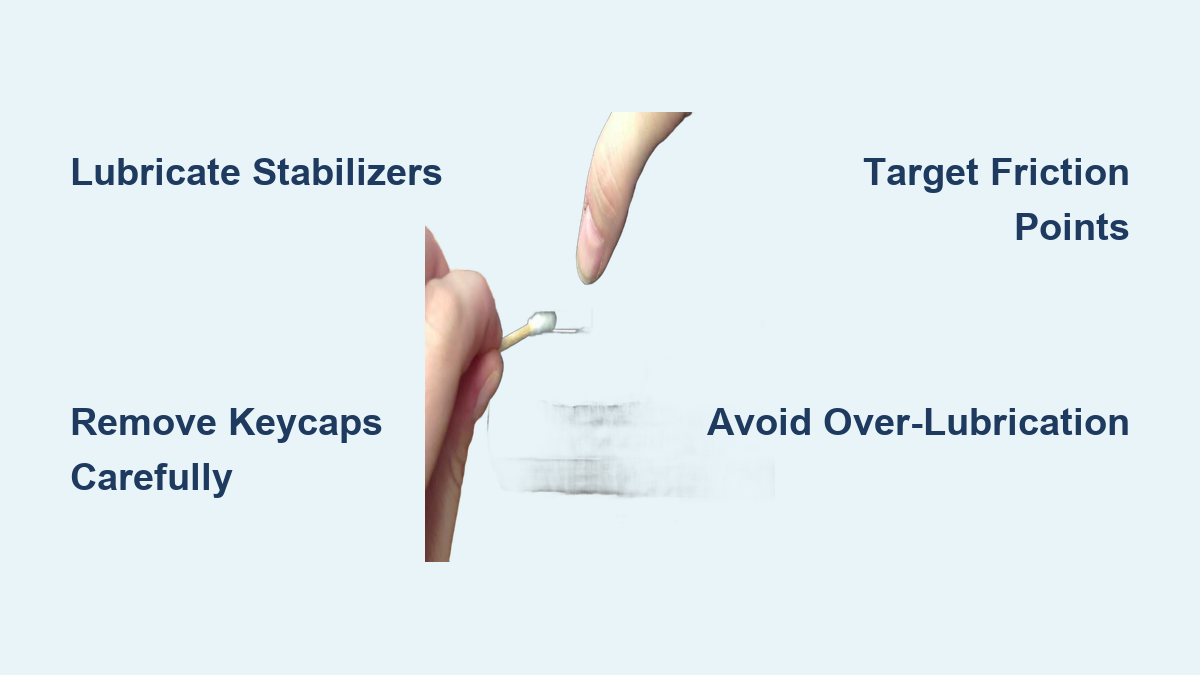
Apply Lubricant Where It Actually Matters
Target These 3 Friction Hotspots
Most users lubricate randomly, causing sticky keys. Focus only on:
– Wire ends where metal enters plastic housings (primary squeak source)
– Center stabilizer clips (visible as small plastic hooks under the key)
– Pivot points along the wire’s length (where it bends during use)
Expert Note: Avoid the center switch stem like the plague. Grease on switches creates mushy, inconsistent keystrokes.
Precision Lubrication Technique
- Dip applicator tip into grease—less is more (grain-of-rice amount per key)
- Touch grease only to metal-plastic contact points
- Press key down 10-15 times to work grease into joints
- Wipe excess with microfiber cloth (prevents dust attraction)
Over-lubrication is the #1 cause of “fixed squeak but now sticky keys.” Start with half what you think you need.
Reinstall Keys and Verify Silence

Snap Keys Back in 4 Foolproof Steps
- Align keycap over switch stem (center first)
- Angle key to engage one stabilizer clip
- Press opposite side down until both clips click
- Test with slow presses—should move smoothly without lateral wobble
Fix Persistent Squeaks in 60 Seconds
If noise remains:
– Reapply grease to the opposite side of the wire (often missed)
– Check wire alignment—bent stabilizers need professional replacement
– Clean plastic housings with isopropyl alcohol on cotton swab
Never press keys harder to “break in” lubricant—that damages stabilizer clips.
Prevent Squeaks for 12+ Months
Your Maintenance Schedule
| Use Case | Lubrication Frequency |
|---|---|
| Office typing | Every 10-12 months |
| Gaming (4+ hrs/day) | Every 6 months |
| Dusty environments | Every 4 months |
Pro Tip: Set phone reminders labeled “Keyboard Lube Day” 6 months from your fix date.
Daily Habits That Stop Squeaks Early
- Blow compressed air under keys weekly (hold cans upright to avoid moisture)
- Never eat over keyboard—crumbs accelerate stabilizer wear
- Use keyboard skin during non-gaming hours (reduces dust ingress)
- Wipe spills immediately with 70% isopropyl alcohol
When to Call in Reinforcements
Professional Repair Triggers
Seek help if you notice:
– Visible bent stabilizer wire (won’t straighten without breaking)
– Cracked plastic housings (grease won’t fix structural damage)
– Multiple keys squeaking after cleaning (indicates board-wide wear)
– Keyboard under warranty (DIY may void coverage)
Most manufacturers charge $20-$50 for stabilizer service—cheaper than replacement.
Emergency Quiet-Down Hacks
For temporary relief during meetings:
– Slide folded paper under spacebar edges (reduces vibration)
– Type with lighter force (less pressure = less friction noise)
– Place keyboard on mousepad (dampens resonance)
Warning: These are bandaids—not fixes. They worsen long-term wear.
Silence your keyboard for good by targeting stabilizer friction with precision lubrication. Your properly fixed spacebar should now glide silently with crisp tactile feedback—no stickiness, no residue. Remember: a single grain-of-rice grease application every 6 months keeps squeaks away longer than any quick spray fix. Bookmark this guide for your next maintenance session, and reclaim the quiet focus your work deserves. Your ears (and coworkers) will thank you the next time you hammer out that urgent report.