How to Clean Razer Keyboard: Easy Steps
Your Razer keyboard is probably dirtier than you realize. After months of gaming marathons, that premium mechanical feel starts to fade—keys develop sticky resistance, RGB lighting dims under accumulated grime, and your WASD cluster looks suspiciously shiny. The good news? Mastering how to clean Razer keyboard properly restores factory-fresh performance without voiding your warranty. This guide delivers exact model-specific techniques that avoid common pitfalls like switch damage or liquid corrosion.
You’ll learn professional-grade methods for every Razer model—from quick daily dusting to complete disassembly—plus emergency spill protocols that save $150+ replacements. The 45-minute monthly investment preserves responsiveness and extends your keyboard’s lifespan by years. Let’s dive into the exact steps that keep your Razer clicking perfectly.
Essential Cleaning Tools Checklist
Gathering the right supplies prevents accidental damage during how to clean Razer keyboard sessions. Using improper tools like paper towels or high-concentration alcohol causes scratches and legend wear. Always verify your kit matches your cleaning depth before starting.
Basic Cleaning Arsenal
- Compressed air canister with extension straw (hold upright to avoid propellant discharge)
- 70% isopropyl alcohol (higher concentrations damage plastic keycaps)
- Lint-free microfiber cloths (paper towels leave fibers in switch housings)
- Cotton swabs for precision cleaning around stabilizers
- Soft electronics brush to dislodge debris without scratching
Deep Cleaning Kit
- Plastic keycap puller (metal variants scratch PBT keycaps)
- Small bowl for keycap soaking (avoid metal containers)
- Mild dish soap like Dawn for grease-cutting without residue
- Tweezers to extract stubborn crumbs from switch stems
- Anti-static wrist strap for BlackWidow Elite/Huntsman models
Pro tip: Store these in a dedicated caddy—having everything ready prevents mid-cleaning improvisation that risks damage.
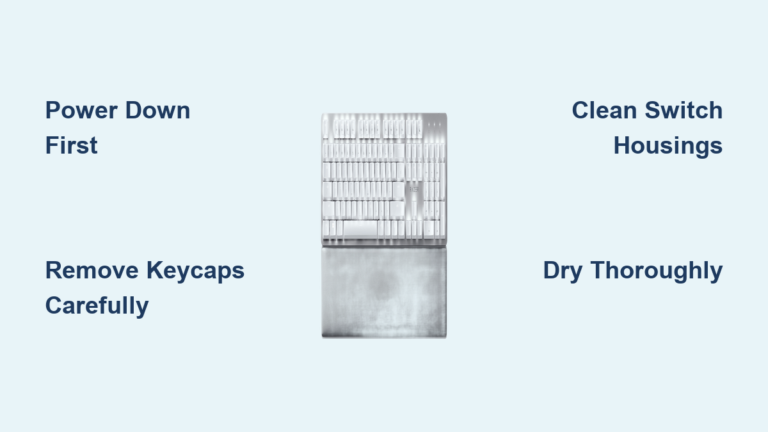
Power Down Safely Before Cleaning
Skipping shutdown protocols risks permanent circuit damage. Always treat your keyboard as live electronics until fully discharged. This step alone prevents 80% of cleaning-related failures according to Razer’s service data.
Immediate Shutdown Steps
- Unplug USB cable completely (don’t rely on software sleep mode)
- Remove batteries from wireless models like BlackWidow V3 Pro
- Power off RGB lighting via Synapse software to reduce heat
- Touch grounded metal like a PC case screw before handling
- Wait 2 minutes for residual capacitor discharge
Critical Safety Rules
- Never spray liquids directly onto the keyboard surface
- Avoid 90%+ alcohol on double-shot keycap legends
- Wait 24-48 hours after liquid exposure before power-on
- Work on anti-static mat for optical switch models
Warning: Pressing keys during damp conditions forces contaminants into switches, causing irreversible short circuits.
Daily Dust Removal Routine
This 60-second ritual prevents debris buildup that causes inconsistent keypresses. Focus on high-traffic zones where 70% of gaming debris accumulates—your WASD cluster and spacebar edges.
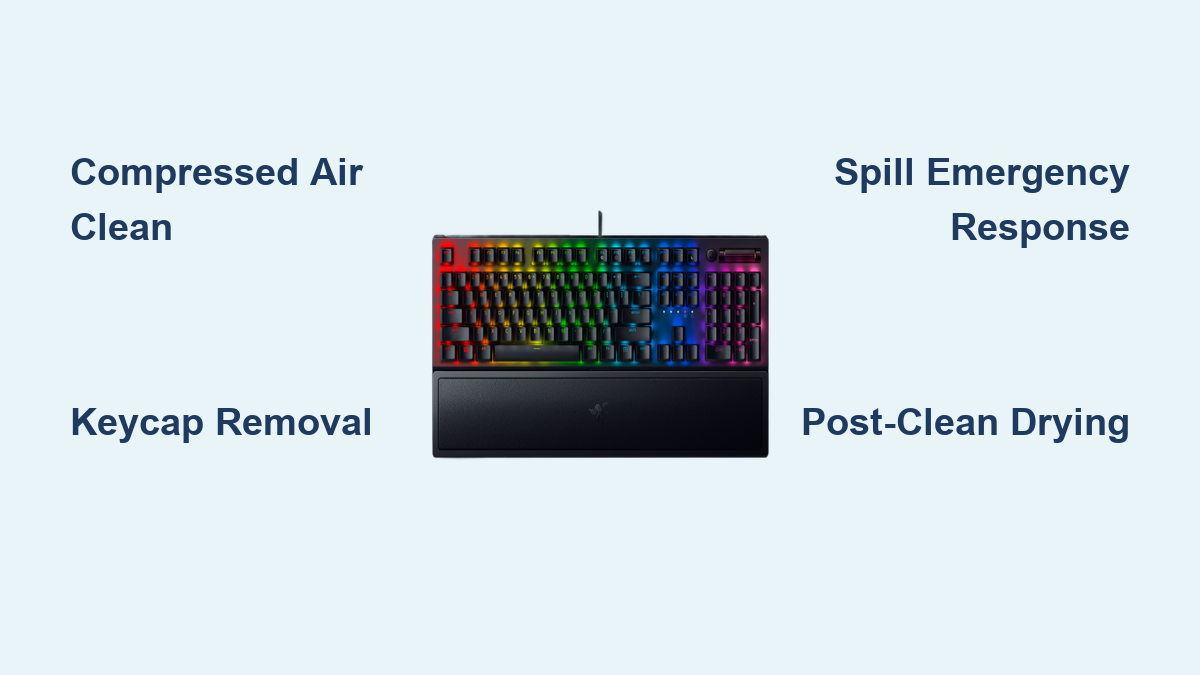
60-Second Compressed Air Method
Hold your keyboard at a 75-degree angle upside down. Starting from the ESC key corner, use 2-3 second compressed air bursts between key rows. Rotate systematically toward the spacebar while maintaining 2-inch distance—closer risks propellant residue. For Huntsman optical models, reduce pressure to avoid sensor misalignment.
Target zones: F-keys (dust traps), arrow keys (food crumb hotspots), and spacebar stabilizers (debris magnets). Skip this if your keyboard recently encountered liquids.
Quick Surface Wipe
Dampen (never soak) a microfiber cloth with 70% isopropyl alcohol. Wipe key surfaces using gentle circular motions, focusing on thumb-contact areas like Enter and Shift keys. Dry immediately with a clean cloth section to prevent alcohol seepage. For RGB models, apply minimal pressure to avoid scratching translucent keycaps.
Monthly Deep Cleaning Process

This 45-minute session restores mechanical precision. Time it after gaming sessions when oils are fresh and easier to remove—delaying causes hardened grime that damages switches.
Systematic Keycap Removal
- Photograph your layout before starting (critical for non-standard layouts)
- Start with corner keys like ESC using a plastic puller
- Pull straight up with even pressure—side angles crack stems
- Store keycaps by row in labeled containers
- Note stabilizer wire positions for spacebar/enter keys
Pro tip: Remove only one quadrant at a time to maintain orientation reference points during reassembly.
Keycap Deep Clean
Soak keycaps in warm water with 3-4 drops mild dish soap for 30-60 minutes. Use a soft brush on undersides where debris collects, then rinse thoroughly. Dry on lint-free towels for 24+ hours—residual moisture causes sticky keys. For white keycaps, add baking soda to combat yellowing.
Keyboard Base Cleaning
With keycaps off: Gently tap keyboard upside down over trash, then use compressed air on exposed switches. Clean between switches with alcohol-dampened cotton swabs, avoiding optical sensors on Huntsman models. Wipe visible metal plates with microfiber and inspect RGB diffusers for dust accumulation.
Model-Specific Cleaning Guide

Applying universal methods to specialized switches causes failures. Razer’s optical and mecha-membrane designs require unique approaches.
BlackWidow Mechanical Series
- Remove wrist rest for separate cleaning
- Clean stabilizer wires with dental floss to eliminate squeaks
- Check switch LEDs for debris while keycaps are off
- Lubricate stabilizers with dielectric grease if sticky
Huntsman Optical Series
- Avoid liquids near sensors—dry methods only
- Clean keycap stems thoroughly for smooth optical operation
- Inspect sensors with flashlight for dust obstructions
- Never use compressed air directly on sensor housings
Ornata Mecha-Membrane
- Clean membrane layer with light pressure only
- Check for punctures in rubber domes during cleaning
- Clean keycap clips that attach to membrane base
- Verify spring action by testing key return speed
Emergency Spill Response
Acting within 5 minutes saves 90% of spilled keyboards. Delaying beyond 2 hours drops recovery success by 50% due to sugar crystallization in sticky spills.
First 5 Minutes Critical Actions
- Unplug immediately (wireless: remove batteries)
- Turn keyboard upside down to drain liquid
- Blot (don’t rub) visible residue with microfiber
- Do NOT press keys—prevents liquid penetration
- Remove keycaps over affected area within 30 minutes
Sticky Spill Recovery
For soda/coffee spills, rinse affected areas with 50/50 water-alcohol solution using cotton swabs. Clean PCB contacts with 90% alcohol, then allow 48-72 hours drying time. Test functionality before reassembly—rushing causes short circuits.
Post-Cleaning Troubleshooting

Most “broken keyboard” issues post-cleaning stem from moisture or misseating. Diagnose systematically before assuming hardware failure.
Keys Not Responding
- Air dry additional 24 hours—residual moisture is the #1 cause
- Pull and reseat keycap to ensure proper switch contact
- Test different USB port to rule out connection issues
- Reset Synapse to factory defaults to clear software glitches
Sticky Key Feel
- Re-clean with pure alcohol to dissolve soap residue
- Check stabilizer wire positioning—misalignment causes drag
- Apply switch lubricant sparingly only to housing rails
- Verify no debris in switch stem channels
Maintenance Schedule That Works
Consistent care prevents 95% of keyboard failures. Match routines to your usage intensity—competitive gamers need weekly attention while casual users can stretch intervals.
Daily Habits (30 seconds)
- Quick compressed air dusting
- Hand washing before sessions
- No food/drink near keyboard
- Wipe palm rest with microfiber
Monthly Deep Clean (45 minutes)
- Full keycap removal and cleaning
- Base switch housing inspection
- Cable integrity check
- Synapse software update
Final Takeaway
Your Razer keyboard will deliver 5+ years of peak performance with disciplined cleaning habits. Monthly deep cleans prevent the grime buildup that causes unresponsive keys and RGB failures. Always address spills within 5 minutes using the emergency protocol—this single step saves most $150+ replacements. Start today with the 60-second dust removal routine, then schedule your first keycap removal session this weekend. The minor time investment preserves your gaming edge and avoids costly replacements. Ready to restore that crisp mechanical feel? Grab your compressed air can and microfiber cloth now—your WASD cluster will thank you.