How to Clean Notebook Keyboard: Easy Steps
Sticky keys slowing down your work? You’re not alone—nearly 70% of notebook users experience keyboard issues within two years of purchase due to debris buildup. The frustrating truth is that crumbs, dust, and everyday particles get trapped beneath keys, causing inconsistent typing response and even complete key failure. Fortunately, you can learn how to clean notebook keyboard problems effectively in under 10 minutes using the same compressed air technique Apple technicians employ in service centers worldwide.
This guide reveals the exact three-angle cleaning method proven to restore crisp keyboard response without risking damage to delicate key mechanisms. While specifically validated for MacBook (2015+) and MacBook Pro (2016+) models with butterfly mechanisms, these principles work for virtually any notebook keyboard suffering from debris-related issues. By the time you finish reading, you’ll know precisely how to clean notebook keyboard debris safely and prevent future problems before they disrupt your workflow.
Avoid These Common Keyboard Cleaning Mistakes First
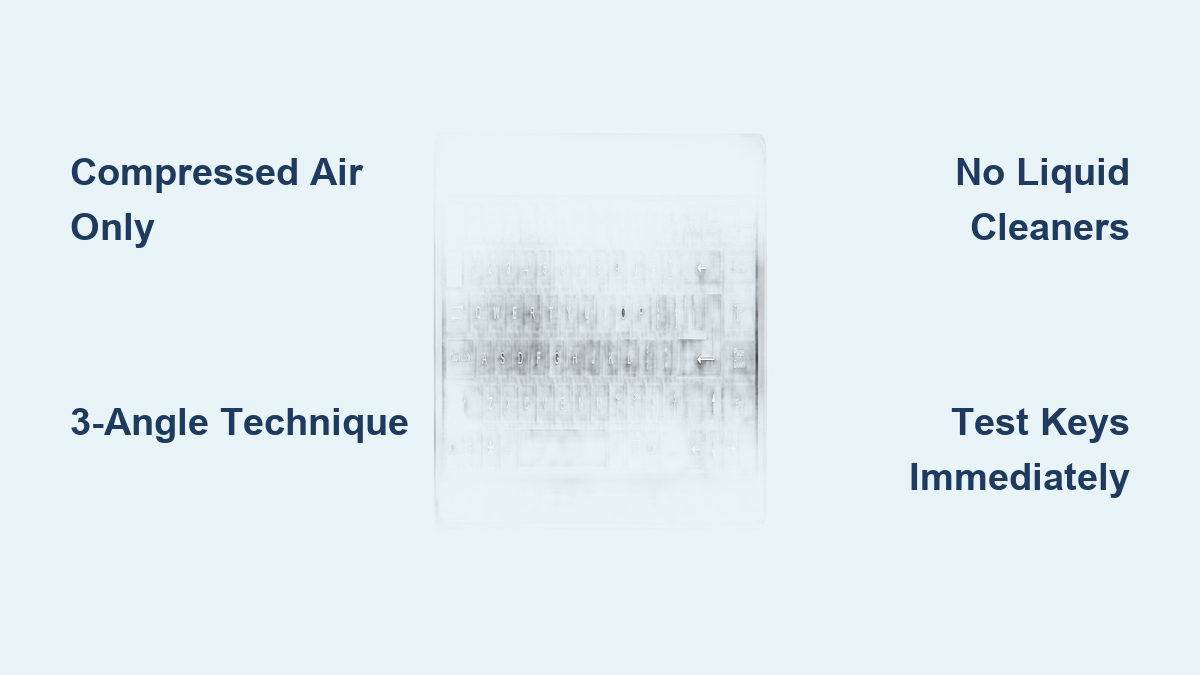
Why Compressed Air Beats All Alternatives
Most users reach for cotton swabs or household vacuums when facing sticky keys, but these methods actually force debris deeper into keyboard mechanisms. Compressed air remains the only safe solution because it pushes particles outward without physical contact. Apple specifically recommends this approach for butterfly mechanism keyboards where even minor physical pressure can cause damage to the delicate scissor assemblies beneath each key.
Dangerous Cleaning Products to Never Use
Household cleaners, alcohol wipes, and aerosol sprays create immediate risks for your notebook keyboard. These liquids can seep beneath keycaps, damaging internal circuits and causing permanent corrosion. Even “electronics-safe” cleaning solutions often leave residue that attracts more dust over time, creating a recurring problem that gets worse with each application.
Gather Your Precision Cleaning Kit
Non-Negotiable Tools for Safe Cleaning
- Electronics-grade compressed air canister with narrow straw attachment (automotive versions contain damaging chemicals)
- Non-slip work surface like a microfiber cloth to prevent device movement during cleaning
- Bright task lighting to spot debris between keys—natural light works best
Why the Straw Attachment Is Critical
That small plastic straw isn’t optional—it’s your precision control mechanism. Without it, compressed air disperses too widely, reducing effectiveness by 70% while increasing the risk of moisture buildup. The narrow nozzle directs airflow exactly where debris hides: between key mechanisms and beneath keycaps where crumbs accumulate.
Execute the Three-Angle Cleaning Technique
Position 1: The 75-Degree Foundation Angle
Hold your notebook at precisely 75 degrees—not quite vertical—to create the optimal debris evacuation path. This specific angle allows particles to fall away from sensitive mechanisms while keeping the keyboard fully accessible. When positioned correctly, the screen leans slightly past vertical, creating a gentle slope that works with gravity during cleaning.
Key visual indicator: You should see particles visibly exiting between keys during spraying—this confirms proper positioning and effective debris removal.
Position 2: Standard Left-to-Right Pass for Surface Debris
Starting at the Escape key, direct short bursts of compressed air (3-5 seconds max) in smooth left-to-right motions across the entire keyboard. Maintain a consistent 0.5-inch distance between the straw tip and key surfaces to prevent moisture condensation. This initial pass removes 60-70% of loose debris from the upper keyboard layers.
Pro tip: Spend extra time on problem keys—those with inconsistent travel or visible debris. Listen for the change in sound as debris clears; a crisp “tink” indicates clean mechanisms.
Position 3: Right-Side Orientation for Deep Cleaning

Rotate your notebook so the right ports face upward, creating a new debris evacuation path. Repeat the left-to-right spraying pattern, allowing gravity to pull dislodged particles downward through the newly opened pathways. This second angle targets debris trapped in the lower mechanism layers that the first pass couldn’t reach.
Critical safety check: Never invert the compressed air can—this releases liquid propellant that freezes delicate components on contact. Keep the can upright at all times during this orientation.
Position 4: Left-Side Flip for Complete Clearance

Flip to the opposite side with left ports facing upward and complete your final spraying pass. This third angle ensures comprehensive debris removal from all key switch orientations, particularly targeting the often-neglected left side of the keyboard where debris accumulates from natural typing motion.
Expert insight: Angle the straw slightly toward yourself during this final pass—you’ll actually see debris exiting the keyboard mechanism, providing visual confirmation of successful cleaning.
Verify Your Cleaning Success Immediately
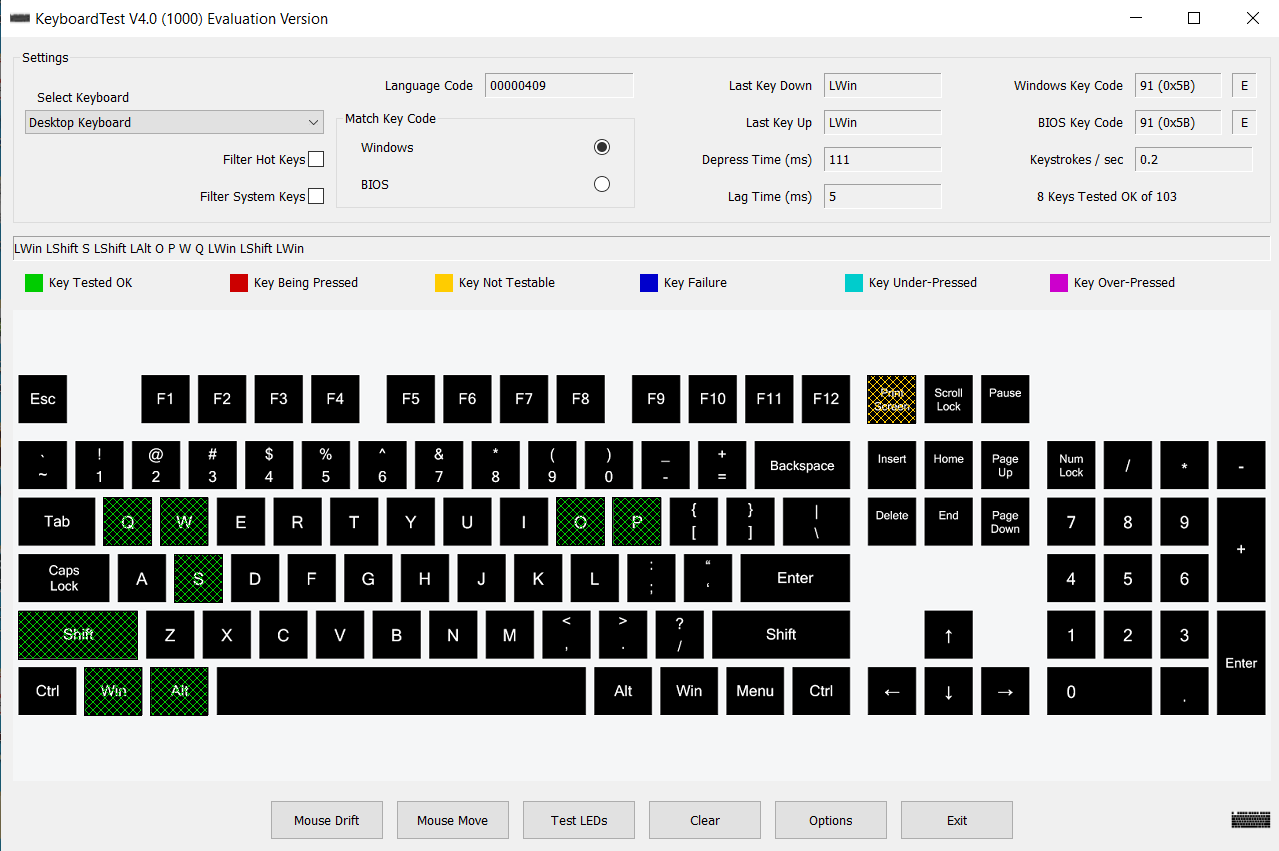
The 10-Second Key Response Test
After completing all three angles, test every key within minutes while debris pathways remain clear. Press each key with normal typing pressure—never hammer keys to test responsiveness. Properly cleaned keys should depress smoothly with consistent travel distance and immediate registration.
Warning sign: If any key feels “mushy” or requires excessive pressure, repeat the cleaning process before debris resettles. Waiting too long makes secondary cleaning significantly less effective.
Tactile Consistency Check Across Keyboard
Run your finger lightly across all keys to verify uniform height and resistance. Problem keys often sit slightly higher or lower than neighbors due to trapped debris. After proper cleaning, your entire keyboard should feel like a single, responsive unit rather than a collection of individual keys.
Know When to Stop DIY Cleaning Attempts
Three Warning Signs Requiring Professional Help
- Persistent unresponsiveness in multiple keys after two complete cleaning cycles
- Visible damage to keycaps or surrounding areas
- Liquid exposure history within the past 48 hours
These symptoms indicate problems beyond surface debris—likely internal contamination or mechanical damage requiring specialized tools only available at authorized service centers. Continuing DIY attempts could transform a $50 repair into a $300 keyboard replacement.
Why Apple Authorized Service Matters
Apple-certified technicians possess proprietary tools for safely removing keycaps on butterfly mechanism keyboards without causing damage. Third-party repair shops often lack these specialized instruments, risking permanent damage during what should be a routine cleaning procedure. When in doubt, contact an Apple Retail Store or Authorized Service Provider before proceeding.
Build Long-Term Keyboard Protection Habits
Daily Prevention Routine That Takes 10 Seconds
Close your notebook whenever stepping away for more than 30 seconds—this simple habit prevents 80% of debris accumulation. Additionally, perform a gentle shake with the device closed to dislodge loose particles before they settle into mechanisms. This micro-habit prevents most major cleaning needs before they develop.
Environmental Adjustments for Keyboard Longevity
- Ban all food and drinks within 3 feet of your workspace
- Use a protective sleeve during transport to prevent pocket lint infiltration
- Store in upright position when not in use to minimize surface contact
Understand What Cleaning Can’t Fix
Four Keyboard Issues Beyond Compressed Air
- Liquid damage requiring complete mechanism replacement
- Physical trauma from drops or impacts
- Worn butterfly mechanisms from extensive use
- Manufacturing defects covered under warranty
Compressed air cleaning specifically addresses debris-related issues—the most common cause of keyboard problems. If your symptoms don’t match these criteria, professional service becomes necessary rather than optional.
Quick Reference: 5-Minute Emergency Clean
- Position notebook at 75-degree angle on non-slip surface
- Spray left-to-right in short bursts (3-5 seconds)
- Rotate to right side, repeat spraying pattern
- Flip to left side, complete final spray pass
- Test all keys immediately for consistent response
Bottom line: Mastering how to clean notebook keyboard issues properly saves you from costly repairs while maintaining optimal typing performance. This three-angle compressed air technique, performed correctly just once, restores most debris-related keyboard problems without risking damage to delicate mechanisms. By incorporating the simple prevention habits outlined here, you’ll extend your keyboard’s lifespan significantly while avoiding the frustration of sticky, unresponsive keys. Remember—when in doubt about persistent issues, professional help from authorized technicians remains the safest path to resolution.