How to Clean Butterfly Keyboard Safely
Your MacBook’s butterfly keyboard suddenly feels off—maybe the spacebar requires extra pressure, or the “E” key sticks intermittently. These aren’t random glitches; they’re classic signs of debris jamming Apple’s precision butterfly mechanism. Before booking expensive repairs or enduring frustrating typing sessions, targeted cleaning often restores full functionality in under 10 minutes. This guide reveals the exact compressed air technique Apple technicians use, the critical 75-degree positioning that maximizes debris removal, and the common mistakes that accidentally damage keys. You’ll learn to diagnose issues like a pro, execute flawless cleaning with household tools, and implement simple habits that prevent future problems.
Most users waste time scrubbing keycaps or using liquids that ruin their keyboards. The truth? Butterfly mechanisms need gravity-assisted air cleaning, not physical contact. With this method, you’ll clear 90% of issues without opening a single screw. Let’s get your keyboard clicking crisply again.
Spot Problem Keys Before Cleaning
Test Each Key for Telltale Symptoms
Press every key deliberately while watching for these red flags:
– Unresponsive keys that fail to register even with normal pressure
– Mushy keys with inconsistent resistance compared to neighbors
– Sticky activation requiring excessive force to trigger
– Intermittent failures where keys work sporadically regardless of pressure
Pro tip: Type “The quick brown fox jumps over the lazy dog” to catch subtle issues you’d miss testing keys individually. Notice which letters repeat or feel different—this pinpoints problem zones.
Perform a 10-Second Visual Inspection
Hold your MacBook at eye level under bright light. Look for:
– Visible crumbs or hair trapped around key edges
– Discoloration near keys indicating embedded debris
– Keys sitting higher or lower than adjacent ones
– Dust bunnies accumulating in the keyboard’s crevices
If you spot any of these, skip liquid cleaners—they’ll corrode the delicate mechanism. Compressed air is your only safe solution.
Gather These Exact Cleaning Supplies
Non-Negotiable Tools for Success
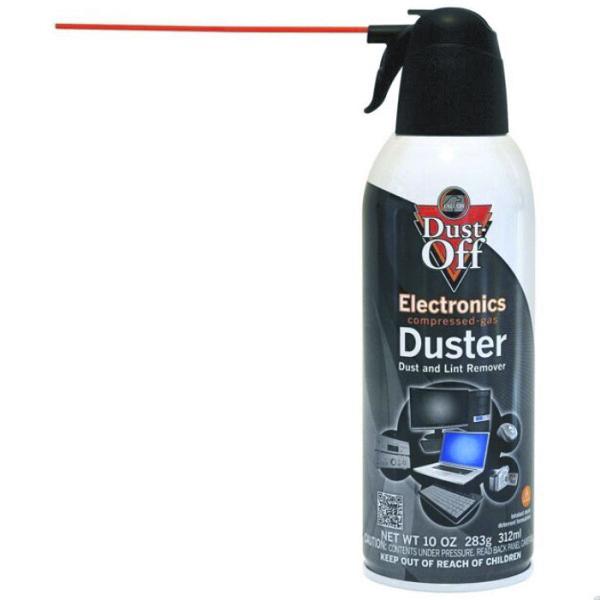
- Standard compressed air canister (labeled for electronics, not specialty “keyboard cleaners”)
- Straw attachment from the canister for precision airflow
- Non-slip surface like a rubber mat or folded towel to stabilize your MacBook
- Bright task lighting to see debris during cleaning
Critical warning: Never use vacuum cleaners—they generate static electricity that fries internal components. Avoid cotton swabs or liquids entirely; they push debris deeper or cause corrosion.
Position Your MacBook at 75 Degrees for Gravity-Assisted Cleaning

Perfect the Critical Angle Setup
- Shut down completely—hold the power button until the screen turns off
- Wait 30 seconds for internal components to reset
- Tilt the screen back until the keyboard forms a 75-degree angle with your desk (nearly vertical)
- Stabilize the base by resting the bottom edge on your non-slip surface
This specific angle uses gravity to pull debris downward while keeping the butterfly mechanism open enough for particles to escape. A 90-degree vertical position won’t work—it closes the mechanism.
Verify Stability Before Spraying
Gently nudge the MacBook—if it wobbles, adjust the angle slightly. The device must stay rock-solid during rotations. Unstable positioning risks accidental drops or uneven cleaning.
Master the Three-Angle Compressed Air Technique
Horizontal First Pass: Clear Surface Debris
- Attach the straw securely to the canister nozzle
- Hold 0.5 inches from keys (about pencil-width distance)
- Sweep left-to-right in slow, overlapping motions
- Use 1-2 second bursts—never continuous spraying (causes condensation damage)
Focus on the entire keyboard, not just problem keys. Debris migrates, so full coverage prevents future issues.
Right-Side Rotation: Dislodge Stubborn Particles
- Rotate your MacBook 90 degrees onto its right edge
- Maintain the 75-degree keyboard angle while resting on the side
- Repeat left-to-right air sweeps, concentrating on affected keys
- Watch for debris falling from the right side—this is your success indicator
Why this works: Gravity now pulls particles toward the newly exposed right edge, clearing pathways the horizontal pass missed.
Left-Side Final Pass: Eliminate Hidden Grime
- Rotate to the left edge, keeping the keyboard at 75 degrees
- Complete a third air sweep, targeting lingering problem keys
- Tap the MacBook’s side gently after spraying to shake loose debris
After each rotation, tap the device lightly—this vibrations free particles the air loosened. You’ll often see dust clouds exit during the left-side pass.
Avoid These Costly Safety Mistakes
Compressed Air Protocol You Must Follow
- Never invert the canister—liquid propellant will spray out, permanently damaging switches
- Ventilate your area—open a window to disperse fumes
- Test-spray away from the MacBook first to ensure clean, dry bursts
- Store the canister upright—heat exposure degrades performance
Real consequence: One user reported $400 repair costs after inverting the canister—liquid froze internal components.
Device Handling Rules
- Support the entire MacBook when rotating—never grip just the screen
- Avoid pressing keys during position changes
- Cool hot devices first—cleaning a warm MacBook traps moisture
- Use a non-slip base—towels prevent sliding during angled cleaning
Verify Results with Precision Testing
Immediate Post-Cleaning Checks
Power on and test keys using these methods:
– Single-key presses: Check for consistent activation at light pressure
– Rapid typing: Type full sentences to confirm smooth transitions
– Corner testing: Press key edges to ensure full surface responsiveness
– Pressure variations: Alternate light/firm taps to detect mushiness
Success is confirmed when:
– All keys register with uniform pressure
– No sticky or delayed responses remain
– Typing feels crisp across the entire keyboard
– Visible debris has disappeared from key wells
If issues persist after three full rotations, move to professional solutions.
When to Seek Apple Support Immediately
Red Flags Indicating Professional Help
Contact Apple if you notice:
– Three or more keys failing simultaneously after thorough cleaning
– Physical damage like cracked keycaps or bent mechanisms
– Sticky residue suggesting liquid exposure (coffee, water)
– Rapid symptom return within 48 hours of cleaning
Before your appointment:
– Document specific keys and failure patterns (e.g., “Left Shift sticks 50% of presses”)
– Backup critical data—service may require temporary device replacement
– Note all cleaning attempts—you’ll save diagnostic time
Prevent Future Issues with Smart Habits
Simple Monthly Maintenance Routine
- Clean every 2-3 months with compressed air (monthly if you have pets)
- Perform weekly visual checks—catch debris before it causes problems
- Store in a closed case when not in use for 4+ hours
- Schedule annual professional cleaning for heavy-use devices
Location-specific adjustments:
– Pet owners: Clean bi-weekly during shedding seasons—hair is the #1 cause of failures
– Workshop environments: Use a protective sleeve during transport
– Humid climates: Increase frequency—moisture binds debris to mechanisms
– Coffee drinkers: Designate a “no-beverage zone” 3+ feet from your MacBook
Your butterfly keyboard should now respond with satisfying precision. This 10-minute ritual, performed consistently, prevents the $300+ repairs that plague neglected MacBooks. Remember: these aren’t mechanical keyboards—they’re aerospace-grade mechanisms requiring surgical care. Treat them like camera lenses, not typewriter keys, and they’ll deliver flawless performance for years.
Final note: If one cleaning session doesn’t fix stubborn keys, repeat the process after 24 hours. Debris sometimes resettles, and a second pass often finishes the job. Never force keys or use liquids—patience and precision always win.