How to Clean Bluetooth Keyboard: Quick Guide
Sticky keys, crumbs trapped between letters, and unresponsive buttons transform your sleek Bluetooth keyboard into a frustrating typing obstacle course. That satisfying click you once enjoyed now feels muffled as dust, food particles, and skin oils gradually accumulate beneath and around each key. The worst part? Many users accidentally destroy their wireless keyboards during cleaning attempts by using improper techniques or materials that seem harmless but wreak havoc on delicate electronics.
You don’t need expensive equipment or technical expertise to restore your Bluetooth keyboard’s performance. This comprehensive guide reveals the exact cleaning protocol used by professional technicians—one that safely removes stubborn debris without exposing your device to water damage or voiding your warranty. By following these proven methods, you’ll extend your keyboard’s lifespan while maintaining the crisp responsiveness you paid for.
Gather the Right Cleaning Tools Before You Begin

Using inappropriate cleaning materials causes more keyboard damage than everyday wear and tear. Before attempting any cleaning procedure, assemble these specific supplies that won’t compromise your keyboard’s electronic components.
Approved Cleaning Materials That Won’t Harm Your Device
Collect these essential items that effectively clean without causing damage:
– 70% isopropyl alcohol – the perfect concentration for electronics cleaning (higher concentrations evaporate too quickly)
– Three clean microfiber cloths – lint-free and gentle on key surfaces
– Compressed air canister with precision straw – for dislodging debris from tight spaces
– Natural cotton swabs – synthetic varieties can leave behind damaging residues
– Unused soft-bristle toothbrush – ideal for gentle scrubbing between keys
– Small mixing bowl – for creating safe cleaning solutions
Dangerous Cleaning Products That Destroy Keyboards
Avoid these common household items that seem helpful but actually damage your Bluetooth keyboard:
– Pre-moistened cleaning wipes – contain moisturizers that create sticky residue
– Paper towels or tissues – scratch keycaps and leave fibers in crevices
– All-purpose cleaners – leave conductive films that interfere with electronics
– Vacuum cleaners – generate static electricity that fries circuit boards
– Excessive liquid – seeps into internal components causing permanent damage
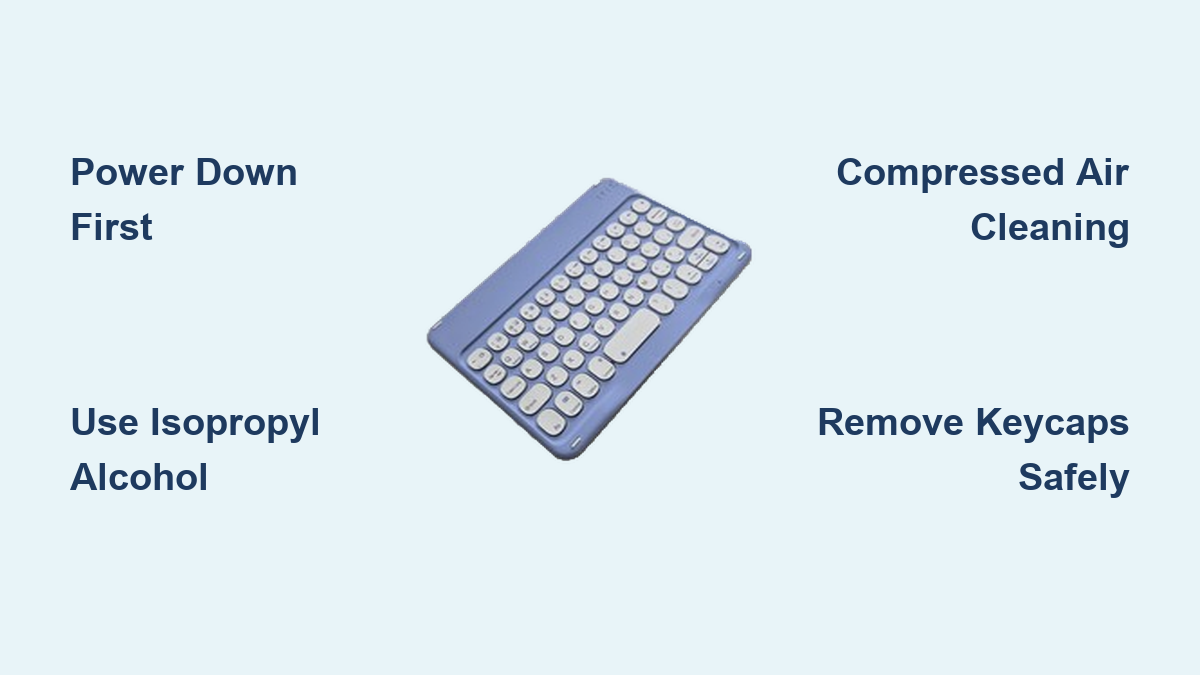
Properly Power Down Your Keyboard Before Cleaning
Attempting to clean a powered-on Bluetooth keyboard creates significant risks that most users overlook. This single mistake accounts for nearly all cleaning-related keyboard failures, as residual power can cause short circuits when moisture is introduced.
Critical Safety Precautions You Must Follow
Complete these steps before touching any cleaning supplies:
1. Locate and activate the physical power switch – typically found on the side or back edge
2. Remove all batteries – if your model uses replaceable power sources
3. Disconnect the Bluetooth pairing from all devices to prevent accidental keystrokes
4. Allow five minutes for internal capacitors to fully discharge
Expert note: Photograph your keyboard layout before removing any keycaps, especially on compact models where symbols appear in unexpected locations after reassembly.
Daily Cleaning Habits That Prevent Major Buildup
Investing just one minute each day prevents the need for intensive cleaning sessions that risk damaging your keyboard. These simple maintenance routines keep your device functioning optimally between deeper cleaning sessions.
Effective Daily Debris Removal Technique
Implement this quick routine daily:
– Hold your keyboard upside down over a wastebasket
– Gently tap the back panel with your palm to dislodge loose particles
– Rotate the keyboard 180 degrees and repeat the tapping motion
– Focus extra attention on the spacebar area where crumbs accumulate most
Surface Cleaning Method for Daily Maintenance
Keep key surfaces clean with this efficient process:
– Lightly dampen a microfiber cloth with isopropyl alcohol (never spray directly)
– Wipe keys in straight, uniform strokes to avoid spreading grime
– Immediately follow with a dry cloth to prevent streaking
– Pay special attention to palm rest areas where skin oils create slippery buildup
Deep Cleaning Between Keys for Stubborn Debris
When shaking and surface wiping no longer resolves sticky keys, it’s time for more thorough cleaning between the keys themselves. This targeted approach removes the debris that daily maintenance can’t reach.
Initial Debris Removal Process
Begin with these non-invasive techniques:
– Position your keyboard at a 75-degree angle over a sink or trash can
– Use short, controlled bursts of compressed air (2 seconds maximum)
– Direct airflow between keys from multiple angles to dislodge trapped particles
– Work methodically from top-left to bottom-right to ensure complete coverage
Targeted Cleaning for Individual Keys
For persistent grime between specific keys:
– Wrap a small cloth section around a flat tool like a plastic spudger
– Lightly moisten only the cloth portion with alcohol
– Slide gently between keys applying minimal pressure
– Frequently rotate to clean cloth sections to prevent redistributing dirt
Handling Extreme Buildup Situations
For keys that remain sticky after initial cleaning:
– Use a cotton swab lightly dampened with alcohol solution
– Roll the swab against key edges rather than scrubbing
– Concentrate on less-touched areas where debris accumulates unnoticed
– Follow with a dry swab to absorb loosened contaminants
When and How to Remove Keycaps Safely

Some Bluetooth keyboards allow safe keycap removal while others will be permanently damaged by this process. Knowing the difference prevents costly mistakes during deep cleaning.
Identifying Keyboards Suitable for Keycap Removal
Generally safe for removal:
– Mechanical keyboards featuring Cherry MX-style switches
– Keychron, Logitech MX series, and similar models designed for keycap replacement
– Any keyboard with visible switch housings between keys
Never attempt removal on:
– Apple Magic Keyboard (2015 models and newer)
– Keyboards with scissor-switch mechanisms like most laptops
– Membrane keyboards with sealed key surfaces
Correct Keycap Removal Technique
If your keyboard allows keycap removal:
– Use a proper keycap puller or carefully bent paperclips as alternatives
– Apply even upward pressure – never twist or angle during removal
– Start from the corners and work toward the center of larger keys
– Place removed keys on a clean towel in their original layout pattern
Emergency Response for Liquid Spills
Accidental spills require immediate, specific actions that vary depending on the liquid type. Knowing the correct response prevents permanent damage to your Bluetooth keyboard.
Water Spill Recovery Protocol
For plain water accidents:
– Power off immediately and remove batteries if possible
– Flip the keyboard upside down onto an absorbent towel
– Remove battery compartment covers to facilitate drying
– Allow 48-72 hours of complete air drying before attempting power-on
– Test functionality gradually before reconnecting to devices
Sticky Liquid Spill Response
For sugary drinks or other sticky substances:
– Rinse with distilled water only if manufacturer specifies water resistance
– Use a 50/50 alcohol-water solution for thorough cleaning
– Remove keycaps immediately if your model allows it
– Consider professional repair or replacement if liquid penetrated internal components
Effective Sanitizing Without Compromising Functionality
Regular sanitizing maintains hygiene without the risks associated with deep cleaning sessions. These methods kill germs while preserving your keyboard’s electronic integrity.
Proper Sanitizing Technique
Follow these steps for safe disinfection:
– Mix equal parts isopropyl alcohol and distilled water in your small bowl
– Apply solution only to your cloth – never directly onto the keyboard
– Focus on high-contact areas including spacebar, enter key, and arrow keys
– Immediately dry with a second clean cloth to prevent moisture damage
Reassembly and Post-Cleaning Verification

After completing your cleaning process, proper reassembly and testing ensures your keyboard functions correctly and prevents future issues.
Strategic Keycap Replacement Order
Reinstall keys systematically:
– Begin with the largest keys (spacebar, shift, enter) as they’re most complex
– Work through keys alphabetically to maintain organization
– Apply firm, even pressure until you feel the key snap into place
– Test each key immediately after installation to verify proper seating
Comprehensive Functionality Testing
Before declaring your cleaning complete:
– Reconnect to your device and complete Bluetooth pairing if necessary
– Open a text document and press every key to confirm responsiveness
– Verify special function keys (volume, brightness, etc.) operate correctly
– Test wireless range to ensure cleaning didn’t affect Bluetooth performance
Preventative Maintenance to Reduce Future Cleaning Needs
Implementing these simple habits dramatically reduces how often you’ll need intensive cleaning sessions, protecting your investment and maintaining optimal performance.
Daily Prevention Strategies
Adopt these quick routines:
– Wash hands before extended typing sessions to minimize oil transfer
– Maintain at least six inches of separation between beverages and your keyboard
– Use a silicone cover during meals if you eat while working
– Store in a protective case when transporting your keyboard
Weekly Maintenance Schedule
For optimal performance:
– Monday: Perform quick debris shake and surface wipe
– Wednesday: Use compressed air between keys
– Friday: Alcohol wipe of palm rest and most-used keys
– Sunday: Conduct visual inspection for developing issues
Troubleshooting Common Post-Cleaning Issues
If problems emerge after cleaning, these solutions resolve most issues without requiring professional repair.
Unresponsive Keys After Cleaning
Address keys that don’t register input:
– Check for residual moisture beneath keycaps (allow additional drying time)
– Verify proper keycap alignment isn’t restricting switch movement
– Test connectivity with an alternative device to isolate the problem
– Reset Bluetooth pairing through your device’s settings menu
Persistent Sticky Key Problems
For keys that remain sticky after cleaning:
– Repeat alcohol cleaning with increased focus on problematic areas
– Remove keycap for direct access to the switch mechanism
– Check for cleaning residue that might be causing the stickiness
– Consider switch replacement if you own a mechanical keyboard model
Final Tip: Consistent light maintenance prevents the need for risky deep cleaning sessions. By incorporating these quick daily habits and scheduled deeper cleans, your Bluetooth keyboard will maintain its responsiveness and appearance for years. Remember: when cleaning electronics, less moisture is always better—patience and proper technique yield the best results without damaging your device.