Chamberlain Keypad Blinking Not Working? Fix It Fast
Your Chamberlain garage door keypad suddenly starts blinking erratically and refuses to respond—leaving you stranded outside your garage. This frustrating scenario affects thousands of homeowners every day, often occurring at the most inconvenient moments. The blinking light pattern is actually your keypad trying to communicate what’s wrong, but without understanding these signals, you’re left guessing about the solution. The good news is that most Chamberlain keypad blinking issues can be resolved with straightforward troubleshooting steps you can complete in under 15 minutes.
Unlike calling for professional help that might take days to schedule, these DIY fixes get you back in control immediately. You’ll learn exactly what those blinking patterns mean, which solutions work most effectively, and when it’s truly time to seek professional assistance. No more fumbling with remotes or climbing through windows—let’s get your keypad functioning properly again.
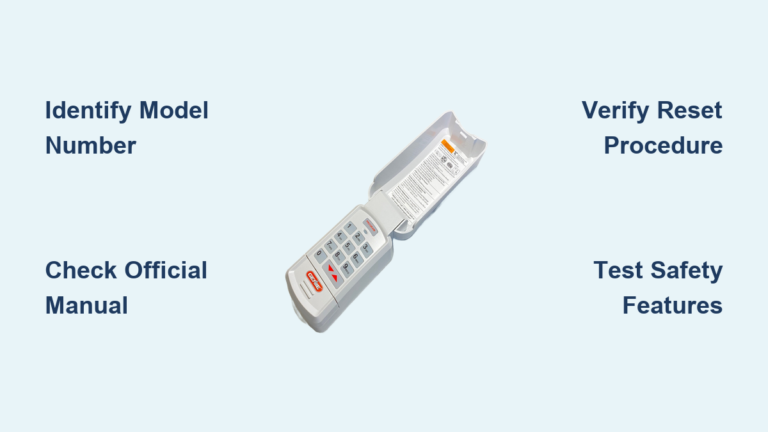
Identify Your Specific Blinking Light Pattern
Chamberlain keypads use specific blinking sequences as diagnostic tools, each pattern indicating a different underlying issue. Recognizing your exact light behavior is critical for applying the correct fix rather than wasting time on irrelevant solutions.
Rapid Red Flashes Signal Communication Breakdown
When your Chamberlain keypad emits fast, continuous red blinks, this almost always indicates a communication failure between the keypad and your garage door opener motor unit. This commonly happens after power outages when the opener’s memory resets, or when radio frequency interference disrupts the signal path. The keypad is essentially trying to talk to the opener, but the opener isn’t listening properly. Before proceeding with complex fixes, check if anything metallic has been placed near the opener unit that might be blocking signal transmission.
Steady Orange Pulse Points to Power Problems
A slow, rhythmic orange blink typically means your keypad has sufficient battery power to illuminate but not enough to transmit signals effectively. Many homeowners mistake this for a complete failure when it’s actually a simple battery issue. Test this theory by pressing multiple buttons firmly—if the light dims significantly with each press, you’ve confirmed weak power. Don’t be fooled by a keypad that lights up but doesn’t operate the door; this is the classic sign of a battery that’s on its last legs.
Alternating Red and Blue Flashing Indicates Frequency Conflict
When your keypad cycles between red and blue lights in a regular pattern, this signals either radio frequency interference from nearby electronics or a mismatch between your keypad and opener frequencies. Common culprits include new Wi-Fi routers, baby monitors, or smart home devices operating on similar frequencies. This pattern often appears suddenly after installing new electronics in your home. The keypad is essentially saying, “I’m trying to connect, but something’s jamming my signal.”
Execute These Three Immediate Checks

Before investing time in complex repairs, perform these three diagnostic steps that resolve approximately 80% of blinking keypad issues without requiring any tools or technical expertise.
Verify Battery Voltage with Precision
Remove the keypad cover using a small flathead screwdriver and test the 9V battery with a multimeter. Set your multimeter to DC voltage and touch the probes to the battery terminals—red to positive, black to negative. A healthy battery should read between 9.0-9.5V. Anything below 7.5V indicates insufficient power to operate the keypad properly, even if the light still illuminates. Don’t rely on visual inspection alone; a battery can look fine while providing inadequate voltage.
Confirm Opener Power Supply Integrity
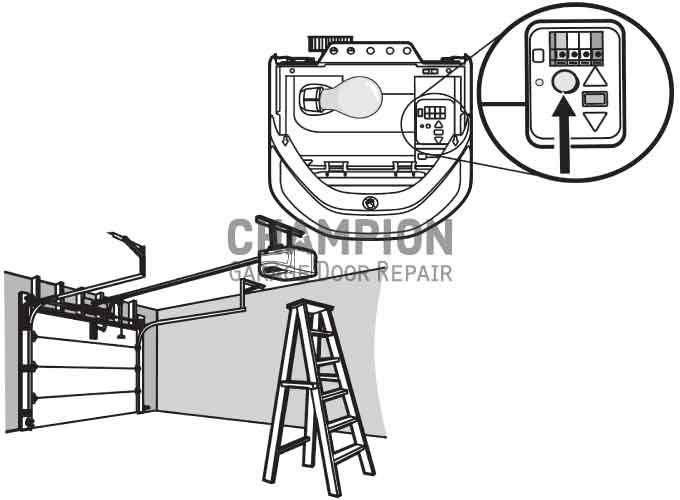
Check your garage door opener unit for steady LED illumination. No lights? Head to your electrical panel and verify the circuit breaker hasn’t tripped. If the breaker is fine but the opener remains dark, check the outlet with another device to confirm power availability. A common mistake is assuming the keypad is faulty when actually the entire opener system lacks power. Test your handheld remote—if it operates the door, your opener has power and the issue is isolated to the keypad.
Test Wireless Signal Transmission
Press and hold any button on your keypad for 5 full seconds. Watch the opener motor unit’s LED light—does it flash in response? If yes, your keypad is transmitting but the opener isn’t executing the command, pointing to programming issues. If there’s no response from the opener, either the keypad isn’t transmitting properly or severe interference is blocking the signal. This simple test eliminates guesswork about where the failure point exists.
Perform a Complete Keypad Reset Procedure
When blinking persists after basic checks, a full reset clears corrupted memory and establishes a clean connection between your keypad and opener—a solution that fixes most communication errors.
Execute Proper Factory Reset Sequence
Press and hold both the * and # keys simultaneously for exactly 6 seconds—use a timer as going too short or too long affects results. Release when the keypad light completely extinguishes, then wait precisely 10 seconds for the system to reboot. The single blink that follows confirms successful reset. Rushing this process by testing too soon is a common mistake that leads users to believe the reset failed when they simply didn’t allow enough reset time.
Reprogram Your Access Code Correctly
Immediately after resetting, reprogram your access code following these precise steps: First, locate and press the “Learn” button on your opener motor unit (usually under a small LED light). Within the critical 30-second window, enter your desired 4-digit code on the keypad, then press and hold the “Enter” button until the opener light flashes rapidly. Test the code twice before walking away—many users think programming succeeded only to discover later it didn’t take due to timing issues.
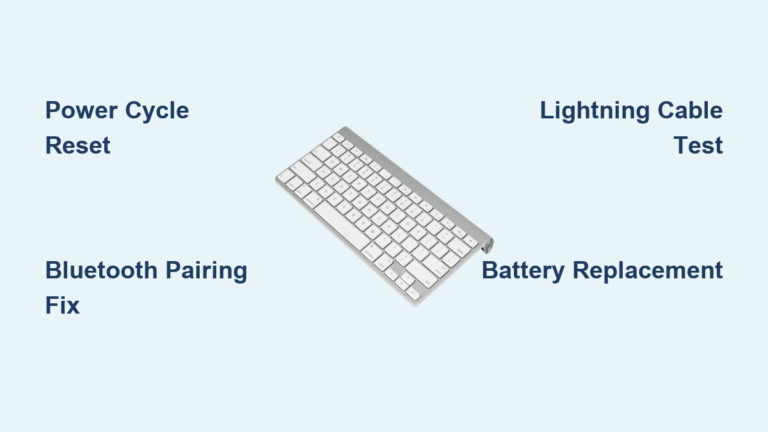
Replace Batteries with Professional Technique
Improper battery installation causes recurring blinking issues that seem to defy explanation. Follow these professional-grade replacement steps to eliminate power-related problems permanently.
Access Battery Compartment Without Damage
Most Chamberlain keypads feature a slide-down cover mechanism—never force it upward. If your model uses screws, use a precision screwdriver to avoid stripping the small fasteners. Some newer models have magnetic covers that require gently prying from the bottom edge. Damaging the cover during battery access creates moisture entry points that lead to future electrical issues.
Select and Install Battery Properly
Use only premium alkaline 9V batteries—rechargeable alternatives provide inconsistent voltage that triggers blinking behavior. Before inserting, clean the battery contacts with a cotton swab and rubbing alcohol to remove corrosion. Align the + and – terminals precisely; even slight misalignment causes intermittent connections. After installation, press any button firmly to “wake” the keypad’s circuitry, then immediately test functionality before reattaching the cover.
Resolve Programming and Interference Issues
When blinking continues after resets and battery replacement, these advanced solutions address persistent communication problems between your keypad and opener.
Clear All Stored Codes Thoroughly
Press and hold your opener’s “Learn” button for 6 full seconds until the LED turns off completely—this erases all programmed devices, not just the keypad. Many users stop too soon, leaving residual programming that conflicts with new setups. After clearing, wait 15 seconds before attempting reprogramming to allow the opener’s memory to fully refresh. This step is crucial if you’ve recently added or removed other wireless devices.
Eliminate Radio Frequency Interference
Systematically unplug potential interference sources: Wi-Fi routers, baby monitors, and Bluetooth speakers. Test keypad function after removing each device. If the blinking stops when a particular device is unplugged, you’ve found your culprit. For persistent interference, install a ferrite core on the opener’s power cord or relocate interfering devices at least 10 feet from your garage door system. Never assume newer electronics won’t affect your garage door system—they often operate on overlapping frequencies.
Recognize When to Seek Professional Assistance
Some blinking patterns indicate hardware failures beyond DIY repair capabilities. Knowing these warning signs prevents wasted effort and potential safety risks.
Identify Internal Circuit Damage
If your keypad shows absolutely no illumination after battery replacement and proper installation, the internal circuit board has likely failed. This typically follows electrical surges during storms or accidental water exposure. Unlike battery issues where the light appears dim, complete darkness indicates permanent damage requiring keypad replacement. Don’t attempt to open the keypad housing beyond battery access—this usually voids any remaining warranty.
Detect Opener Receiver Failure
When all wireless controls (keypad, remotes, smartphone app) fail simultaneously while manual operation works, your opener’s radio receiver has likely failed. This component requires opener unit replacement or professional repair. Continuing to troubleshoot individual devices wastes time when the central receiver is the actual problem. Check if your opener model is still under Chamberlain’s 1-year warranty before paying for repairs.
Implement Preventative Maintenance Habits
Avoid future blinking keypad emergencies with these simple monthly and seasonal maintenance routines that extend your system’s lifespan.
Establish Battery Monitoring Protocol
Test your keypad battery voltage monthly using an inexpensive multimeter. Replace batteries when voltage drops to 7.5V—don’t wait for complete failure. Keep a fresh 9V battery stored in your garage (not inside the opener unit where temperature extremes degrade it) for immediate replacement during emergencies. Write the installation date on the battery with a permanent marker to track usage.
Apply Weather-Resistant Protection
Install a weather shield or position your keypad under an overhang to prevent moisture infiltration. Apply a thin layer of dielectric grease to battery contacts before installation to prevent corrosion. During seasonal changes, remove the keypad cover and gently blow out accumulated dust with compressed air—moisture and debris cause most intermittent blinking issues.
When your Chamberlain keypad starts blinking unexpectedly, remember that this is diagnostic information, not just a malfunction. By methodically working through these specific troubleshooting steps based on your exact blinking pattern, you’ll resolve most issues without professional help. Keep this guide accessible in your garage—you’ll appreciate having it during those inconvenient moments when you’re locked out in the rain. For persistent issues that survive these comprehensive fixes, contact Chamberlain’s technical support directly with your model number for manufacturer-specific guidance—they often provide solutions not found in general troubleshooting guides.