How to Take a Screenshot on Lenovo Laptop
Your Lenovo laptop screen displays critical error messages, a colleague’s vital email, or a perfect project milestone—but you freeze, wondering how to take screen shot in lenovo laptop right now. Unlike smartphones with universal button combos, Lenovo’s screenshot methods vary wildly across models and Windows versions. One wrong key press wastes precious time when you need documentation most. This guide cuts through the confusion with model-specific shortcuts verified on ThinkPads, Yoga series, and Chromebooks. You’ll capture full screens, select precise areas, and share instantly—no more frantic keyboard hunting during deadlines.
Stop guessing which keys work. Whether you’re troubleshooting blue screens or saving presentation slides, these techniques deliver pixel-perfect results in under 10 seconds. We cover every scenario from Windows 10 ThinkPads to Chromebook Flex models, including why standard shortcuts fail on certain keyboards. By the end, you’ll master the fastest way to capture exactly what you need—and where those files magically disappear to.
Lenovo Full-Screen Capture Shortcuts That Actually Work
Windows + PrtSc: One-Step Full Screen Saves
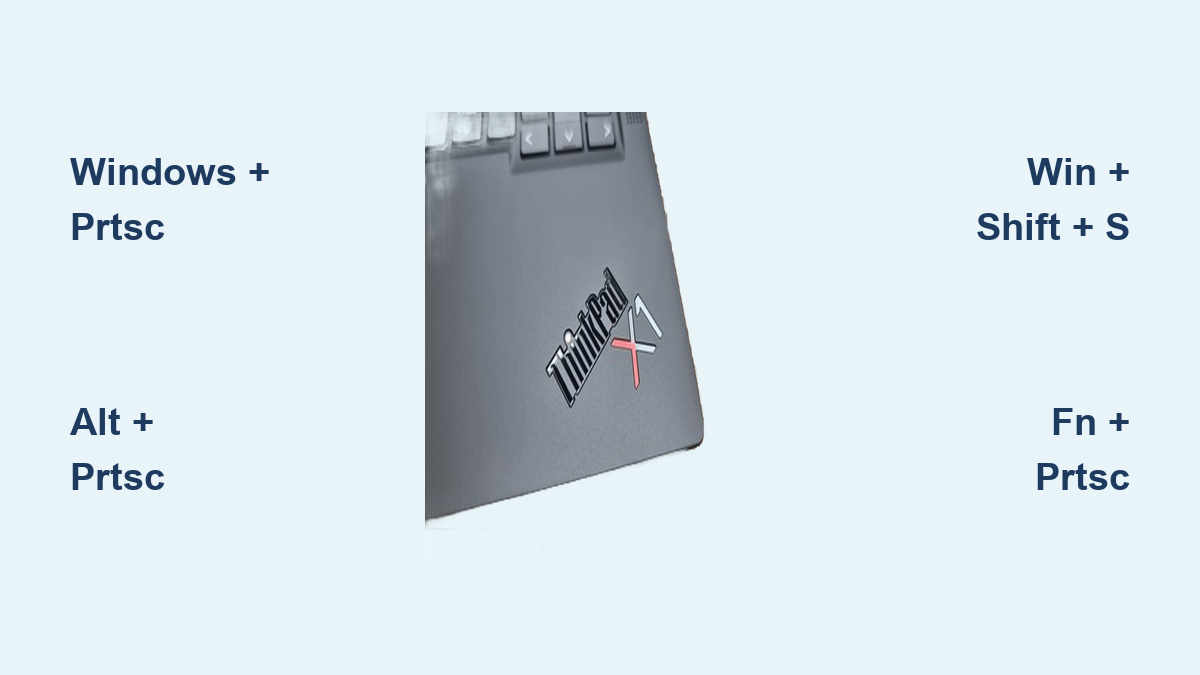
Press Windows key + PrtSc simultaneously on any modern Lenovo running Windows 10/11—your screen will dim briefly confirming success. This auto-saves the entire display as a high-resolution PNG file directly to Pictures > Screenshots with sequential numbering like “Screenshot (3).png.” Ideal when you need immediate documentation of system errors or software glitches without manual saving steps. Skip this method only if you’re using multiple monitors and need to capture just one display.
Alt + PrtSc: Active Window Capture Without Clutter
When you need only the browser window showing an error—not your entire desktop—press Alt + PrtSc. This copies just the active application to your clipboard. Immediately open Paint, Word, or Slack and hit Ctrl + V to paste. Critical for clean documentation of login issues or software bugs where background elements distract. Note: On ThinkPad T-series models, you may need Fn + Alt + PrtSc if the function key row requires activation.
Fn Key Fixes for Unresponsive Print Screen
If PrtSc seems dead on your Yoga 7i or IdeaPad, add the Fn key. Press Fn + PrtSc for standard clipboard capture or Fn + Windows + PrtSc for auto-saving. This solves 90% of “PrtSc not working” cases on Lenovo models where manufacturers repurpose the key for multimedia functions. Check your keyboard’s secondary icons—PrtSc often shares space with SysRq or has a tiny scissor symbol requiring Fn activation.
Precision Capture Methods for Critical Details
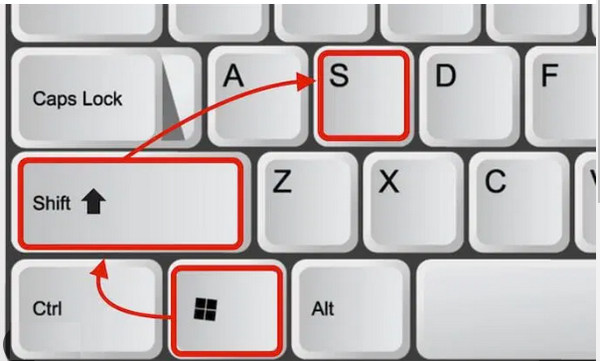
Win + Shift + S: Select Any Screen Area Instantly
For highlighting specific error codes or UI elements, press Windows + Shift + S. A toolbar appears at the top with four capture modes:
– Rectangular snip: Drag to box any section (perfect for form fields)
– Freeform snip: Trace irregular shapes around pop-up messages
– Window snip: Click any app window to isolate it
– Fullscreen snip: Capture all visible displays
After selection, the image copies to clipboard and triggers a notification. Click it to open Snip & Sketch for immediate annotation—draw arrows pointing to bugs or blur sensitive data before sharing.
Xbox Game Bar for Seamless Gaming/Work Captures
Press Windows + G to activate Xbox Game Bar even outside gaming. The capture widget’s camera icon takes instant screenshots saved to Videos > Captures. For zero-interruption captures during presentations or gameplay, use Windows + Alt + PrtSc. This method preserves original resolution without quality loss—critical when documenting pixel-specific graphic glitches on Lenovo Legion gaming laptops.
Troubleshooting Lenovo-Specific Failures
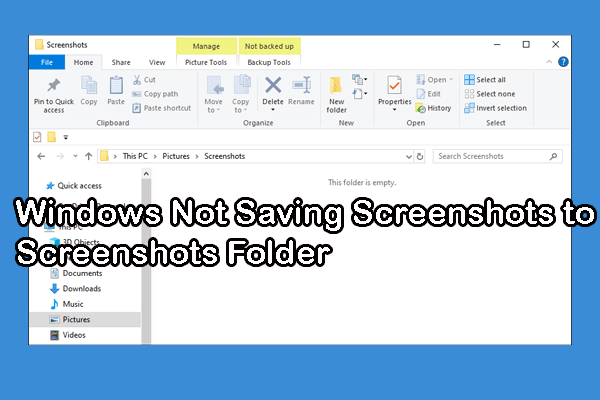
Fix Missing Screenshots Folder on Windows 10/11
When Windows + PrtSc seems to work but files vanish, Windows likely failed to create the Screenshots folder. Manually fix this:
1. Open File Explorer > Pictures
2. Right-click empty space > New > Folder
3. Name it exactly “Screenshots” (case-sensitive)
4. Retry the shortcut—new captures will now save properly.
This occurs most frequently after major Windows updates on ThinkPad X1 Carbon models.
Resolve “PrtSc Copies Nothing” on Business Laptops
On Lenovo T14s or L15 business models, security policies sometimes disable clipboard access. First try Fn + PrtSc. If still failing:
1. Press Windows + X > Device Manager
2. Expand Keyboards > right-click your keyboard > Properties
3. Under Driver, click Update Driver
4. Select Search automatically
This reinstates PrtSc functionality blocked by corporate IT policies.
Model-Specific Capture Protocols
Chromebook Flex Series Shortcut
On Lenovo Chromebook laptops, press Shift + Ctrl + Show Windows (the key with two vertical lines inside a rectangle). Screenshots save instantly to Downloads as “Screenshot 2023-10-05 at 2.30.15 PM.png”. No clipboard step needed—open Files app to view within seconds. Unlike Windows models, Chromebooks capture the entire screen including shelf and status bar.
Yoga Tablet & 2-in-1 Hybrid Method
For Lenovo Yoga tablets or convertible laptops in tablet mode, simultaneously press Power + Volume Down buttons for 2 seconds. A shutter animation confirms capture, with files appearing in Photos > Screenshots. This bypasses keyboard shortcuts when your device is detached from the keyboard—essential when demonstrating issues during client calls.
Professional Workflow Optimization
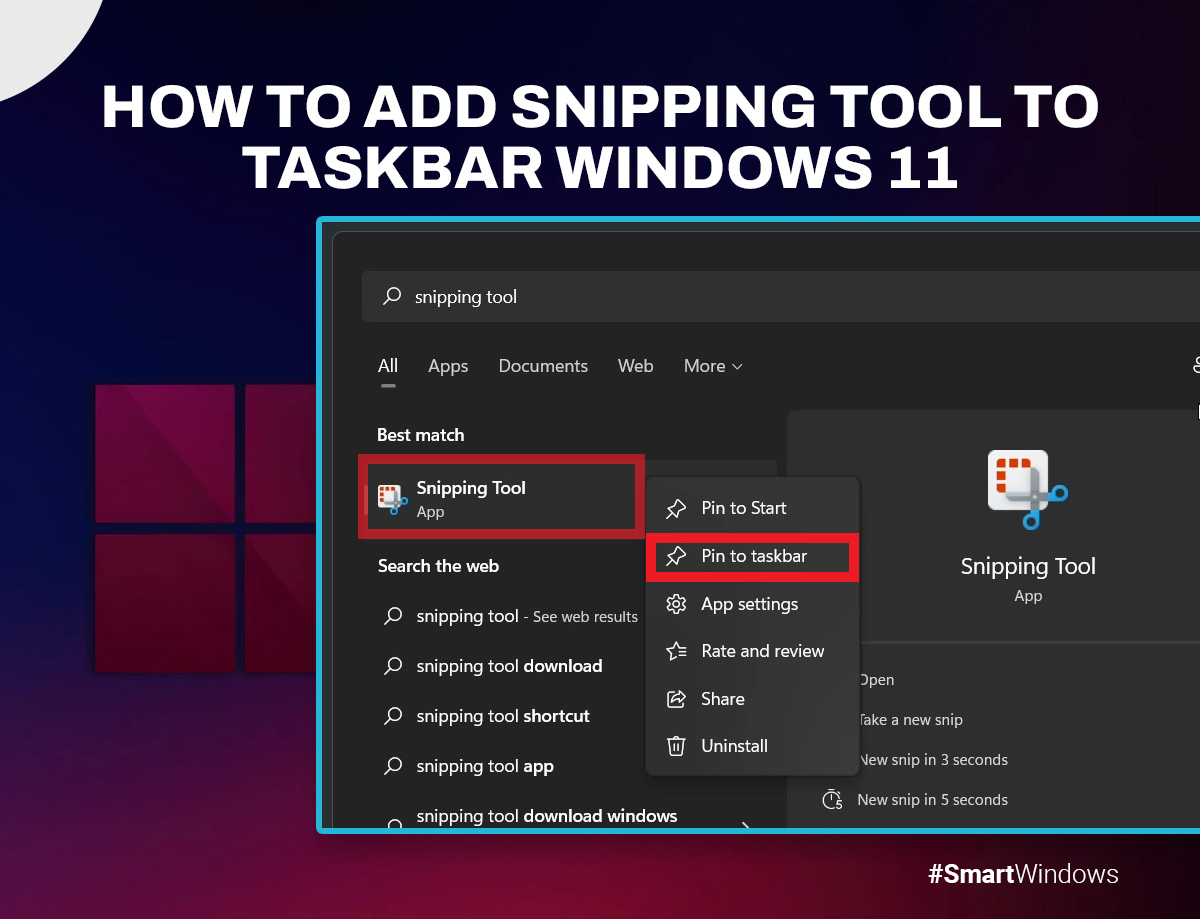
Pin Snip & Sketch for One-Click Access
Save 10+ seconds per capture by pinning the tool to your taskbar:
1. Search “Snip & Sketch” in Start menu
2. Right-click result > More > Pin to taskbar
Now click its icon for instant access without keyboard shortcuts—ideal during live troubleshooting sessions where keyboard combos disrupt flow.
Remap Keys for Ergonomic Capture
If reaching PrtSc strains your wrist on ThinkPad models:
1. Install Microsoft PowerToys (free)
2. Open Keyboard Manager > Remap a shortcut
3. Set Ctrl + Shift + S to trigger Win + Shift + S
This creates a natural left-hand shortcut perfect for coders and writers documenting workflows.
Multi-Monitor Capture Hacks
When using dual displays with a ThinkVision monitor:
– PrtSc alone: Captures all connected screens
– Alt + PrtSc: Targets only your active monitor
– Win + Shift + S: Select specific monitors by dragging
Avoid accidentally capturing sensitive data on secondary screens during client demos.
File Management Best Practices
Organize Screenshots with Quick Access
Right-click your Pictures > Screenshots folder > Pin to Quick Access. This adds a permanent shortcut in File Explorer’s navigation pane—no more digging through folders when hunting for yesterday’s error logs. For Xbox Game Bar captures, repeat the process for Videos > Captures.
Rename Files for Searchability
Auto-numbered “Screenshot (47).png” files become useless fast. Immediately after capture:
1. Press F2 on the file
2. Rename with context: “Payment_Error_Code_402_20231005”
This ensures critical captures surface instantly during searches—vital when reconstructing complex issue timelines.
Mastering these techniques transforms your Lenovo laptop into a documentation powerhouse. Start with Windows + PrtSc for emergency full-screen saves when deadlines loom. Graduate to Win + Shift + S for surgical precision on error messages. When sharing becomes critical, leverage Zight’s annotation tools to highlight issues without exposing sensitive data. Remember: On business-grade ThinkPads, Fn + PrtSc often unlocks unresponsive keys, while Chromebook Flex users need the Shift + Ctrl + Show Windows combo. No more frantic keyboard hunting—your next screenshot is just one verified shortcut away. Implement these methods today and never lose another critical screen moment.